How to Make a Line Graph on Google Docs
The line graph, line plot, line chart, or curve chart is a visual way of presenting data in the form of a line segment plotted on a graph by joining different points scattered across the graph. It is used to show, study, and compare data.
Many people use online line graph makers to create line graphs online. An excellent online tool to create a line graph online is Google Docs. We have put together a simple guide if you want to learn how to make a line graph on Google Docs.
How to Make A Line Graph on Google Docs
Step 1 – Launch Google Docs
Open Google Docs and select a blank page.
Step 2 – Enter Data
To create a line graph on Google docs, you need to enter the data. Type it manually or copy & paste it from another file. You can also import an Excel sheet or Google worksheet from Google drive. For this tutorial, we will manually type the sample data. Select the data once you have typed it on the spreadsheet.
Step 3 – Insert Line Graph Google Docs
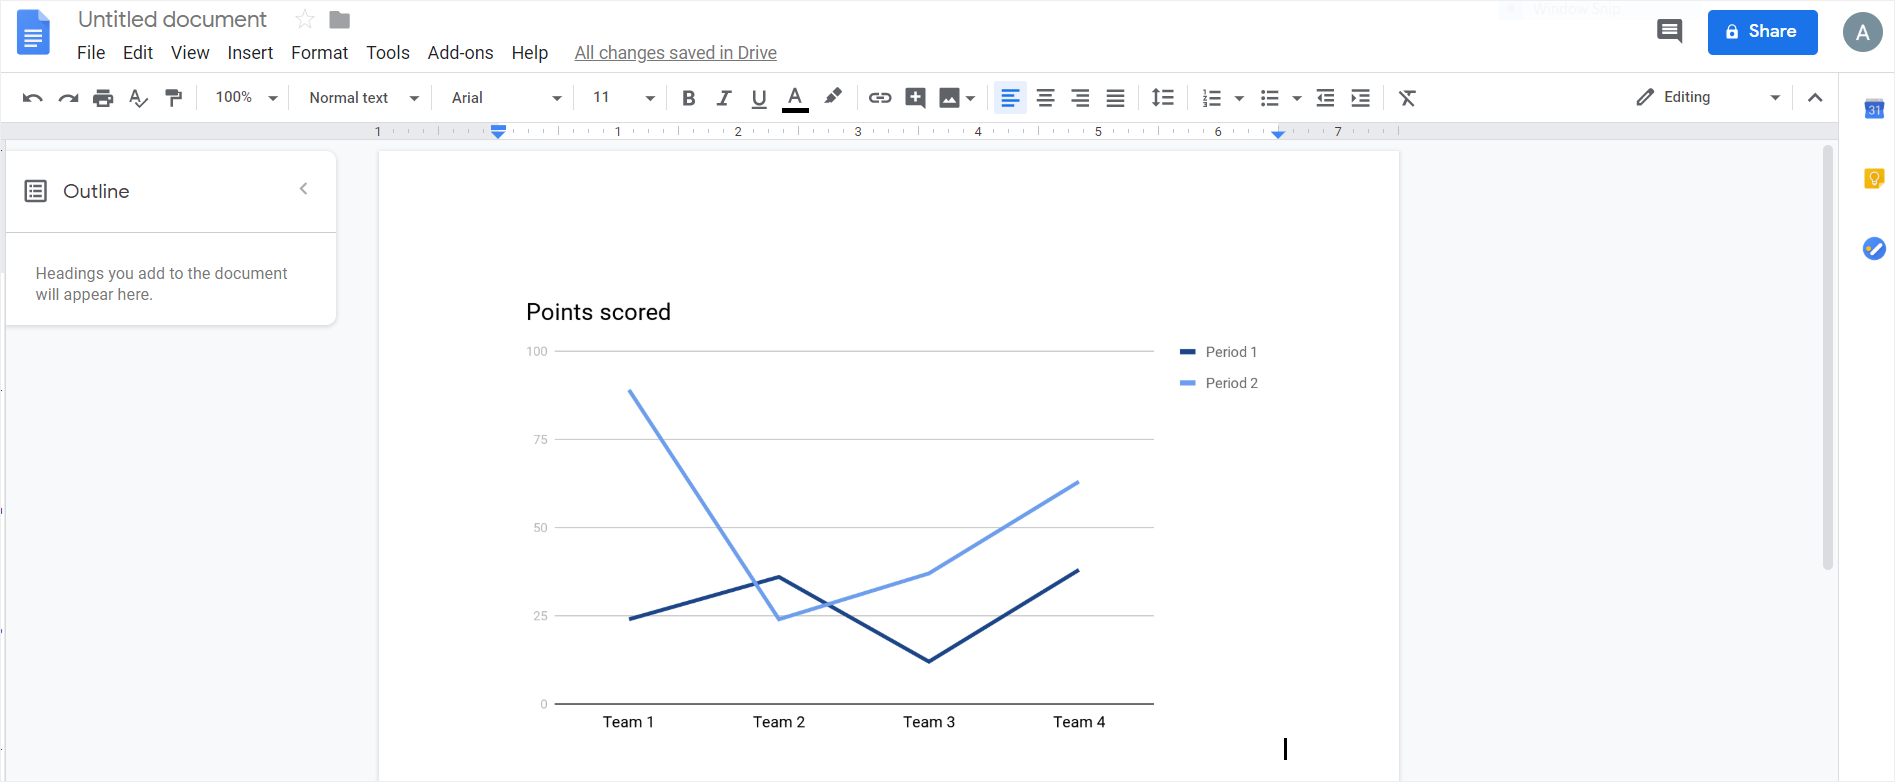
To insert a line graph, click on the Insert tab and then click on the arrow next to the Charts. Select the 3rd option - Line. Google docs will insert a line chart on the page.
Step 4 – Customize
Double-click on the chart to select it. There are not many formatting tools available in Google Docs. Hence, the customization is quite limited. You can add text, images, and watermarks. However, sophisticated editing tools are unavailable. You can add a border around the graph, change the size and change the font, but the basic features of the chart like the color of the lines will remain the same.
Step 5 – Save
Once your Line graph in Google Docs is complete, all your changes will automatically be saved in Google drive. Your file will be saved on Google drive as well.
How to Make A Line Graph in EdrawMax
EdrawMax Online is a better alternative to Google Docs for creating charts and graphs. It is an online tool for creating technical diagrams. You can also use it to create a line graph. So, to learn how to make a line graph using this software follow our how-to guide mentioned below.
Step 1 – Go to EdrawMax
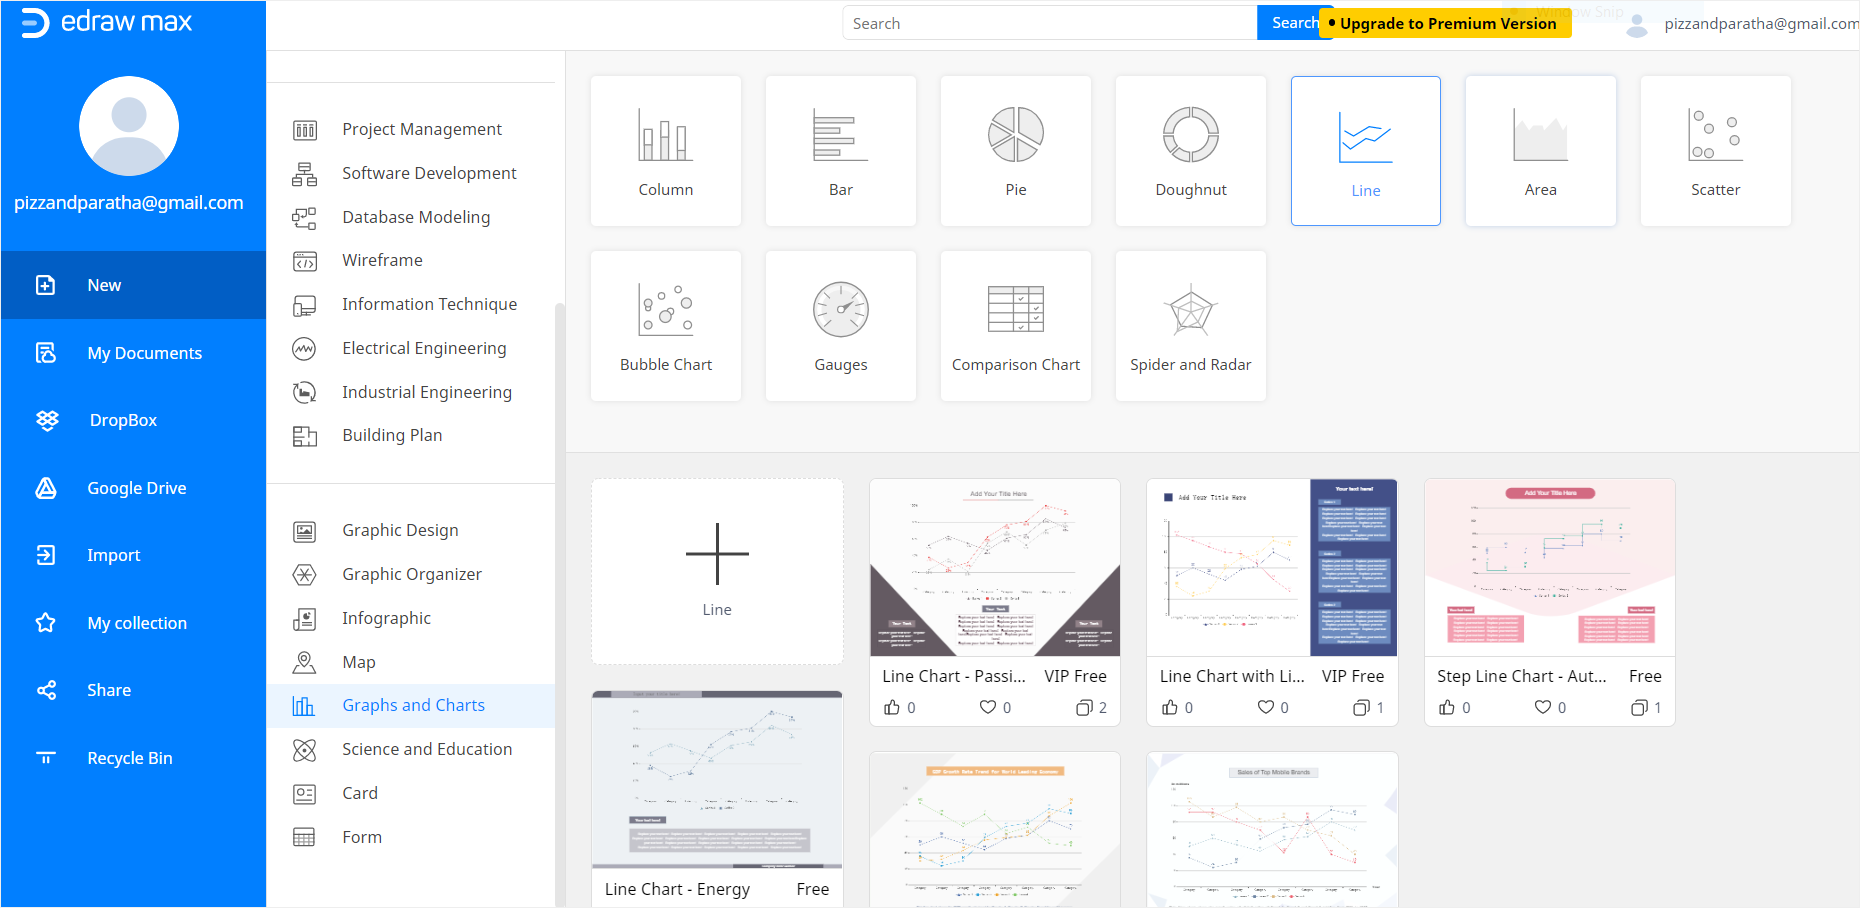
Visit https://www.edrawmax.com/online/ to open EdrawMax online on your browser and click on Graphs and Charts on the left side of the screen.
Step 2 – Select Line Graph
Once you click on Graphs and Charts, different options will appear on the screen. Now select the Line option and click on it. Different Edraw free templates of Line graphs will appear on the screen. Choose the desired template. For this tutorial, we will be choosing a blank template.
Step 3 – Open Launch Window
The Edraw Online diagramming tool will launch in the new tab. You will create, edit, and customize your chart on the new drawing page.
Step 4 – Insert Line Graph
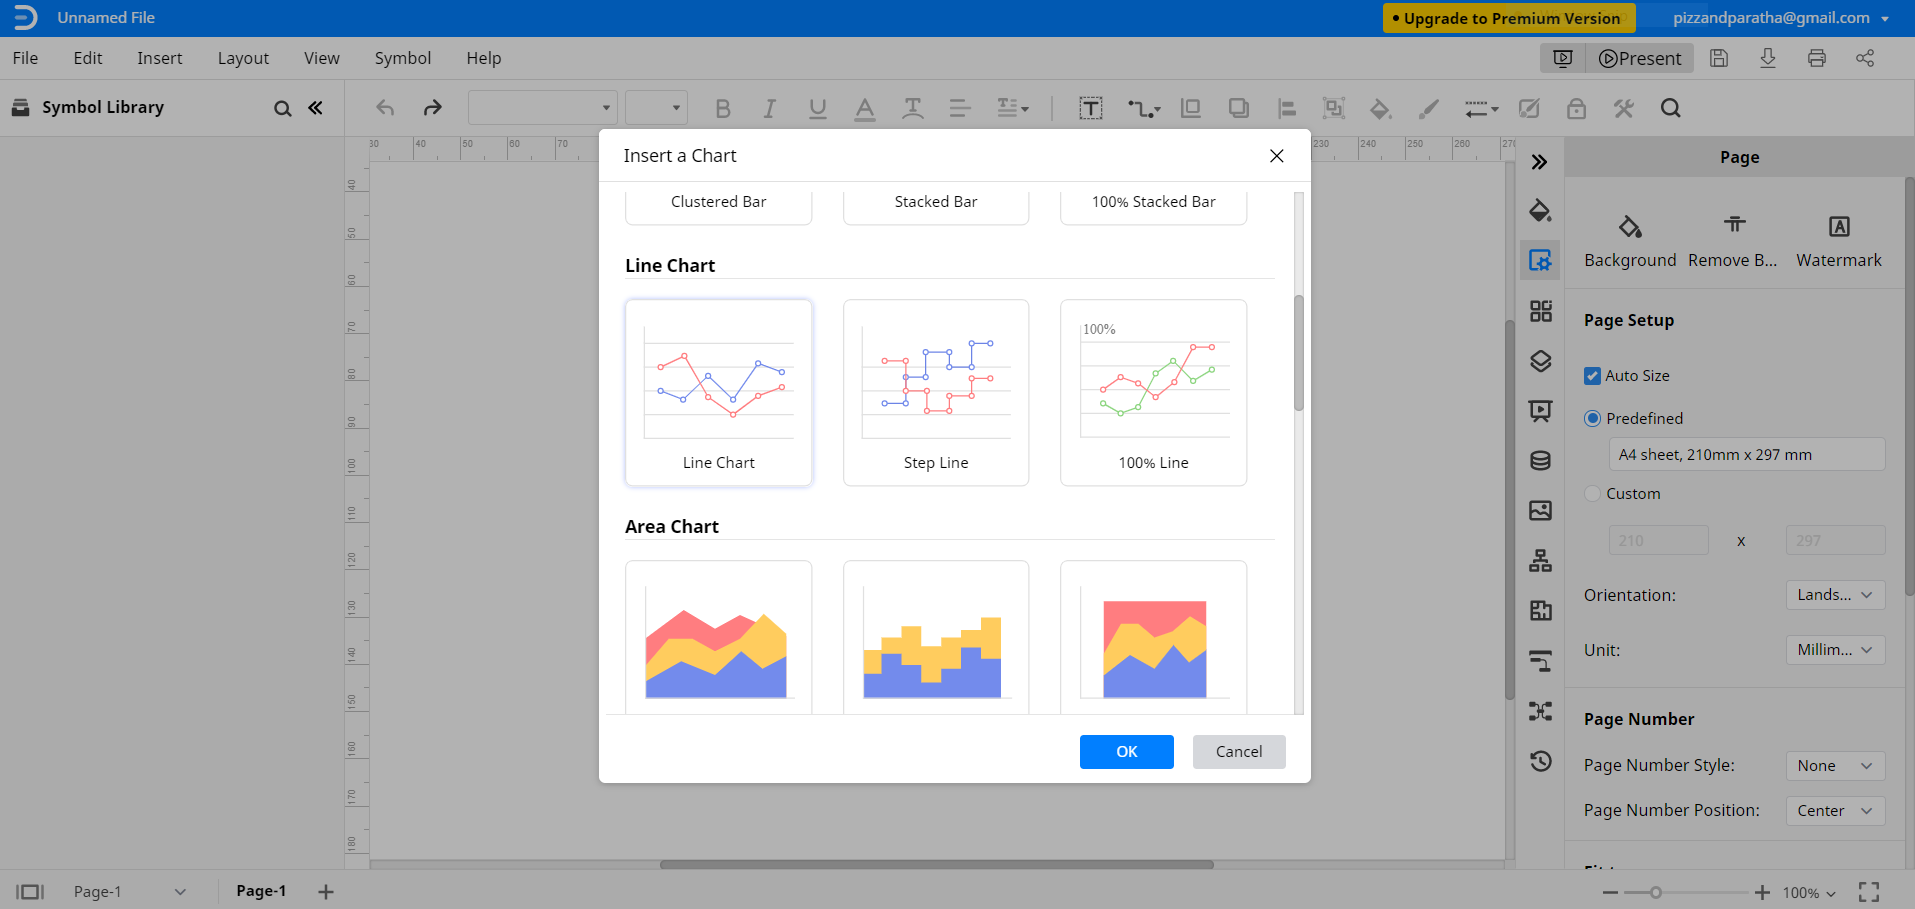
Click on the Insert tab and then click on the Charts. The Insert a Chart window will open up on the screen. Scroll down to Line and select the desired line graph. Click on OK to insert the line graph on your page.
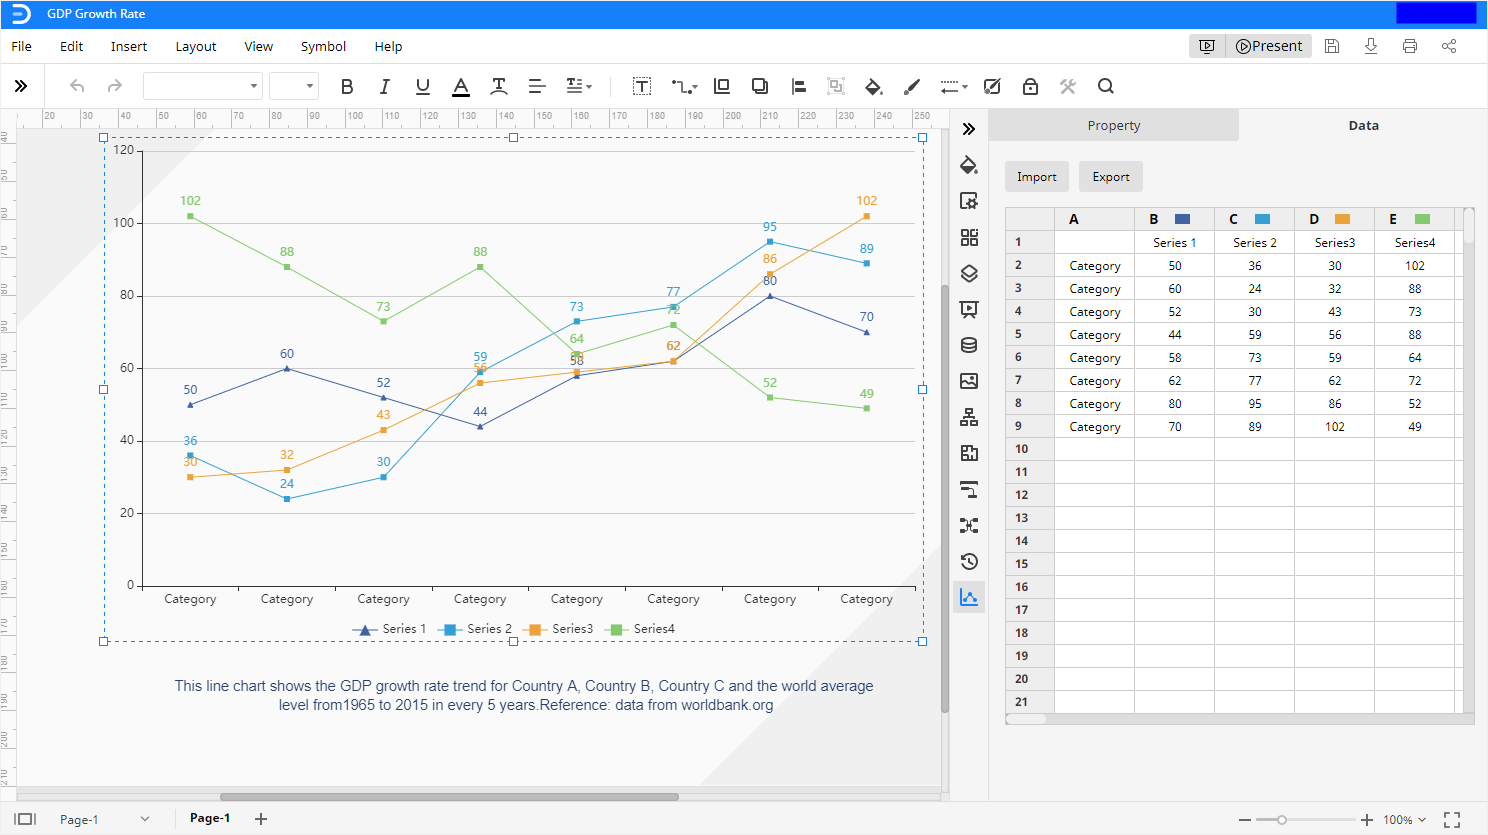
Step 5 – Enter Dara
To add the data, click on the Data pane on the right side of the screen. An Import option is also available to fetch CSV data. You can also adjust each column and row by changing data. As you update the data, your line graph will be adjusted automatically. We will copy and paste the sample data.
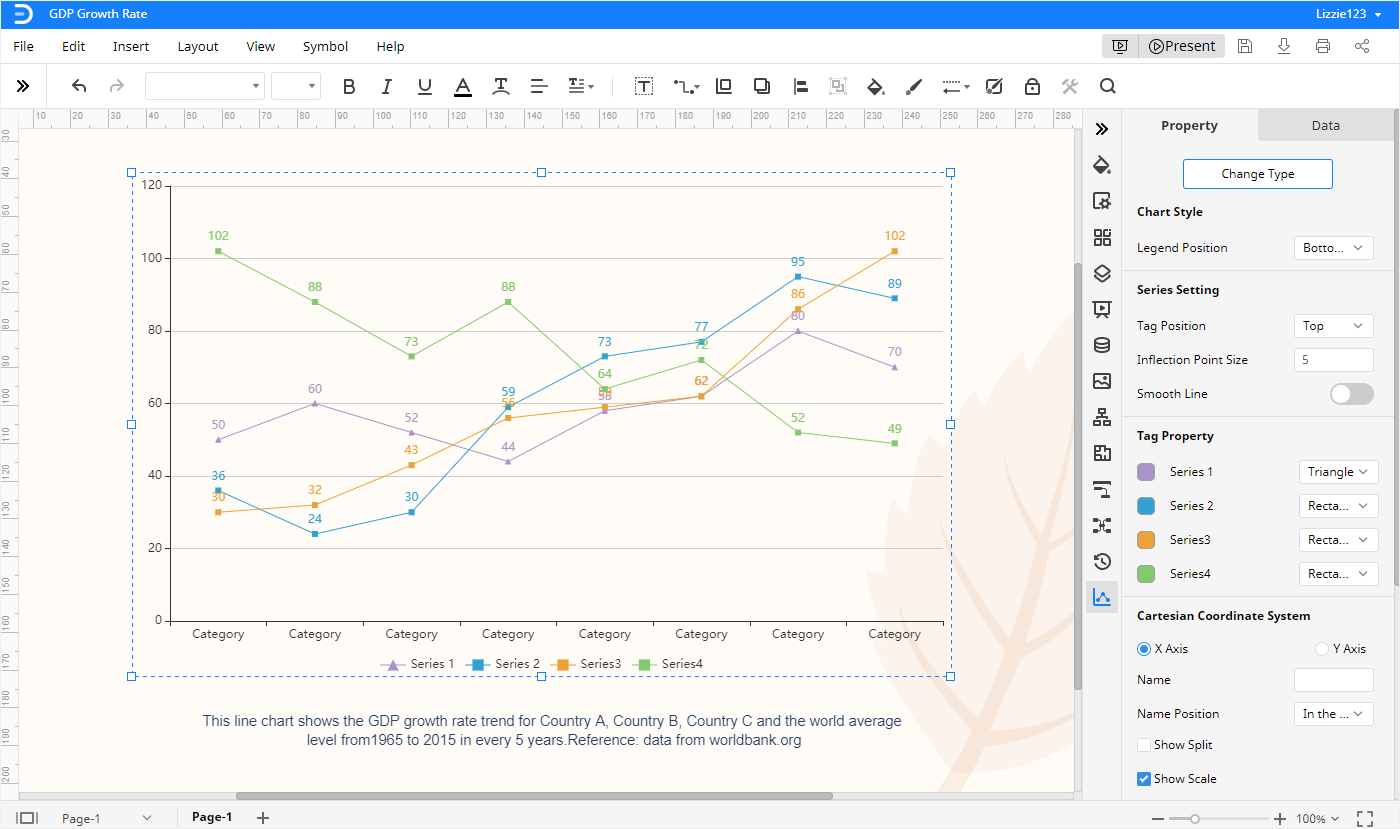
Step 6 – Customize your Line Graph
Customize your line graph with the help of different editing and formatting tools present in Edraw Online. You can change the shape of the graph by dragging the corners. You can also edit the size, color, alignment of the font. Other details can also be modified according to your preference. Many editing options are available in the navigation pane on the right side of the screen, which you can use to customize the line graph, unlike Google Docs.
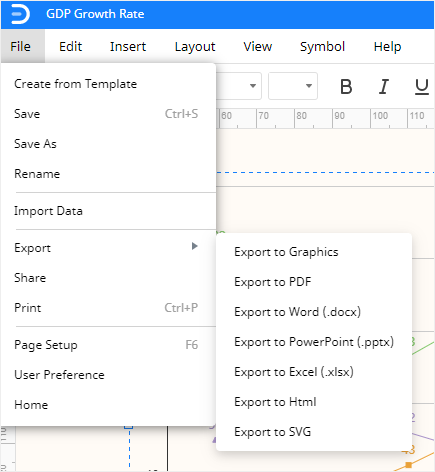
How to Export An Edraw Chart as A Common File
EdrawMax Online allows you to export Edraw documents in the form of different common file types. Click on File, then Export and select the desired file type. You can also edit the file in the corresponding software.
Similarly, Edraw also lets you save and upload your Edraw document on Google Drive and Dropbox. Go to File > Save as and select the desired cloud location.