A Guide to Understand Seed with Diagram
For a plant to grow germination, is a significant process. The seeds get active, gradually its plumule and radicle develop. Thus, giving birth to a sapling. To understand the whole process, the students must learn about the anatomy of a seed. For that, they can use a seed diagram. Creating a seed diagram by hand can be time-consuming, and they may not get a good result. Thus, the students must use the EdrawMax Online tool.
1. The Seed Anatomy
A seed is the protective covering over the embryo of a plant. If it gets favorable conditions, the seed grows into a plant with the help of the stored nutrients. It can be of different types and have shapes depending on the plant.
1.1 The Classification of Seeds
The number of cotyledons in the seed may vary, and on this basis, there can be the seeds classification.
- Monocotyledonous seeds: Seeds with one cotyledon are called monocotyledonous seeds. Example: Corn, rice, orchids, etcetera.
- Dicotyledonous seeds: Seeds with two cotyledons are called dicotyledonous seeds. Example: Pea, mustard, gram, etcetera.
Endosperm can be present or absent in seed. Based on that, students can classify them into two more sections:
-
Albuminous Seeds: In Albuminous seeds, the cotyledons are thin. Hence the endosperm is present to nourish the seedling at its early developing stages.
Example: custard apple, poppy, etcetera.
-
Exalbuminous Seeds: In Exalbuminous seeds, endosperms are absent. In the early developing stage, the seeds use foods stored in the endosperm. However, the matured seeds lack the endosperm. These seeds have thick, fleshy cotyledons.
Example: pea, gram, etcetera.
1.2 The structure of a Seed
Seed Coat: This is a protective layer on the seed. The seed coat in monocotyledonous plants is membranous and stays in a fused condition with the pericarp. For dicotyledonous seeds, Testa and Tegmen are its further segments, protecting it from the outside environment.
Hilum: Hilam is a small scar on the seed coat with which the seed stays connected to the fruit.
Micropyle: Micropyle is a small pore present on the top of the hilum. It works as the entry point of oxygen and water into the seed.
Raphe: There is a ridge-like structure present on the flat surface of the seed coat around the median groove. It is the part of the stalk that gets fused with the test.
Aleurone layer: This is the proteinous layer that separates the embryo and the outer cover of the endosperm. During germination, this part has a significant role in digestive functions.
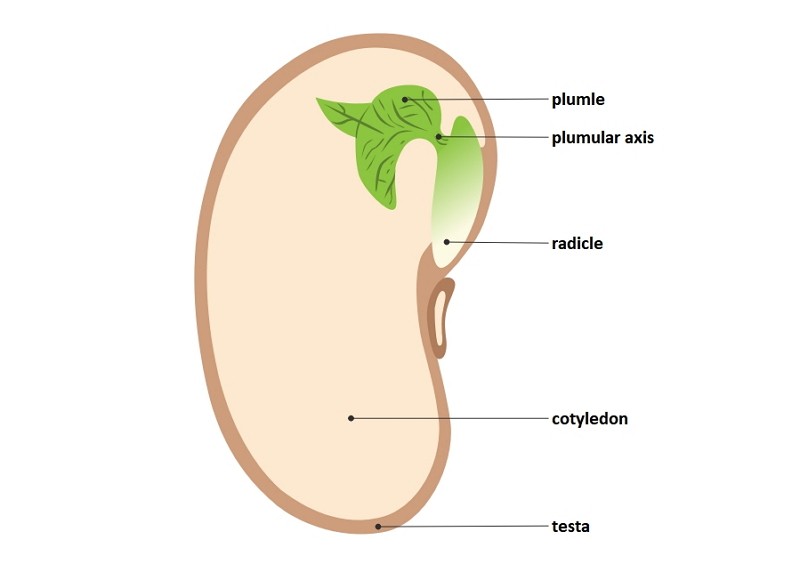
Embryo: The fleshy part that people can see when the seed coat gets removed. It has sections like cotyledons, a radicle, and a plumule. The embryo is the part that later gives rise to a plant.
Radicle: This part stays covered with a seed coat and later develops into the root. The sheath coat is called coleorhiza.
Plumule: This part grows upwards to form shoots. The sheath coat is called coleoptile.
Endosperm: The primary function of the endosperm is the storage of food. Most of the monocotyledonous trees have endosperm, while orchid is an exception.
 Source:EdrawMax Online
1.3 The Dispersion of Seeds
Seeds get spread or dispersed by different agents. They are:
Wind: Generally, the wind disperses those seeds that are light and small. Hence easy to move. Example: cotton.
Water: Some seeds can easily float in the water because they are hollow. They are dispersed by water and germinate when they find favorable conditions. Example: Mangrove.
Animal: Seeds that grow spines or hooks get attached to the animals, and they disperse the seeds as they travel from one place to another. Example: Dates.
Explosion: These seeds disperse when the fruit gets ripe. As the water evaporates from the pod and leaves them dried out, they rip open, and the seeds get out, which later gets carried away for dispersion.
1.4 The Germination of Seeds
The seed sprouts into a seedling while experiencing favorable conditions like heat, water, and carbon dioxide. The process is called germination. The seeds can stay at a dormant stage for long as they stay dry and inactive.
The process of germination starts with the seed being active. It takes in water to swell up and then bursts the seed coat. The water activates the enzymes to work. It also makes the food present in cotyledon water-soluble.
The radicle and the plumule develop after this. The radicle grows first as it goes into the soil. There it begins to absorb minerals, water, and nutrients, which helps in forming the root.
The plumule grows upwards and forms the shoot; after further growth, leaves grow on them. These leaves participate in photosynthesis. The seedling finally develops into a plant.
2. How to Draw the Seed Diagram?
It is essential to have thorough knowledge about them, to learn the anatomy and function of the seeds. For that, the students can use a seed diagram.
2.1 How to Create Seed Diagram from Sketch
Creating a see diagram by hand is challenging, and for that, the students need to follow these simple steps
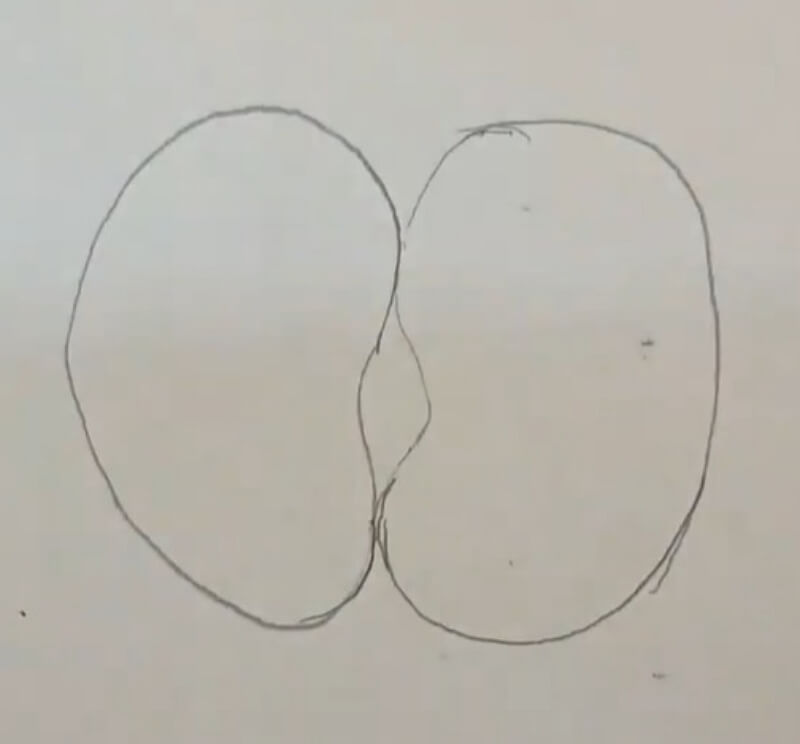
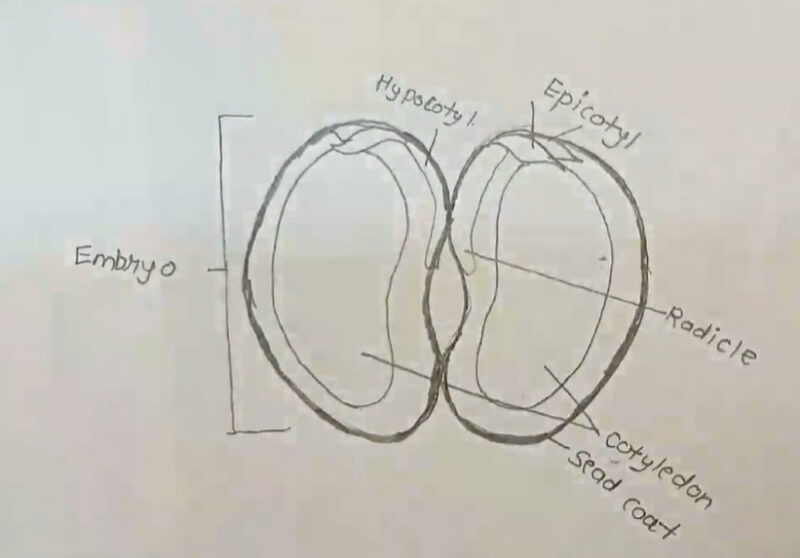
Step 1: At first, the students need to draw a bean shape, and at the other side of the bean shape, they have to draw a similar thing that will look like a reflection of the first shape. It is the embryo.
Step 2: Just above the dent of the bean-shaped structures, they need to draw double lines with small leafy structures at their end. They have to create the same structures on both sides. These leafy structures are known as epicotyl. The thin structure covering the sides is known as hypocotyl.
Step 3: They have to draw a small bean shape within the big bean shapes. The inner part of the small bean shapes is the cotyledons.
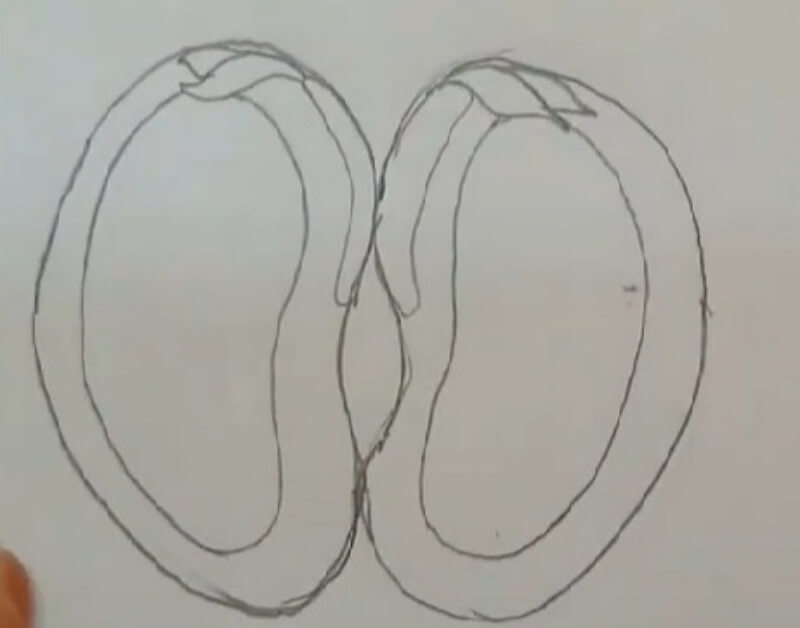
Step 4: The outside of the bigger bean shapes is double-lined. They are called seed coats.
2.2 How to Create Seed Diagram Online
It is pretty challenging to make a seed diagram by hand, and it is time-consuming. The students must use the EdrawMax Online tool, which can help them create a seed diagram without much hassle. Here are a few simple steps which they can follow:
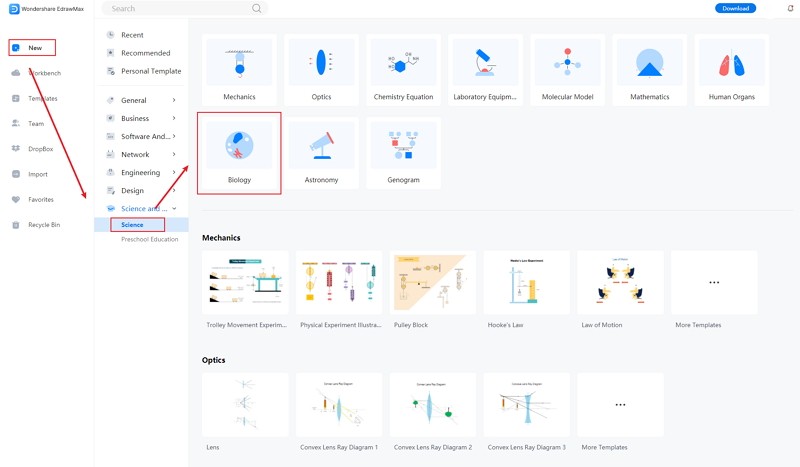
Step 1: EdrawMax Online tool is user-friendly, and anyone can work on it without much difficulty. To start, the students need to open the EdrawMax Online tool and then open New. In this part, they can look for the Science and Education tab.

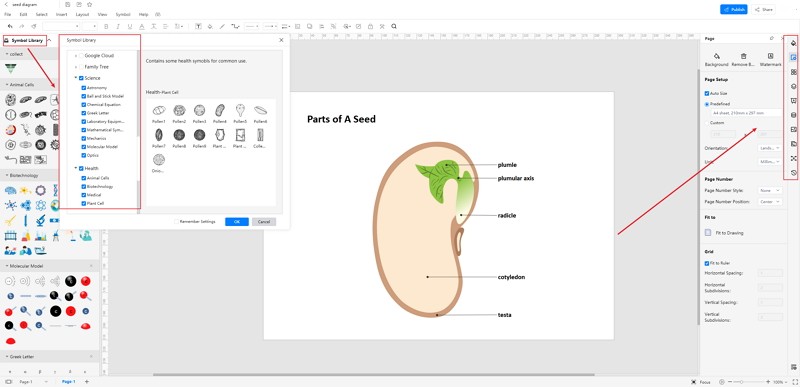
Step 2: The students can use this tool to create multiple study-related diagrams. They can go to the Biology section and select the seed diagram, which they require. They can modify the image as per their choice.
Step 3: In the Biology option, there are multiple biology-related diagrams present for the students. The students can look for the Seed diagram. These diagrams are a perfect fit for projects and dissertation papers. The students can easily edit those pictures as per their requirements and use them for their lessons.
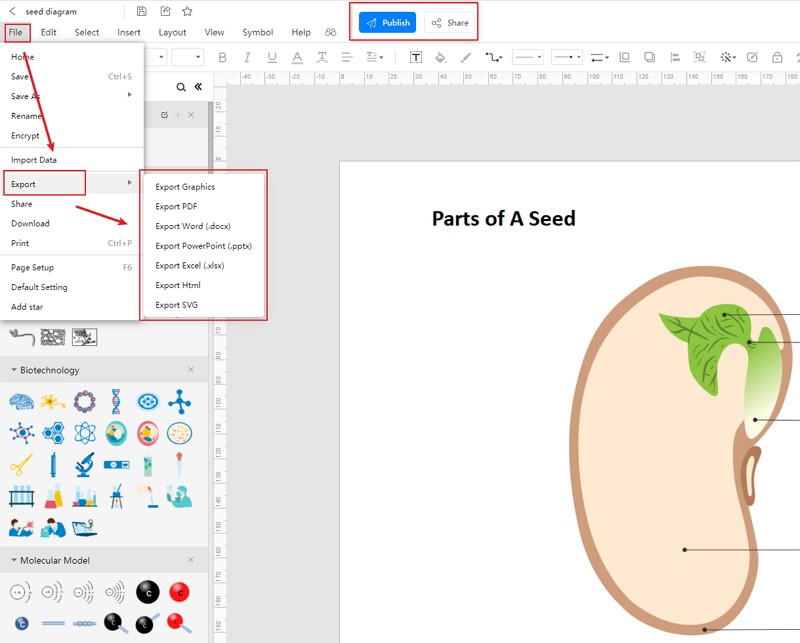
Step 4: After completing their seed diagrams, students can save the same and export it. It will help them to study in a better way for their lessons and projects.
3. The Importance of Seeds
Seed is important to the nature life, and it has several points. They are:
- Seed coats are hard. Hence the seed can endure rough conditions.
- The seeds stay in dry condition, and hence, delayed germination is possible.
- Seeds develop in favorable conditions and form a seedling, which further develops into a tree.
- Many animals, birds, and plants use seeds as their food.
4. Conclusion
The seeds play a crucial role in the formation of a new tree. To understand the process, the students must know about the seed. They can use a seed diagram, which can make the learning process easier. It is challenging enough to make a seed diagram by hand. Therefore, the students must use the user-friendly EdrawMax Online tool. This tool can help them to create a high-quality seed diagram without much hassle.
In conclusion, EdrawMax Online is a quick-start diagramming tool, which is easier to make seed diagram and any 280 types of diagrams. Also, it contains substantial built-in templates that you can use for free, or share your science diagrams with others in our template community.
Related Articles


