How to Make an Infographic in PowerPoint
Infographics are prevalent nowadays and you can see them in everywhere. However, some people may feel it hard to make an infographic, since they don’t know how to use Photoshop. In today’s article, we will walk you through how to make an infographic in Microsoft PowerPoint.
How to Make an Infographic in PowerPoint
Step 1: Resize Slides for the Infographic
Normally, when you create and open a new PowerPoint document, the first thing you can do is to change the layout of the slides and choose a blank style.
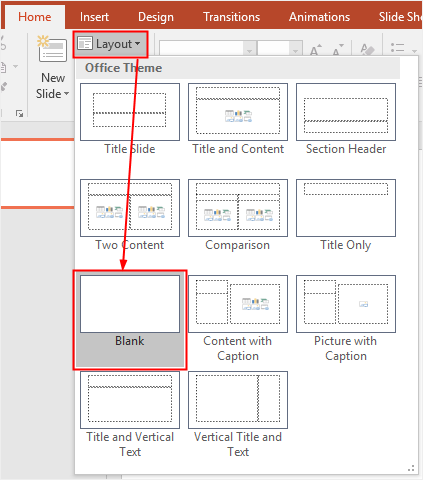
Go to Home tab, click Layout button on the Slides group, and then select Blank on the drop-down menu.
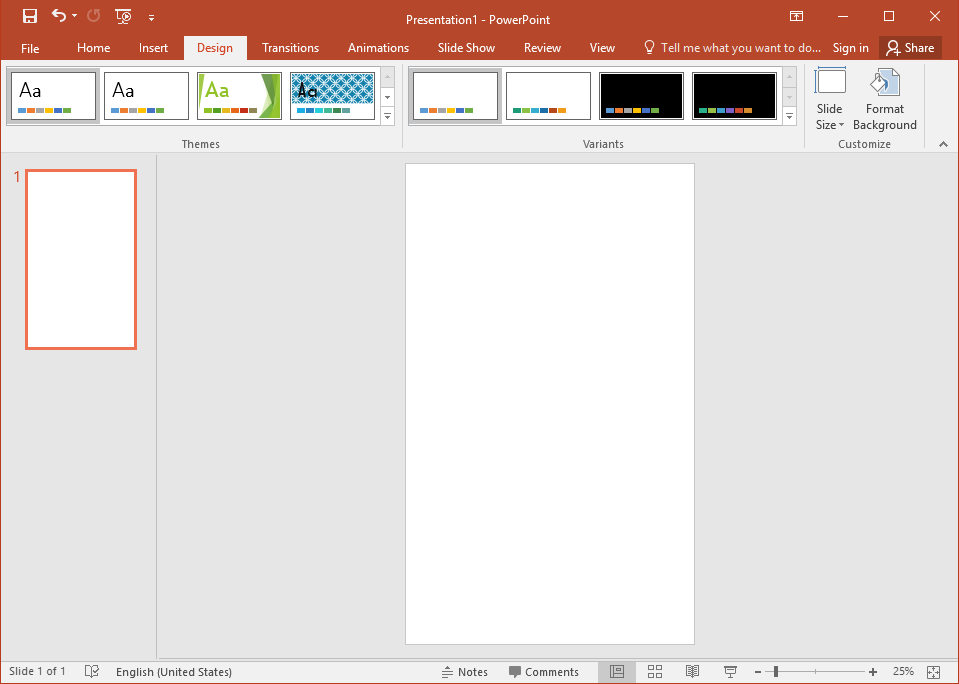
After that, you can resize the slides to a suitable size for making an infographic. Go to Design tab, click Slide Size button on the Customize group.
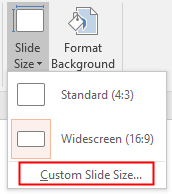
Then click Custom Slide Size on the drop-down menu to open the Slide Size dialog box.
Next, in the drop-down Slides sized for menu, choose Custom. Enter 12 in in the Width number box and 20 in in the Height number box. And at the same time, the Orientation of Slides and Notes, Handouts & Outline will be altered to Portrait.
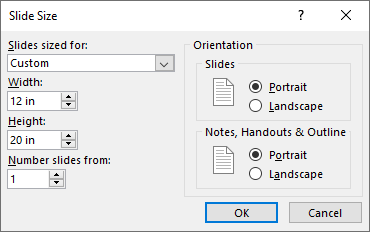
Here you can choose to input any number of width and height for the slide size as long as it would better present your design content.
Now the slide will look like this:
Step 2: Customize the Background for the Infographic
In Microsoft PowerPoint, there are different ways to customize the background, so you just choose the most appropriate one and insert the desired background to decorate the infographic.
- Insert an Inbuilt Theme Background
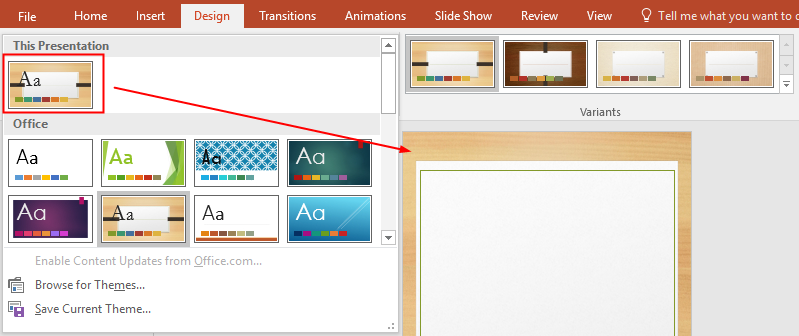
To format the background quickly in PowerPoint, you can choose an inbuilt theme background and click to switch it on the slide page.
Go to Design tab, click the down-arrow icon to open the theme menu, select the desired theme style and click on it so that the background of the slide page will be changed automatically.
- Change the Fill Color of the Background
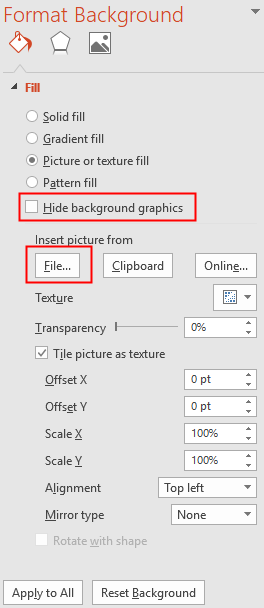
Right-click on the blank spot of the page and choose Format Background on the context menu to open the Format Background pane. Besides, you can also click the Format Background button next to the Slide Size button.
Therefore, you can decide to use a solid fill, a gradient fill, a picture or texture fill, or a pattern fill to format the background. In the meanwhile, you can check Hide background graphics to hide the background at once.
- Insert a Picture as the Background
When you decide to use a picture fill for the background, you can click the File button under Insert picture from, find the desired picture in the local storage and click Open.
Once you want to change the background or something else, you can just click the Reset Background button at the bottom of the right pane to clean out the background and restore to the original state.
Step 3: Add SmartArt Graphics into the Infographic
When the background has been set up, you can add custom shapes and vector graphics into the infographic. However, for beginners, SmartArt is one of the efficient ways to get started with an infographic in Microsoft PowerPoint.
Go to Insert tab, click SmartArt button on the Illustrations group. Then the Choose a SmartArt Graphic window will open.
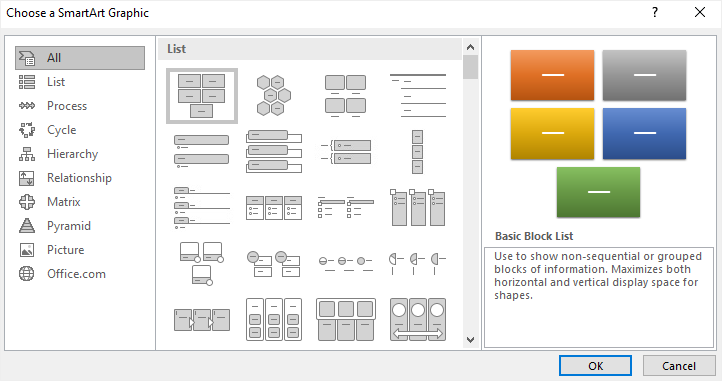
You can choose some suitable SmartArt graphics and add them into the slide page. You can decide which graphics will be inserted into the page based on your own ideas.
In addition, there are a lot of other elements like vector graphics, pictures, some nice fonts and cute icons that you can mix with SmartArt graphics to complete the design of the infographic.
At last, the example infographic is shown in the below picture:

How to Make an Infographic in EdrawMax
From resizing the slides, customizing the background to using SmartArt tools, we have spent too much time in making presentations for the infographic. Is there an easier way to make an infographic?
The answer is Yes. Now we will introduce you a more efficient way to create an Infographic and it will help you save time and effort and create high-quality Infographics with the free templates.
Step 1: Select a Suitable Infographic Template
Enable EdrawMax, and go to find Infographics in the diagram type list.
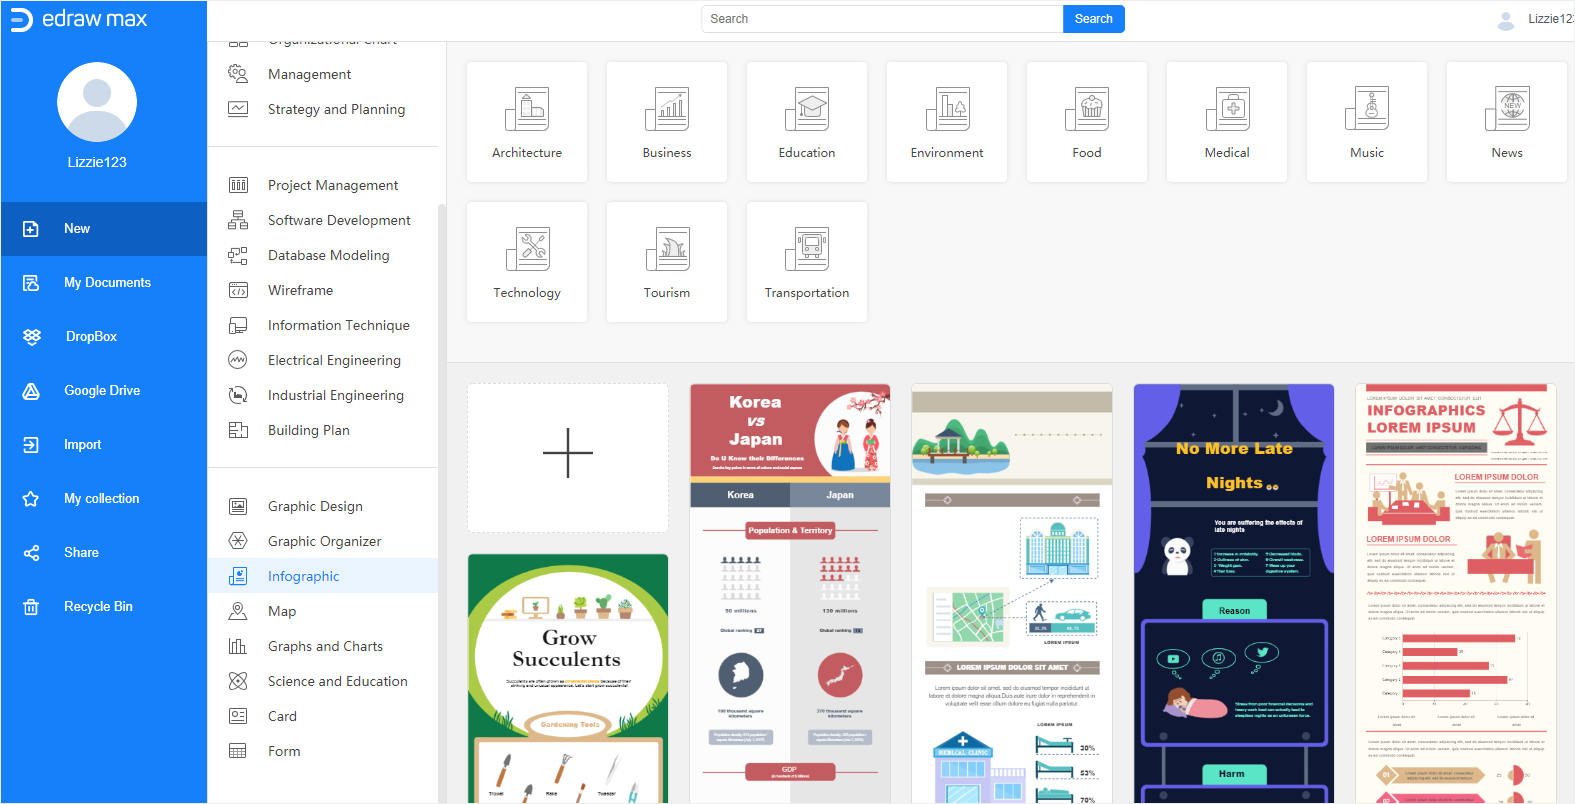
Click the plus icon or one of these Infographic templates to enter into the main interface. In addition to these inbuilt templates, EdrawMax also provides a great number of infographic templates for free download and use.
In this case, I will choose one of the pre-made templates to make my own infographic.
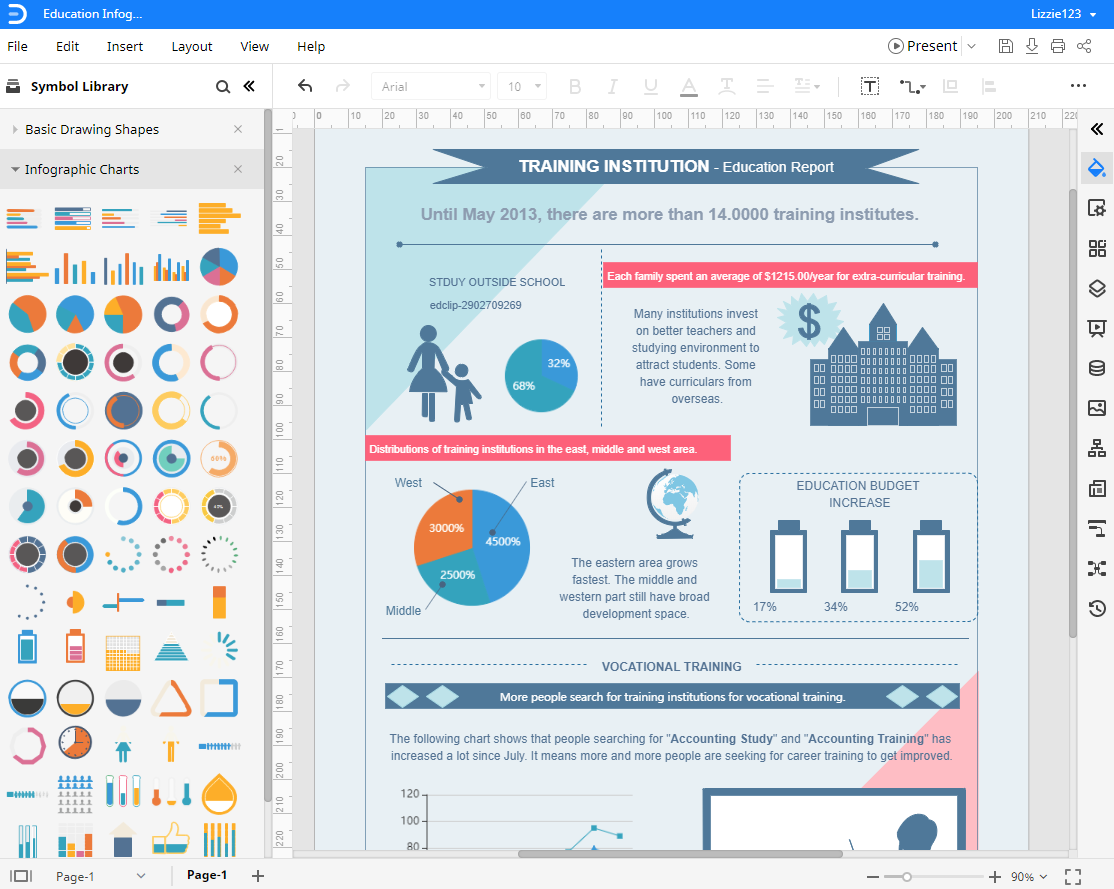
Step 2: Change the Theme of the Infographic
After selecting a template and entering into the main interface, now the example infographic looks like this:
To change the theme of the whole infographic, you need to:
- Click the theme icon
 on the right sidebar to open Theme pane;
 - Select the desired theme scheme, theme color, connector style (if there are connectors) or font type for the infographic.
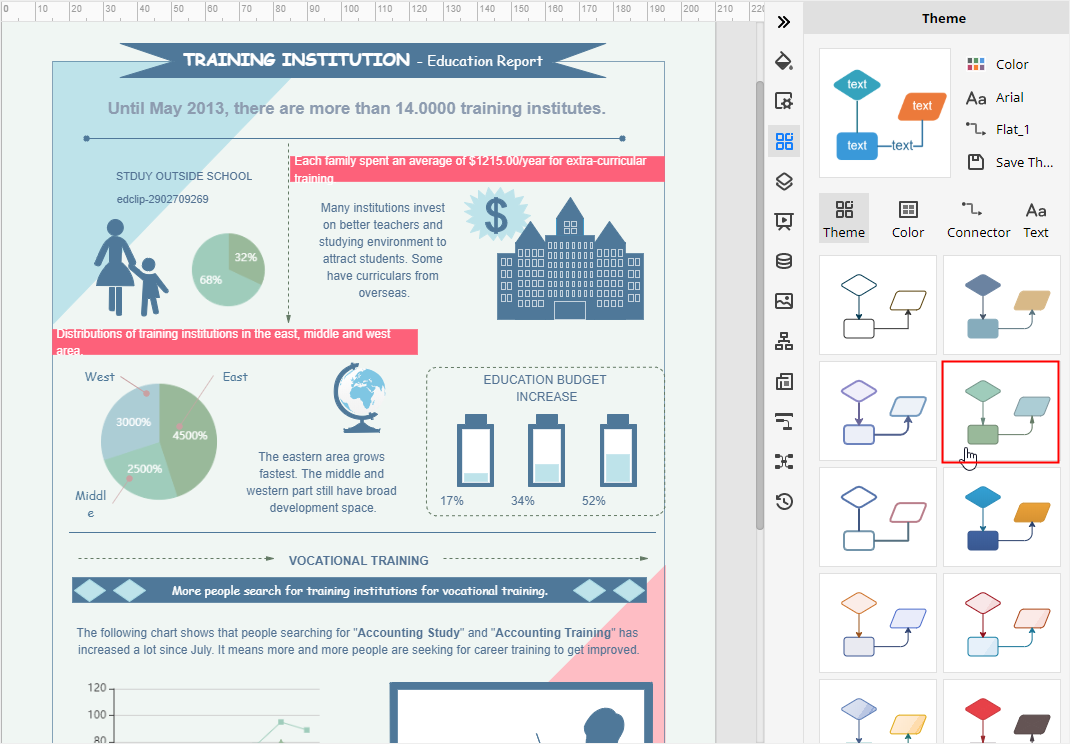
- If you are satisfied with the custom theme that you made in EdrawMax, you can click the Save Theme button next to the thumbnail, name and save it on the below theme list.
Step 3: Add Infographic Symbols or Shapes
Click the symbol library icon ![]() on the left pane, select the infographic chart or other types of symbols in the Library window, click OK.
on the left pane, select the infographic chart or other types of symbols in the Library window, click OK.
Then you will see the selected symbols shown on the left pane. Select the suitable symbols, drag and drop them onto the canvas to complete the infographic. Here, in this example, the symbols and shapes have already been on the Library pane.
How to Export an EdrawMax diagram as PowerPoint File
When you finish making an infographic in EdrawMax Online, you are also able to save and export the infographic as a PowerPoint file.
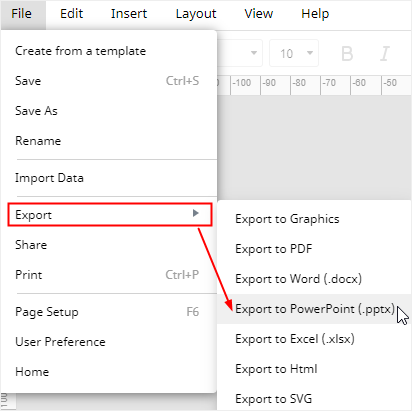
Go to File tab, click Export > Export to PowerPoint, and EdrawMax automatically save and download the created infographic as a PowerPoint file in your computer. So you can get a Infographic in PowerPoint format. Remember, all the Microsoft Office files exported from EdrawMax are editable.
It will be much easier for you to make an infographic in EdrawMax Online than using PowerPoint. In addition, you or anyone else are able to edit and modify the exported infographic in Microsoft PowerPoint (only for 2013 or above version) directly.
Thus, you are able to transmit and share the infographics that you made in EdrawMax with your friends or partner.