How to Make a Venn Diagram in Word
As a powerful word processor from MS Office, Word is also able to make simple Venn diagrams in most cases. In this article, you will learn how to create a Venn diagram in Word with step-by-step instructions.
How to Make a Venn Diagram in Word
Step 1: Open SmartArt Graphic Window
Open a new document, go to the Insert tab, click the SmartArt button and then open the SmartArt Graphic window.
Step 2: Insert a Venn Diagram
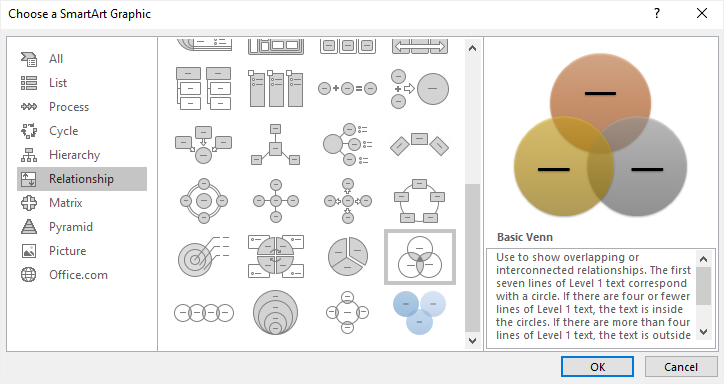
Select Basic Venn on the window and click OK. A basic Venn diagram will show on the page.
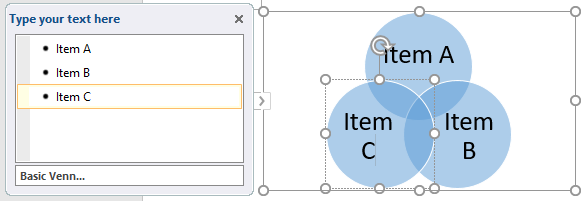
Click the arrow icon to open the Text pane. You can paste or type the text or numbers on the Text pane and the content will appear on the circles automatically.
To add text or numbers to the overlapping portions of circles, draw text boxes onto those sections and type text on them.
Step 3: Add More Circles to Venn Diagram
To add more circles to the Venn diagram, click to select the whole diagram at the beginning, then there are 2 different ways:
- Go to the Design tab of SmartArt Tools, click Add Shape
- On the Text pane, select a bullet, press Enter to add a new one and a blank circle will be added on the diagram.

To delete circles, select the circle that you want to delete and press Delete or Backspace key on your keyboard.
Step 4: Style Your Venn Diagram
To style the Venn diagram in Word, you can use diversified formatting tools existing in 3 different areas.
- Navigate the Design and Format tab Of SmartArt Tools where you can change diagram layouts, colors, styles, etc.
- Right-click on the circle, select Format Shape, and then you can change the fill style, fill color, line style or another option on the right Format Shape
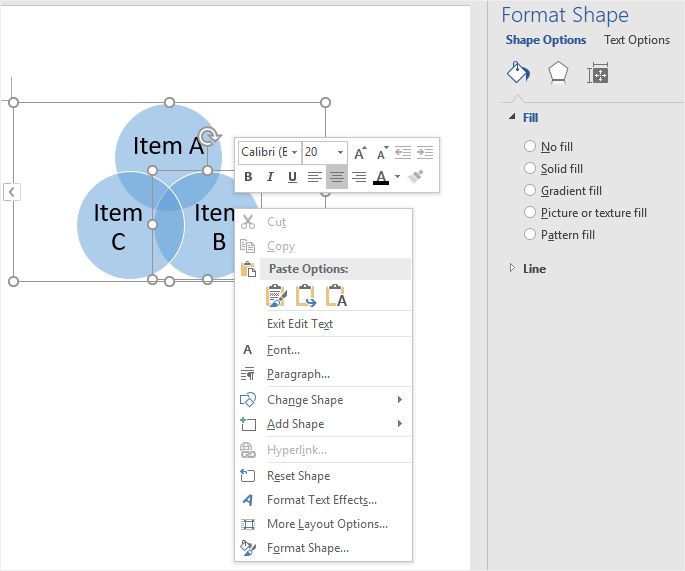
- The context menu offers other quick-edit options, like Change Shape, Add Shape, or Reset Shape.
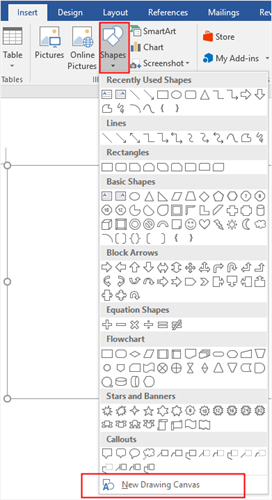
To manually add regular circles on the page, you can follow the below steps:
- Click Shape button under the Insert tab;
- Select New Drawing Canvas on the menu to add a canvas on the page;
- Pick the shape of Oval from the shape gallery;
- Draw circles on the canvas.
In addition, keep in mind that you have to increase the fill transparency of each circle in the Format Shape pane, otherwise, the overlapping proportions of circles will be invisible.
How to Make a Venn Diagram in EdrawMax
Actually, making a Venn Diagram in Word has some limitations and seems to lack flexibility. You may find it hard to align circles or add text to the intersections. Once you sign up for EdrawMax, you are able to create stunning and professional-looking Venn diagrams with little hassle.
Step 1: Pick Venn Diagram Templates
If you want to add a Venn diagram in your presentation, you’d better use a pre-made and delicate template for saving time and effort.
Open (EdrawMax Online), find Venn Diagram in the Basic Diagram menu, and you’ll see plenty of Venn diagram templates in the template gallery.

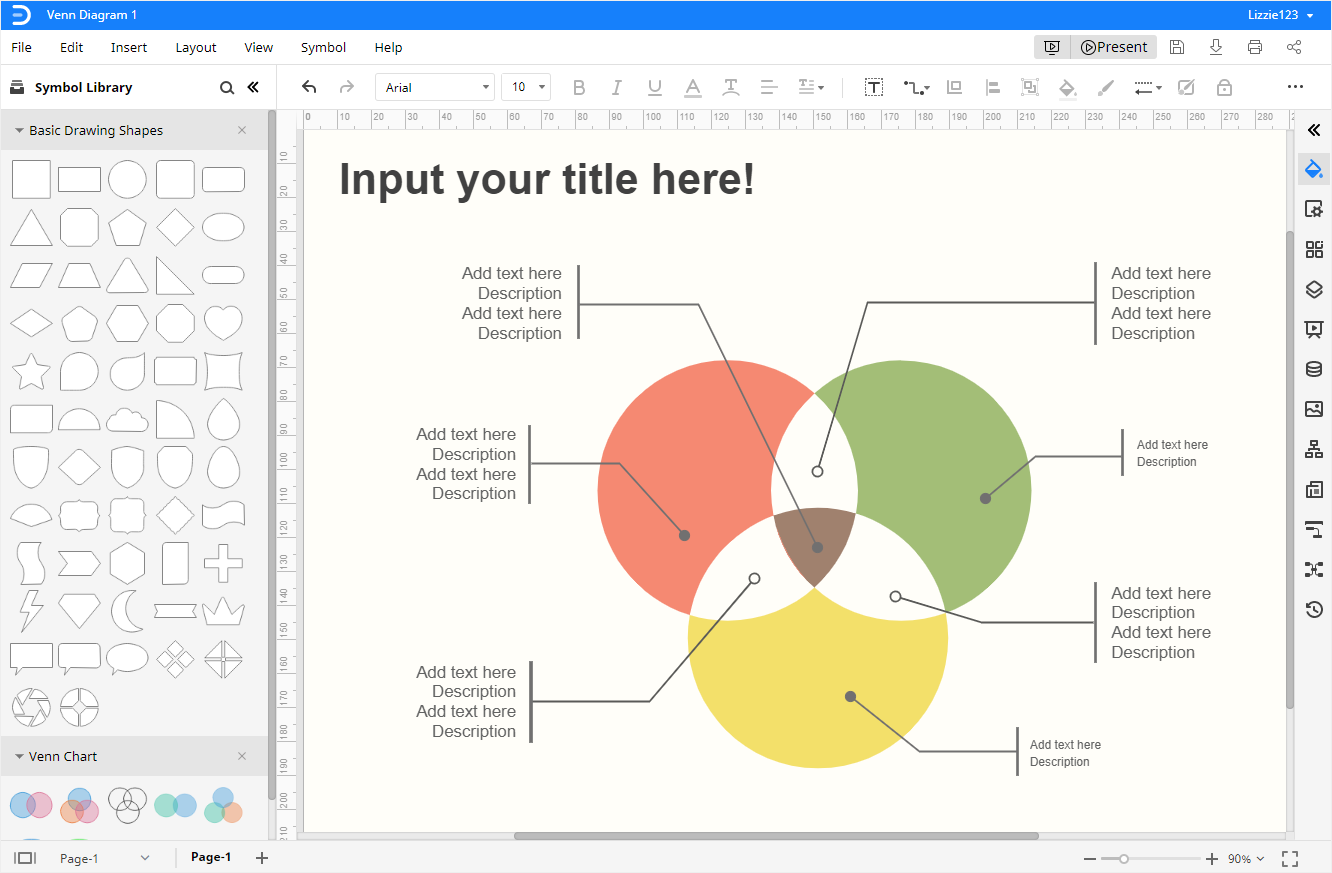
Step 2: Open a Venn Template
Pick one of the Venn diagram templates that you are going to use, click on the icon and the selected template will be opened on a new webpage. You can type or replace text or numbers on the template directly.
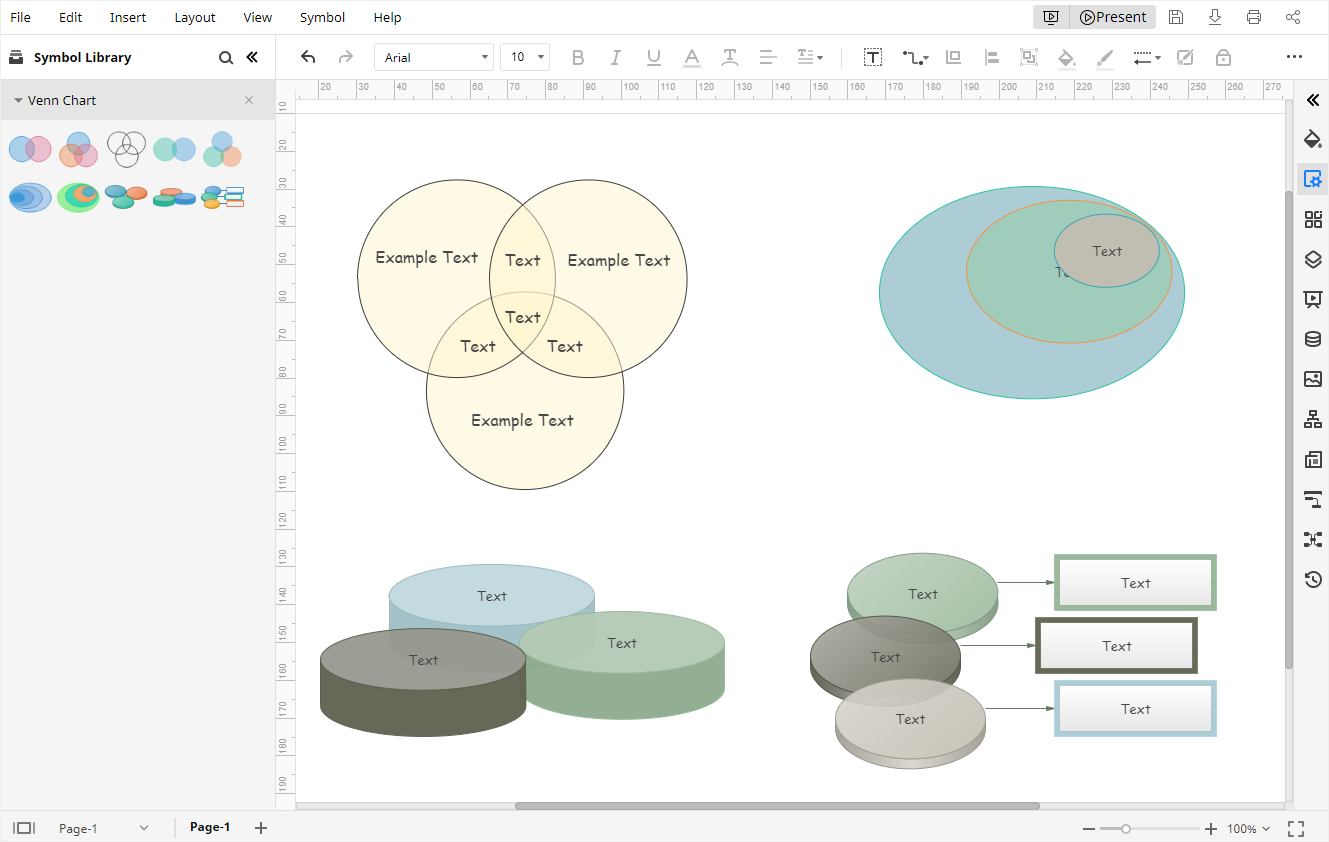
Step 3: Add Shapes Manually
Click on the Symbol Library icon ![]() to open Library dialog box, then choose Venn Chart under the Diagram category and click OK.
to open Library dialog box, then choose Venn Chart under the Diagram category and click OK.
The shapes and symbols of Venn diagrams will show up on the left Library pane. You can easily drag and drop any shape and symbol from the Library pane into the canvas.
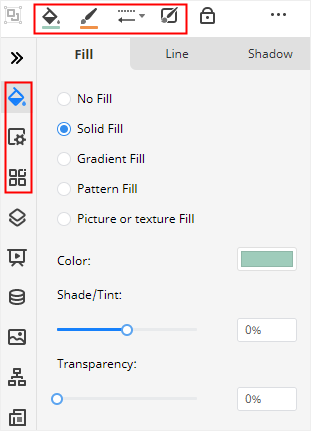
Step 4: Style Your Venn Diagram
To change the style or color of your Venn diagram in EdrawMax, you can:
- Change shape styles and colors on the Fill/Line/Shadow pane and the quick buttons on the toolbar.
- Change the background colors of the diagram on the Page Setup
- Change diagram themes or font styles on the Theme
Step 5: Present Your Venn Diagram
Click the Play button on the upper right corner, and EdrawMax will present your Venn diagram in the full-screen mode, which can help you check the display effect.

How to Save an Edraw Diagram as a Word File
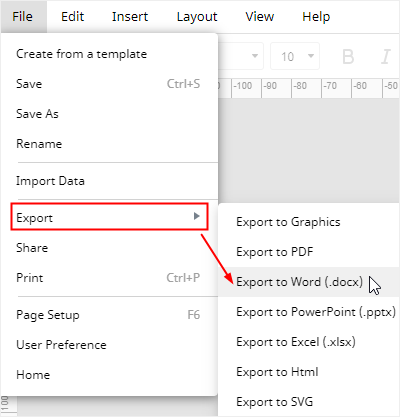
Finally, you will find it easy for users to save and export the Venn diagram in EdrawMax. Go to the File tab, click Save As and select to save your diagrams in Edraw personal cloud, Google Drive or Dropbox.
Click on Export and choose to export the file as a Word file. Moreover, all MS Office files exported from EdrawMax are editable in those programs, which will be more convenient for you to share your creations and designs with others and modify diagrams in common file formats.