A Guide to Understand Convex Lens Ray Diagram
When light rays pass through the lens, based on the position and nature of the lens, the rays change their paths. The nature of the image formation also depends on the object's placement. This phenomenon has wide usage in physics and optics. The students can use a convex lens diagram to understand the ray's path after passing through a convex lens. The students may create a convex ray diagram by hand, but the process is lengthy, and at the same time, complicated. If the students fail to place the paths of the light properly, they may end up with a faulty convex lens ray diagram. To avoid such issues, the students must use the EdrawMax Online tool, which can help them create a high-quality convex lens ray diagram.
1. The Convex Lens Ray Diagram
Lens are made of glasses or plastic with the property to refract light. The lens is used in multiple devices, including cameras, telescopes, microscopes.
Based on the refraction direction, lenses are of two types, concave and convex lens. Convex lenses have a thicker middle part when compared to their edges. When parallel light rays pass through the convex lens, they are converged to meet at a point named principal focus. While drawing a ray diagram, a vertical line with arrows that face outwards represents a convex lens. The distance between the lens and the focus is known as the focal length.

A ray diagram shows the path that the ray of light follows while passing through the lens. When the light rays go through the convex lens, the observer notices a change in its path, and the convex lens ray diagram describes this change. Based on the position of the object, the formation of the image can differ
- Object at the infinity: There will be an image formation at the focus. It will be a real image and is of a much smaller size than the object.
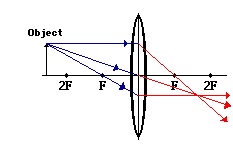
- The object behind the center of curvature: The image formation occurs between the center of curvature and the focus. The nature of the image is real, inverted and it has the same size as that of the object.
- Object at the center of curvature: In this scenario, the image forms at the other center of curvature. The nature of the image is real, and it has the same size as that of the object.
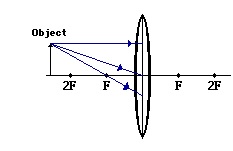
- The object between the center of curvature and focus: There is a real image formation if the object is between the center of curvature and focus. The image creation is there at a point behind the curvature. In this case, the image is enormous than that of the object.
- Object at the focus: In this case, the image obtained is real. The formation is there at infinity. It has a much bigger size when compared to the object.
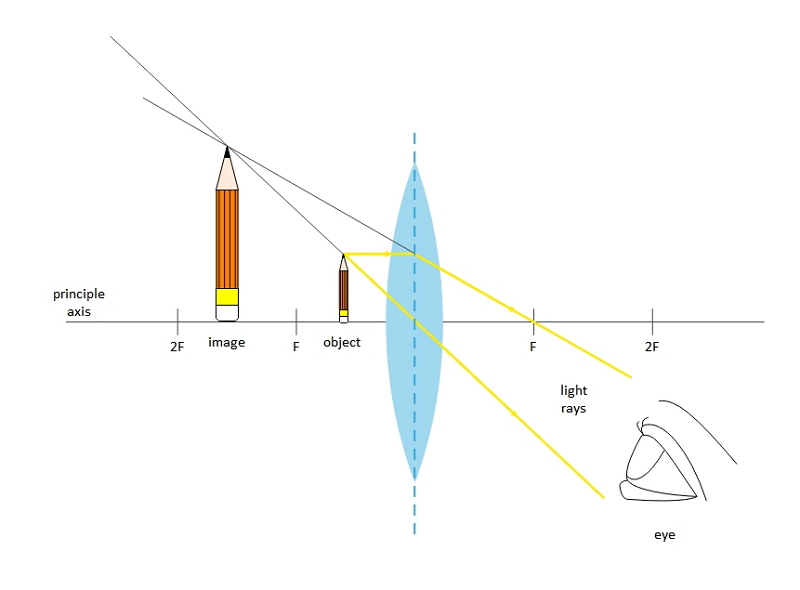
- The object between the focus and the pole: Here, the formation of the image will be virtual. Thus, it will have a much larger size than the object.
Rules of refraction for a double convex lens which determines the paths:
- If the incident ray goes parallel to the principal axis of the lens, then it will pass through the focal point of the opposite side.
- When the incident ray passes through the focus, the refracted ray is parallel to the principal axis of the lens.
- The incident ray that passes through the center of the lens does not change its path after refraction.
 Source:EdrawMax Online
2. How to Draw the Convex Lens Ray Diagram?
The students can use a convex lens ray diagram to study the changes in the path of the rays. They can create the image by hand, but the process is challenging, and the students may fail to create a high-quality diagram.
2.1 How to Create Convex Lens Ray Diagram from Sketch
They can follow these steps to make a convex lens ray diagram:
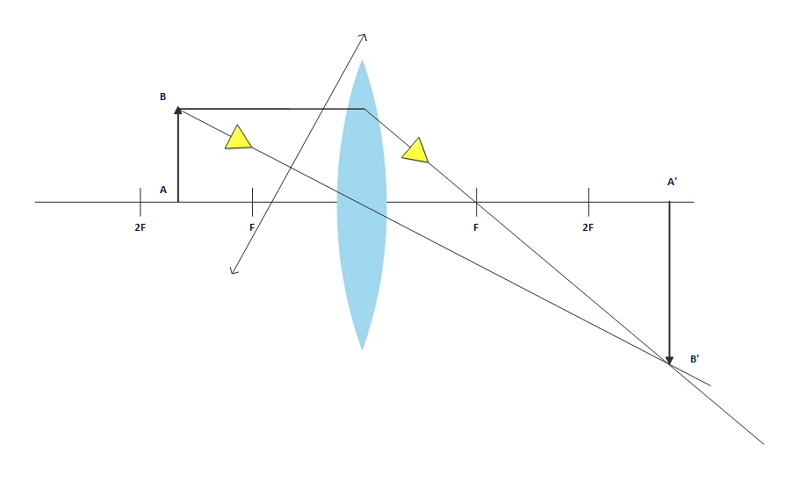
Step 1: To start with the diagram, the students should draw a convex lens and place an arrow-like object beyond the 2f distance from the lens. Now, the students need to take three incident rays from the top part of the object. These three rays will travel towards the lens, and one of them passes through the focus. The second rays pass through the lens while being parallel to the principal axis. The third one passes through the center of the lens. Arrows are drawn on them to indicate the direction they are traveling.
Step 2: When the incident rays fall on the lens, they refract. The first refracted ray passes parallel to the principal axis, and the second refracted ray passes through the focus. The third refracted ray does not change its way and goes through the center of the lens.
Step 3: Then the students need to put an upwards arrow to show the direction of light. They have to extend the lines to find the point of intersection. Now, the students need to join the intersection point to the principal axis. They can mark it as the image of the object taken.
2.2 How to Create Convex Lens Ray Diagram Online
The students may find it hard to create a convex lens ray diagram by hand. The process is time-consuming, and the students may fail to draw a good-quality convex lens image. They must use the user-friendly EdrawMax Online tool. The tool has a user-friendly interface that helps the users to work comfortably. Here are a few small steps which they can follow to create the high-quality convex lens ray diagram:
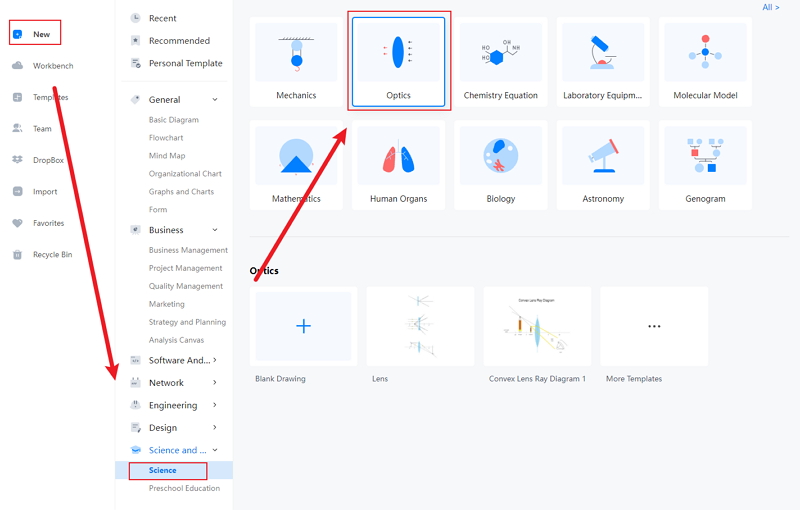
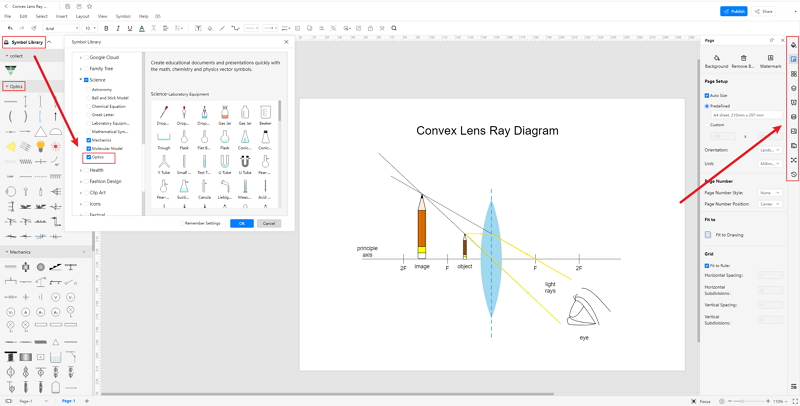
Step 1: EdrawMax Online tool is user-friendly, and this has helped it garner a user base of more than 25 million people. Over the years, it has become one of the most trusted diagramming tools in the market. To start the process, the students have to open the EdrawMax Online tool. Then they need to open New. The students can find the Science and Education section in this option.

Step 2: The students can click on the Science and Education tab to find multiple images which they can use for their lesson. The tool has several high-quality editable templates and diagrams. These are suitable for assignments and projects. The students have to click on the Physics tab to find the convex lens ray diagram.
Step 3: Once the student has found the diagram they require; they can modify it as per their choice without much hassle. They can make it perfect for their lessons and dissertation papers.
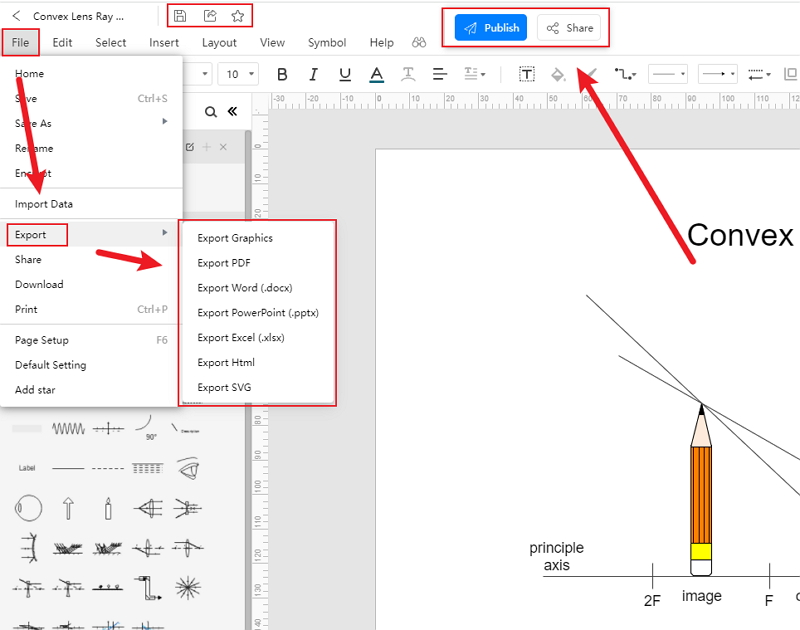
Step 4: After the editing process, they can save the diagram in multiple file-formats of their choice. They can also export it for future use. The students can work from anywhere without any difficulty.
3. The Applications of Lenses
Lenses have wide usage in different optical devices like microscopes, telescopes, cameras, and more. Here are a few applications of the lenses
Magnifying glass: Magnifying glasses also use convex lenses so that the image of the object appears enormous. Thus, the object should be at a distance lesser than the focal length of the lens. An upright, virtual, and magnified image formation is there in this case.
Both convex and concave lenses are there to treat eyes with defects in vision:
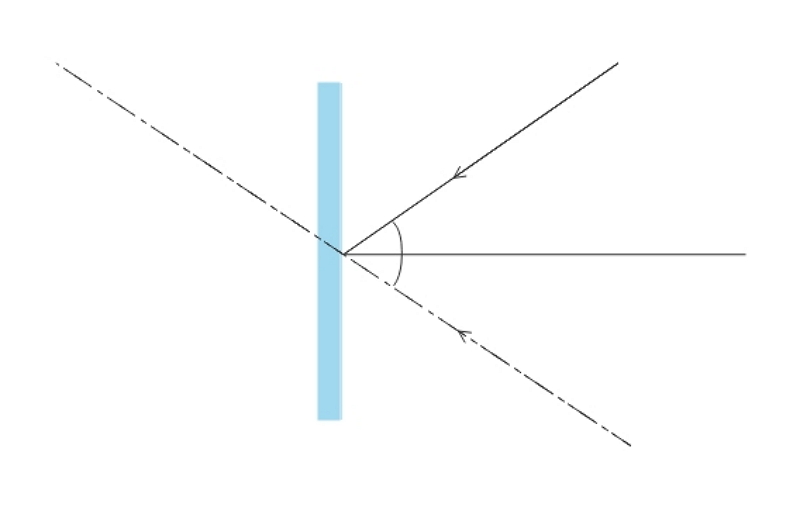
Correcting short-sightedness: The people who are short-sighted cannot aptly see the things that are far away. The light rays touching their eyes get refracted and are brought to focus before reaching the retina to create a clear image. These people can see things near them. To treat this defect of vision, ophthalmologists use concave lenses.
 Source:EdrawMax Online
Correcting long-sightedness: Some people can see far objects clearly but have difficulties looking at those present nearby. In this case, the light rays touching the eyes get refracted and reach the focus before getting to the retina. Therefore, they fail to see the objects that are present near them. Convex lenses are there to correct the long-sightedness in a person.
 Source:EdrawMax Online
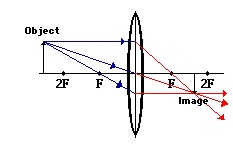
Camera: Cameras contain convex lenses, and the object is placed at a distance more than twice the focal length of the lens, which creates a diminished, inverted, and real image on the screen.
 Source:EdrawMax Online
4. Conclusion
The convex lens ray diagrams give people an idea about the position of the image and the object. The students can also have ideas about the nature of the lens. They can also know how the light rays experience a change in path due to a convex lens's presence there.
People can use the convex lens ray diagram to understand the nature, size, and image position. But, it is difficult for the students to create by hand. The student must use the EdrawMax Online tool. It can help people make a high-quality convex lens ray diagram. They can use it for their projects, lessons, or dissertation papers.
In conclusion, EdrawMax Online is a quick-start diagramming tool, which is easier to make convex lens ray diagram and any 280 types of diagrams. Also, it contains substantial built-in templates that you can use for free, or share your science diagrams with others in our template community.
Related Articles


