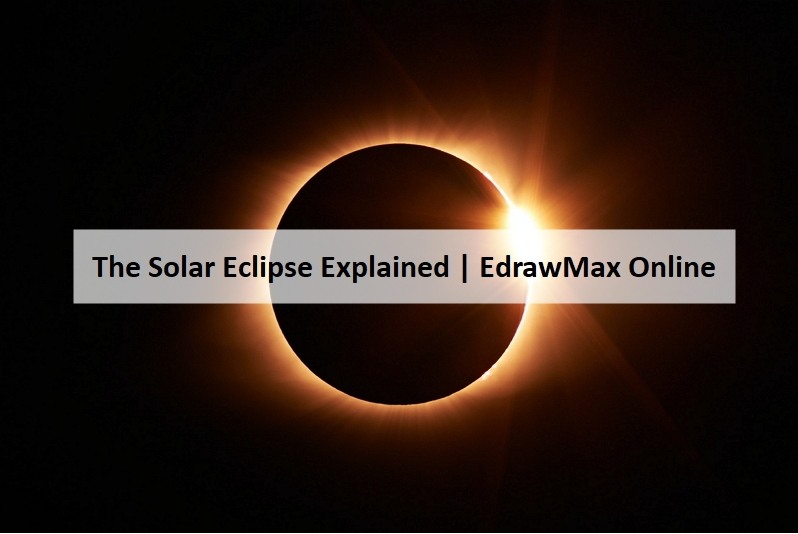
A Guide to understanding Solar Eclipse with Diagram
An eclipse is a significant event for scientists as they get a chance to know about the sun's corona or regions. At the same time, a student must learn about the solar eclipse to garner knowledge about the motion of the earth, the sun, and the moon. They can use a solar eclipse diagram to study the solar eclipse. It is hard to create a solar eclipse map by hand. Hence, the students must use the EdrawMax Online tool. This user-friendly tool can help them to generate a high-quality image.
1. The Solar Eclipse
Solar eclipse is a phenomenon that occurs when the sun gets out of the vision of people on earth due to the moon's position. When the sun, earth, and moon are aligned, the moon's shadow partially blocks the sun, which is the reason behind the solar eclipse.
1.1 The Classification of Solar Eclipse
There are four types of the solar eclipse. They are:
- Total eclipse:
- Annular eclipse:
- Hybrid eclipse:
- Partial eclipse:
The total eclipse occurs when the new moon comes in a position between the earth and the sun. The dark shadow of the moon blocks out the sun from the sight of the people of earth.
In an annular eclipse, the moon covers the center and the sun's edges to form the "ring of fire." As the earth rotates on its axis around the sun and the moon revolves around the earth, the eclipse area changes slightly. The ring that forms because of the shadow is the reason behind the name, annular eclipse.
Hybrid solar eclipses are comparatively rare, and it occurs when there is a shift from the total solar eclipse to the annular solar eclipse. From some areas, people can see the total eclipse. While from some others, people can observe the annular eclipse.
In a partial eclipse, the moon stays between the sun and the earth while casting a shadow, partially covering the sun. During the partial eclipse, the moon, earth, and sun come in a perfectly straight line.
1.2 The Solar Eclipse Explained
Moon's phases: The moon takes about 29 and a half days to complete a revolution in its orbit around the earth. With the changing position of the moon and the earth, the reflection of sunlight also changes. Thus, people can witness the multiple phases of the moon. They are:
New moon, New crescent, First quarter, waxing gibbous, full moon, waning gibbous, last quarter, old crescent, and then again the new moon.
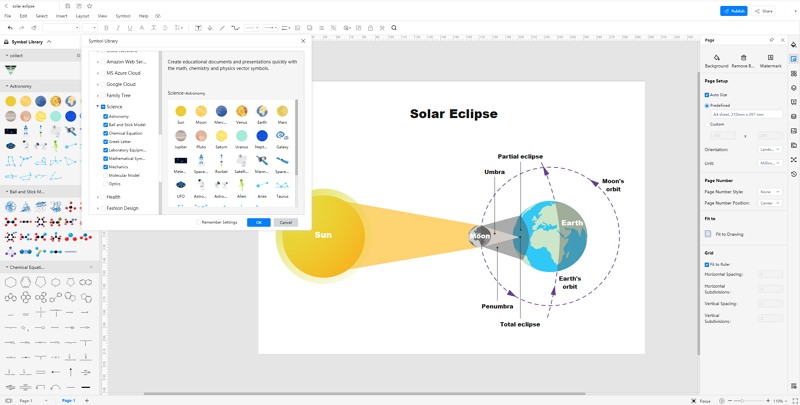
Moon's shadows: There are two parts of the moon's shadow during a solar eclipse, they are:
- Umbra: The inner part of the moon's show is dark, and this part is known as the umbra. The umbra shadow region witnesses a total solar eclipse.
- Penumbra: There is a faint shadow at the outer part during the eclipse called the penumbra. The people of this region see a partial eclipse.
- Solar eclipse path: One can observe a total solar eclipse from the place where the moon's umbral shadow lies on the earth's surface. The path of the moon's umbral shadow is called the path of totality. It can fall anywhere on the earth.
- Totality: Total solar eclipse is rare and lasts only for a few minutes. Suddenly it grows dark like twilight, and then gradually, the shadow removes. However, not all solar eclipses are total solar eclipses, and many of them are annular or partial solar eclipses.
 Source:EdrawMax Online
2. How to Draw the Solar Eclipse Diagram?
To learn how the position of the sun, earth, and the moon can be the reason for the solar eclipse, the students must use a solar eclipse diagram. It is complicated and time-consuming to create a solar eclipse diagram by hand.
2.1 How to Create Solar Eclipse from Sketch
If a student wishes to make a solar eclipse diagram by hand, they can follow the few simple steps:
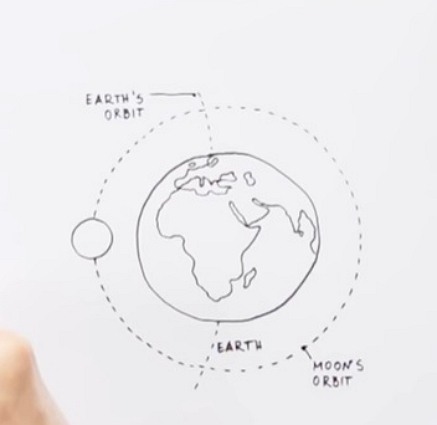
Step 1: To start with the solar eclipse diagram, the students need to draw a big circle on the left side of the page. Now create a slightly bigger one on the right side of the page. The left circle represents the sun, while the right one represents the earth. Now, they need to make a small circle nearest to the right-hand one in a position so that they are in an aligned line.
Step 2: After that, the students need to draw land formations like that on the map with blue and green. They can color the sun yellow. Now there is a dotted line drawn around the earth to form the orbit of the moon. Now create two more dotted arcs from the top and bottom of the earth, representing its orbit.
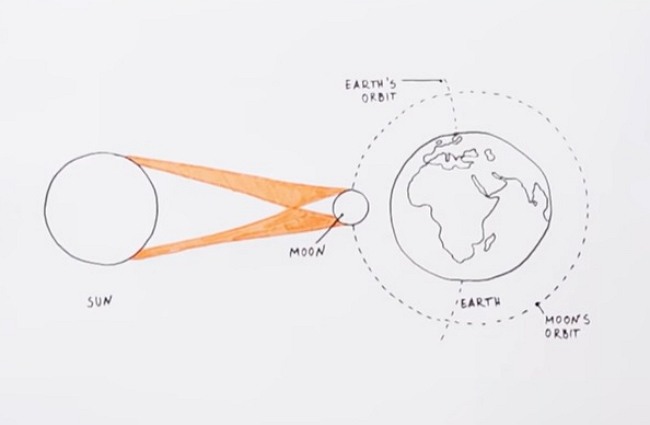
Step 3: The students need to take an orange pen and connect the top of the sun and the moon. On the other hand, join the bottom of the sun to the bottom of the moon. Again, connect the top of the sun to the bottom of the moon. Now, join the bottom of the sun to the top of the moon.
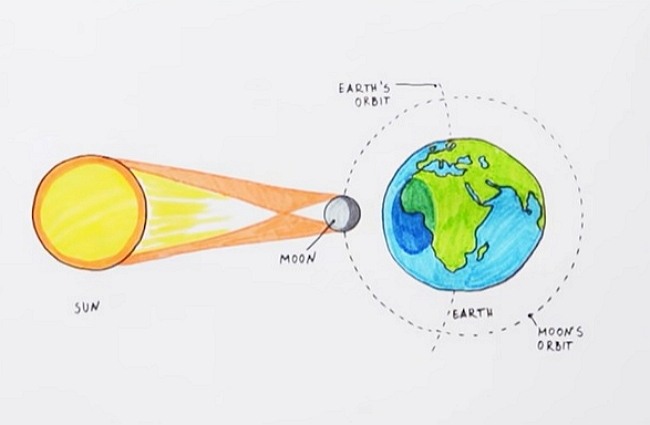
Step 4: The moon's face near the sun is colored light grey, and the slice, near the earth, should be dark gray. Join the top of the moon with a straight line connecting the earth. Now, join the bottom of the moon to the earth with a straight line. These two lines form a tiny shadow on the same. This part of the earth witnesses a complete solar eclipse.
2.2 How to Create Solar Eclipse Online
It is challenging to create a solar eclipse diagram by hand. The students may fail to generate a satisfactory result. Thus, they must use the EdrawMax Online tool, which can help them create a high-quality solar eclipse diagram. For that, they need to follow a few simple steps
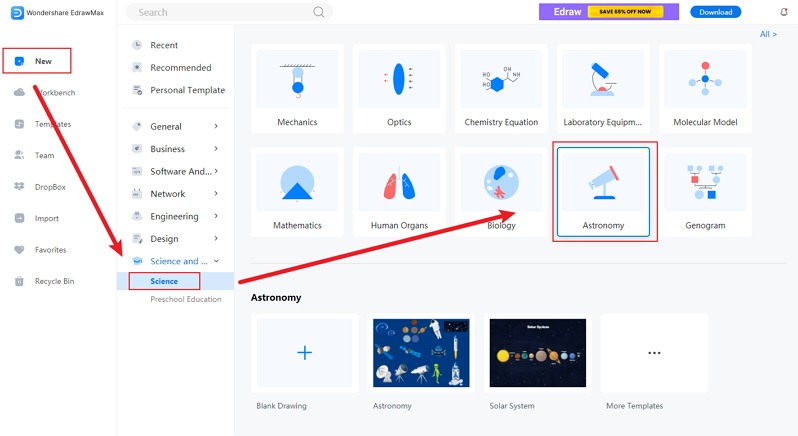
Step 1: The students need to open the EdrawMax Online tool to start with the process. The free moon maker softwre comes with predefined templates that ease down the process. Then they have to open ‘New’. Here, they can find the Science and Education option. Under this option, they can find multiple Science and Education related diagrams or predefined templates, which they can use for their lessons.

Step 2: To get the solar eclipse diagram, they need to select the ‘Astronomy’ section. Students can choose the solar eclipse diagram and then customize it according to their requirements.
Step 3: After selecting the template they require, the students should modify it as per their choice. The tool gives the students some hassle-free options to edit their diagrams. They can work on those images according to their preference to create a high-quality solar eclipse image.
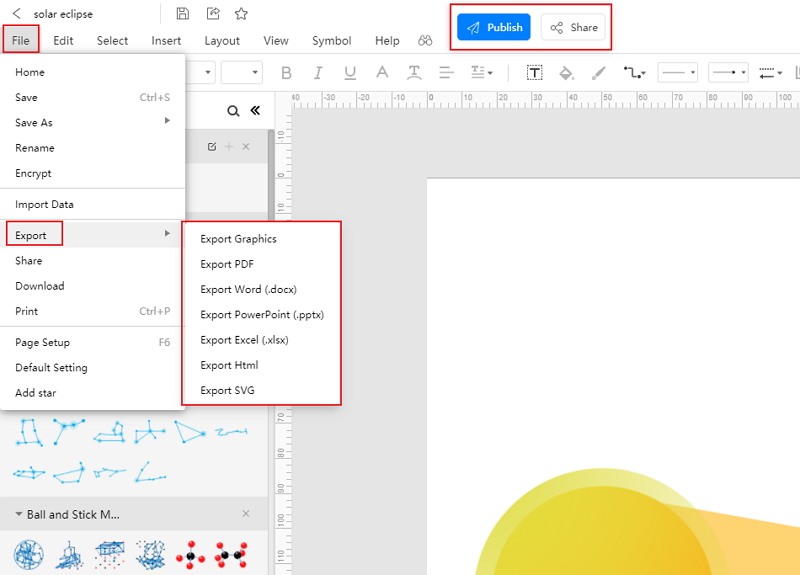
Step 4: Once the student completes their solar eclipse diagram, they need to save it in multiple file formats, like JPEG, PNG, PDF, or HTML. They can also export the same to use in their lessons and projects.
3. Solar Eclipse for Kids
Here are some fun facts on solar eclipse for kids:
- Though a solar eclipse is visible from the earth, it is best to use a pinhole camera or solar filter to avoid getting blind while observing the solar eclipse.
- During a total solar eclipse, it suddenly gets dark during the daytime.
- The moon's shadow during an eclipse has three main parts, umbra, antumbra, and penumbra.
- A solar eclipse is not visible from every place but only from the areas of the earth where the moon's shadow falls.
4. Conclusion
The students must know about the solar eclipse to have an apt idea about the position of the sun, earth, and the moon and their motions. To study solar eclipse, the students can use a solar eclipse diagram. It is tough and time-consuming to draw a solar eclipse diagram by hand. Therefore, a student must use the EdrawMax Online tool to create a high-quality solar eclipse diagram.
In conclusion, EdrawMax Online is a quick-start diagramming tool, which is easier to make artery and vein diagram and any 280 types of diagrams. Also, it contains substantial built-in templates that you can use for free, or share your science diagrams with others in our template community.
Related Articles


