How to Make a Flyer on Google Docs
1. How to Make a Flyer in Google Docs
A flyer is a single unfolded page that usually contains an advertisement about a product, a company, or an institution. You can make it attractive using different templates readily available on Google Docs.
Making a flyer for your company or products is easy. Often users prefer Google Docs to create it. Follow the simple steps described below. So, here is Step by step description of how to create your flyer on Google Docs:
Step 1: Open Google Docs
You need to have a Google account to use Google Docs. Once you have created an account in Google, go to https://docs.google.com and open the same.
Step 2: Choose Your Desired Flyer Template
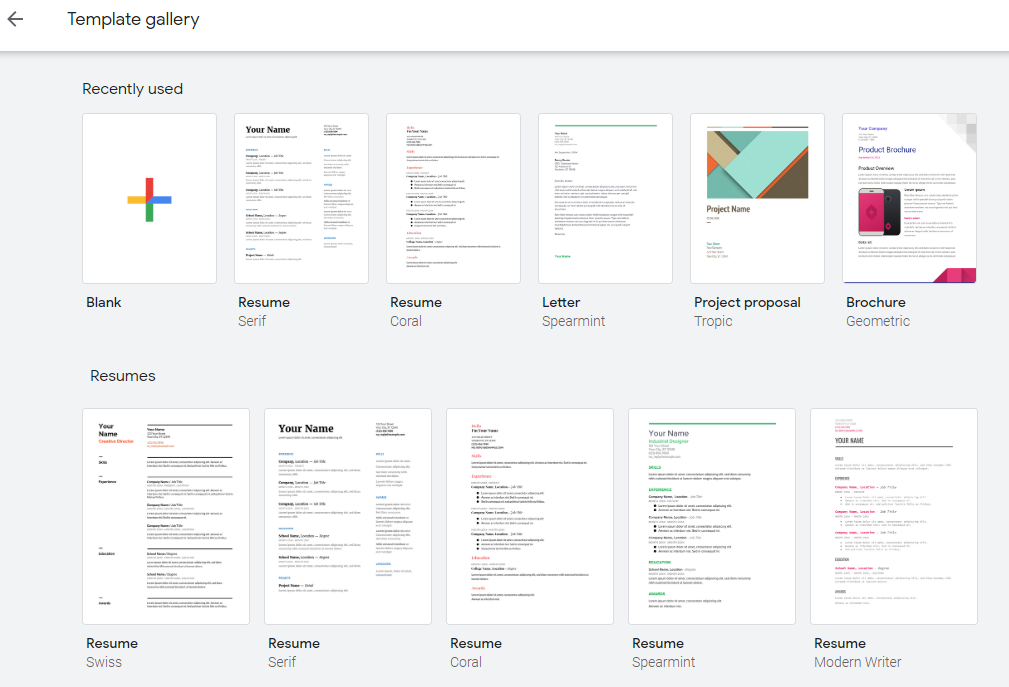
To make a flyer on Google Docs, you have to log in first. After you have logged in, go to template gallery preview. Here you can preview all templates. Once you have clicked on it, you will find many pre-made templates for flyers. From here, you can choose the one best suited for your purpose.
Step 3: Edit the Flyer
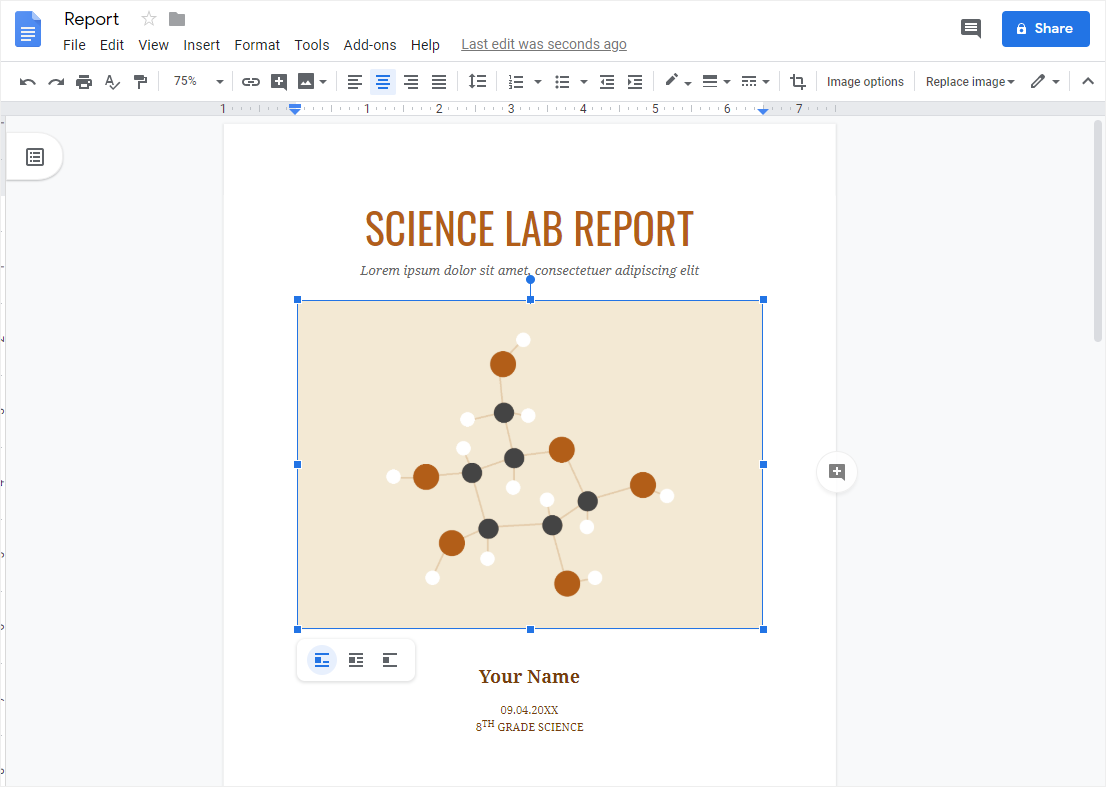
After you select a new flyer, the template opens to Google editor. The editor now helps you change the title, text, and styles using the formatting tool.
Step 4: Create and Edit the Custom Flyer
After making the necessary changes using the formatting tools, you can create a custom flyer, which will give you an idea about your flyer's look. Once you have edited the content, you get the desired flyer for your product or company.
A flyer is an effective medium that helps you advertise your product and services. It would contain the necessary information regarding why the prospective client might choose your brand. Follow the steps mentioned, and create your flyer on Google Docs without much time or effort.
1.1 Advantages of Making Flyers in Google Docs
In the last couple of years, Google Docs has become an overall writing tool that helps college students study online. There are some great advantages of making flyers or fliers on Google Docs, for instance:
- With Google Docs, you can import all the high-definition images and resize them as you wish.
- Since Google Docs works completely online, remote collaboration is extremely easy.
- All the flyer designs are saved in your personal Google Drive, making them accessible on almost all of your logged-in devices.
1.2 The Disadvantages of making Flyers in Google Docs
Even though Google Docs has several great features, it does not have certain limitations. Here are some of the disadvantages of making flyers on Google Docs:
- Flyers require extensive customization, graphics, and other diagram elements. If you are using Google Docs, you will have to install third-party add-ons to access such features.
- Unfortunately, Google Docs does not allow users to track the flyer design regarding viewer engagement levels.
- Google Docs does not provide rich media options.
- Little to no free flyer templates
1.3 Tips for Making Flyers in Google Docs
There are certain tips, if followed, will improve your overall experience of making flyers on Google Docs, like:
- Enable the offline accessibility feature in advance to make the flyer offline in Google Docs.
- Since you are limited to your browser's capabilities, ensure that you select the right media elements while making the flyer designs.
- If you are working as a part of a team, ensure you give your team members the right access to the flyer design.
2. How to Make a Flyer Chart Online Easier
There is a tool EdrawMax Online that shorten your time to create a flyer online easier. Also, it contains substantial flyer templates in product and template community that you can use immediately and create chart without efforts.
On EdrawMax Online, you can find thousands of readily available templates and design components to create all kinds of diagrams. The best part is that EdrawMax Online can also be accessed online, letting you work seamlessly on any platform. With simple drag and drop options, you can also create visually appealing flyers via EdrawMax Online in the following way:
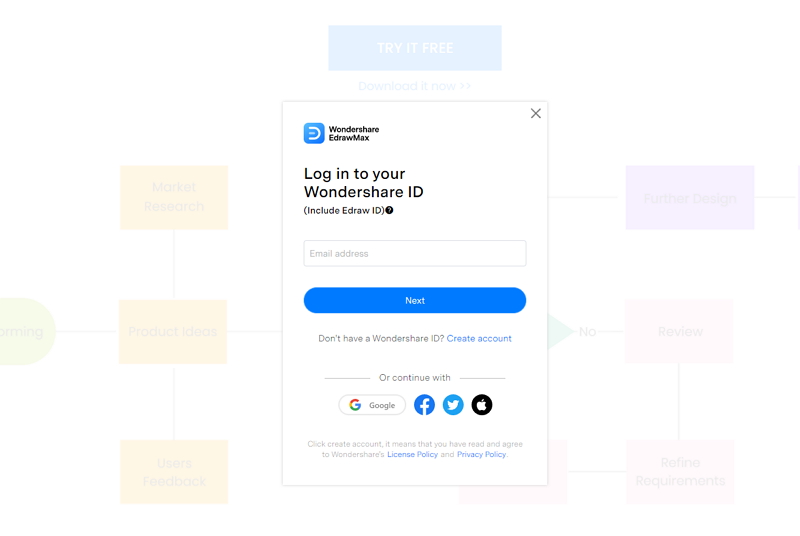
Step 1: Sign In EdrawMax Online
First of all, you need to login to your EdrawMax Online account. If you haven't used EdrawMax Online before, you can sign up for a free account with your email address. Then you can use EdrawMax Online for free.
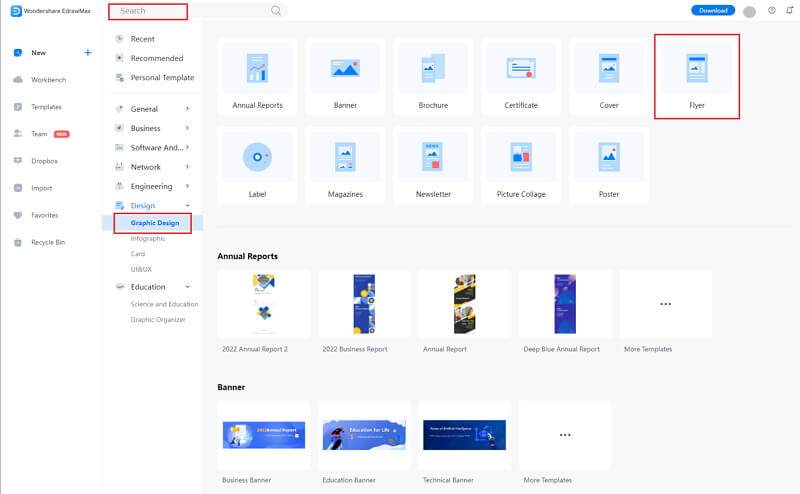
Step 2: Find Flyer Templates
Now, to make a Flyer, you need to open the Flyer section. Click on the Design section and click the Graphic Design tab from menu. In the Graphic Design section, you will see Flyer among other options. You can see the pre-made flyer templates in the interface.
Step 3: Select the Flyer Symbols & Icons
When you click the large + sign, the editor window will open. You need to find flyer symbols from the Symbol Library.
Click the Symbol Library option on the top left side of the editor window. Next, a dialogue box will open. From the dialogue box, go to the Design menu. A dropdown menu for business symbol categories will appear. Then, mark the flyer tab from the dropdown menu. Then, click the OK button to import the flyer chart symbols in the editor window.
Or you can search the flyer from the Symbol Library. Then, select this option, it will appear on the left side toolbar.

Step 4: Add More Details to Complete
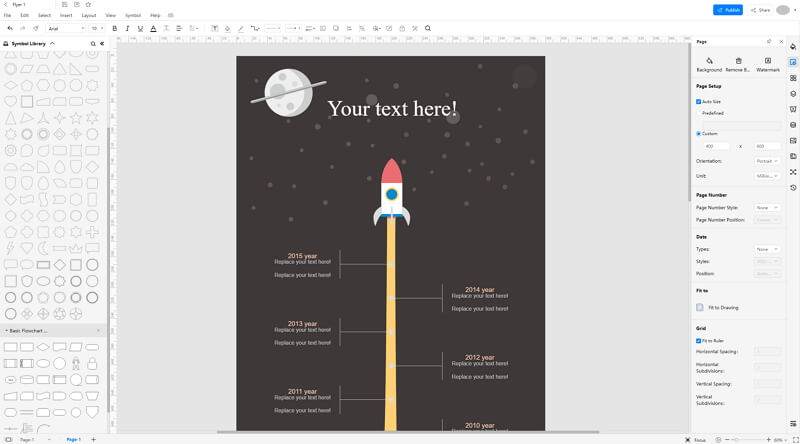
When you select a template, it will open in the EdrawMax editor. You'll be able to edit the template in the editor. The template will revamp in the editor, as shown in the picture below. You can edit the content from the editing options. Click the placeholder text in the template and replace it with your choice. You can also change the font color, size, and style.
Moreover, you can add images, tables, charts, QR codes, and even graphs to your flyer. EdrawMax also allows you to edit the background and add watermarks. There are many other editing options available on EdrawMax Online, which supports you to customize the flyer to fit your needs adequately.
Step 5: Export Flyer as Google Docs
When you finish editing the template or create your flyer in EdrawMax Online, you can save it on your desktop for printing. Follow the steps to save your flyer in different formats.
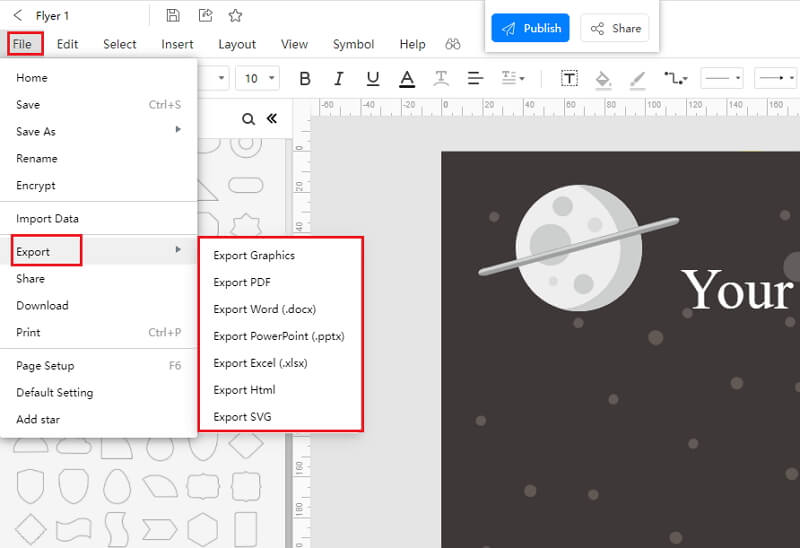
Click on File in the top left corner, from the drop-down menu select Export. From the Export menu, select Export to Word (.docx), and your Edraw flyer will be saved as a Google docs file to your computer. You can also export your files to cloud services like Dropbox on EdrawMax Online.
Here is a detailed flyer guide in EdrawMax Online that you can accord to its steps and make flyers with ease.
2.1 The Advantages of Making Flyer in EdrawMax Online
Compared with Google Docs, there are many advantages that making flyers in EdrawMax Online:
- EdrawMax Online supports to make flyers online, and will be automatically saved, which means you could make flyers in any where at any time.
- EdrawMax Online has a powerful Template Community, that you can find inspirations from thousands of templates made by Edraw users.
- EdrawMax Online supports to export and import multiple file formats, which ensures that you can make continue your work from other platform to EdrawMax Online, or you can export your flyer from EdrawMax Online, and attached to other files.
- Or even you can showoff your flyers with others by using Presentation Mode, and share to your social media or Email.
2.2 The Disadvantages of Making flyer chart Chart in EdrawMax Online
Even though there are some advantages of using EdrawMax Online as the tool to create your flyer, certain limitations affect the overall quality of the project. For instance:
- EdrawMax Online contains limited flyer related symbols, but you can create your symbols in EdrawMax Online and save them for the use of next time.
2.3 Tips for Making Flyer in EdrawMax Online
Creating flyers in EdrawMax Online could be easier thing than making in Google Docs, since there are resources and powerful export function.
- Choose a built-in template from Template Community to start quickly.
- Use powerful toolbars on the right and left sides of canvas to make your flyers more stunning.
- Export your flyer chart charts in mulitple formats to meet your needs, or share to your social media, email, and print it out.
3. Google Docs Flyer Templates
The followings are the flyer chart charts PowerPoint templates, you can refer to them, or even use them immediately with ease.
Google Docs Flyer Template
It's a poster for an expo flyer. It includes a template for promoting an expo event with the purpose of discovering new business prospects. It features an image that is useful in attracting the attention of the audience and getting the required message over quickly. It also includes text holders for the title, date, avenue, and website. It's simple to use and a good prefacer for business. Businesses can use it to promote an event.

Source:EdrawMax Online
Free Flyer Template
Using tools like EdrawMax or EdrawMax Online, you may make free football game flyers, posters, and social media images. A flyer is a handbill or advertising leaflet that is distributed to passers-by. A flyer is a single, unfurled printed sheet that is used to bring attention to an event, service, product, or idea, as demonstrated in the football game example.
The goal of a football flyer is to entice potential athletes to respond to a specific call to action. Your goal, like with any sales and marketing activities, is to help your target understand that they have an issue that needs to be solved, and to show them how your football game is better than the competition or where the football game will take them.

Source:EdrawMax Online
Sales Flyer Template
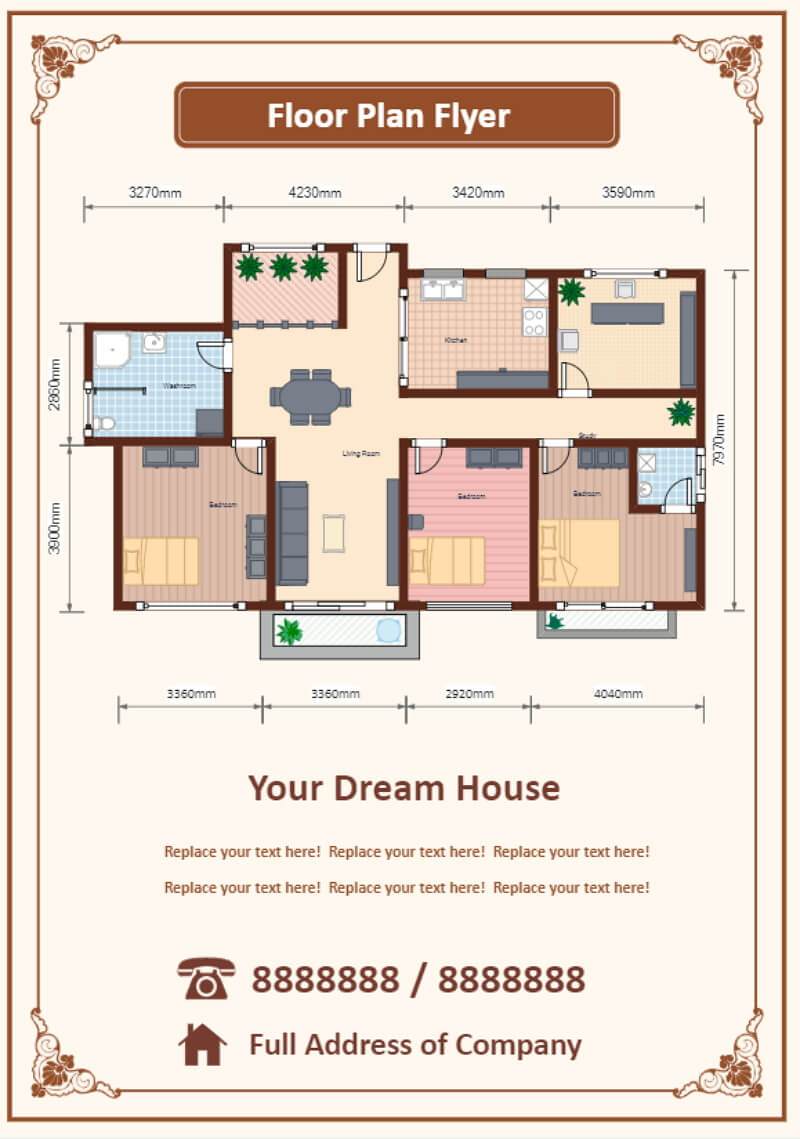
A flyer is a handbill or advertising leaflet that is distributed to passers-by. A flyer is a single, unfolded printed page that is intended to bring attention to an event, service, product, or idea, as seen in the floor plan flyer example. A floor plan flyer should have an exceptional eye-catching image of a floor plan as well as the dimensions of the entire house, highlighting the size of the bedroom, bathroom, and how much gardening space is available.
With EdrawMax Online, you can also create real estate flyers for your professional usage. The connecting person's data, including name and phone number, should be clearly stated at the bottom of the floor plan flyer.
Source: EdrawMax Online
4. Free Online Flyer Maker
EdrawMax Online is a free online flyer maker comes with over 26,000 design symbols, letting you customize the flyer's design in the best way possible. If you cannot find the right symbol in the symbol library, you can easily create or import the images from your drive or system. With EdrawMax Online, creating flyers for your college or business is a walk in the park because of the extensive template community.
- There are thousands of design elements in EdrawMax Online that can help you create 280+ different types of diagrams.
- You can also browse its extensive range of templates in EdrawMax Template Communityand can readily customize them as per your requirements.
- EdrawMax Online is a free cross-platform tool that you can access on any browser and use without any prior designing experience.
- There are dedicated features to customize your diagrams and export them in numerous formats like PNG, PDF, TIFF, SVG, and more.
EdrawMax Online has a vector-based dashboard, allowing you to not worry about formatting or detailing while creating the intrinsic features of your flyer. In addition to this, you can export your flyer designs into multiple formats without losing any data. EdrawMax Online also lets you update or modify the background, resize the image, and more.
5. Key Takeaways
As we saw here, making a flyer on Google Docs is easy, but it comes with restrictions as you cannot access the tool offline. To edit or customize your flyer, you should have a good internet connection. Unlike Google Docs, EdrawMax Online works both offline and online, allowing you to create your flyer designs on the go!
EdrawMax Online also comes with tons of flyer templates that make it extremely easy for beginners to play around and create eye-catching designs. With EdrawMax Online, you do not have to use a different tool to present the flyer ideas. The built-in presentation feature allows you to share your flyer design remotely with your team members.