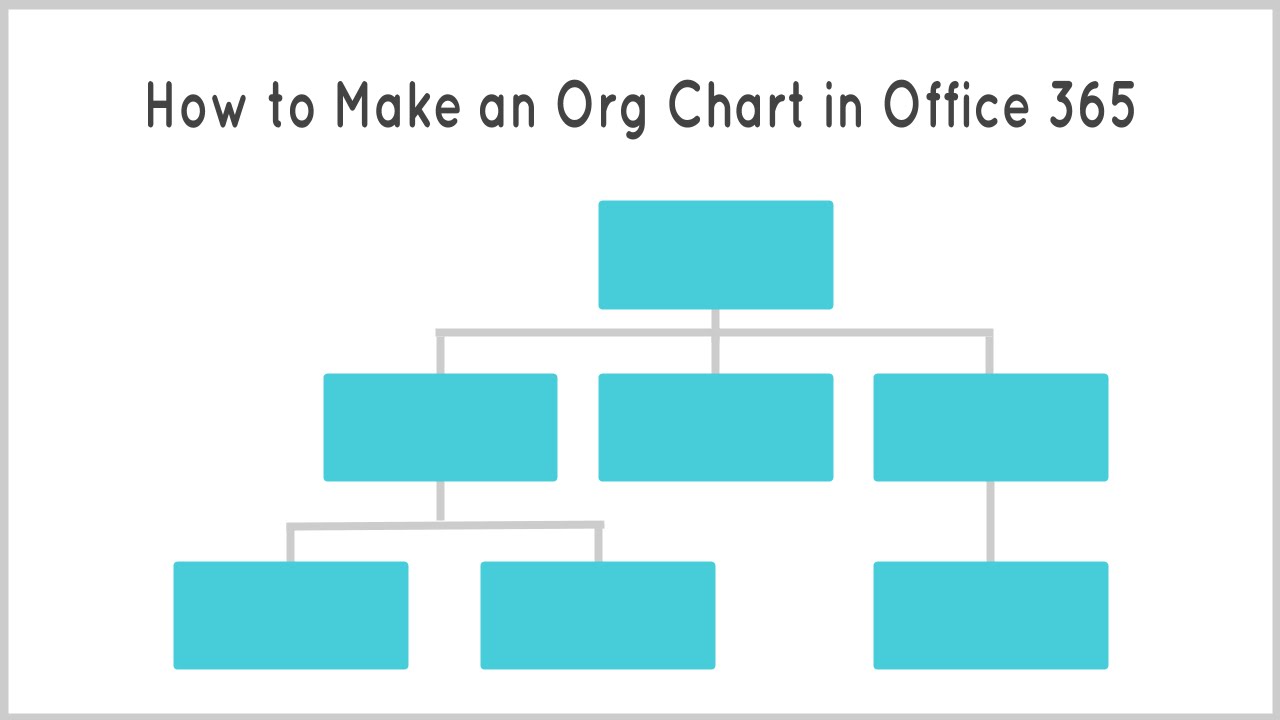
How to Create a Microsoft Office 365 Organization Chart?
Read through this article to get familiar with different ways to create a Microsoft Office 365 organization chart.
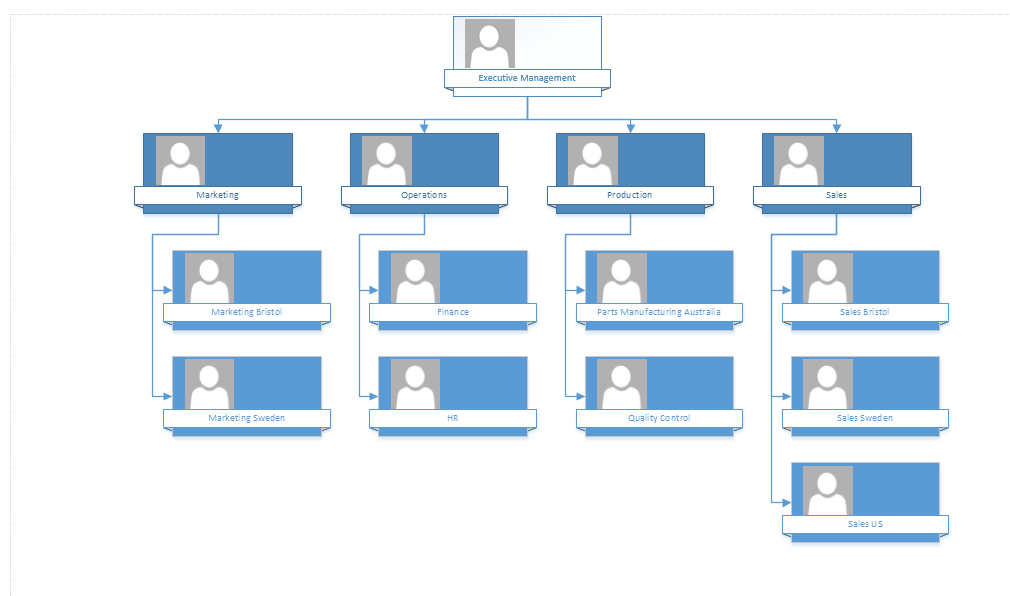
If you have recently joined a company and don't know how it operates and how different employees are connected to each other. This is where an organizational chart plays a crucial role. Along with displaying the chain of command, an org chart helps you understand formal relationships and the hierarchy of the organization.
Hundreds of tools are available in the market to create org charts. Some of them are free, whereas many utilities are paid. You can't trust random software. However, Microsoft Office 365 has launched different applications to make organizational charts. This guide presents how you can create your org chart in different ways. Let's get into the specifics.
1. 4 Ways to Create an Org Chart with Microsoft Office 365
You can not only create new organizational charts with Microsoft Office 365, but it also helps you upgrade the existing ones. For this, a number of Microsoft applications, like Word, PowerPoint, Excel, and Visio, are readily accessible. You can try any of them to get this job done. Let's look at how each application lends you a helping hand.
1.1 Creating an Organizational Chart in MS Word
Making an org chart with MS Word may not be a commonly used way, but it enables you to create basic diagrams to present the hierarchy of a company or organization. This app allows you to customize and edit your chart to a certain extent. The final diagram gives an elegant look if you customize it well by using different font sizes, styles, and colors.
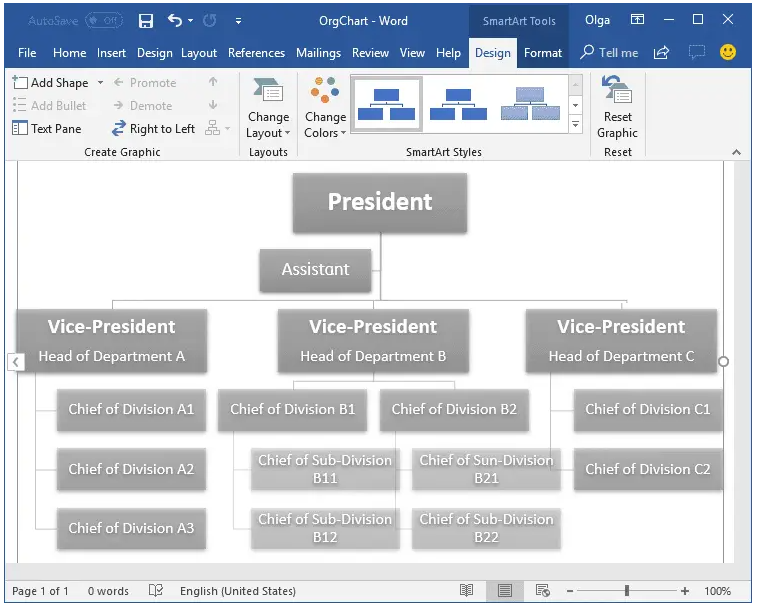
A Step-By-Step Guide to Creating an Org Chart with MS Word
It is a simple, 5-step process, as listed below.
- Step 1: Go to the top menu and tap on the "Insert" tab.
- Step 2: Now, choose the "SmartArt" option.
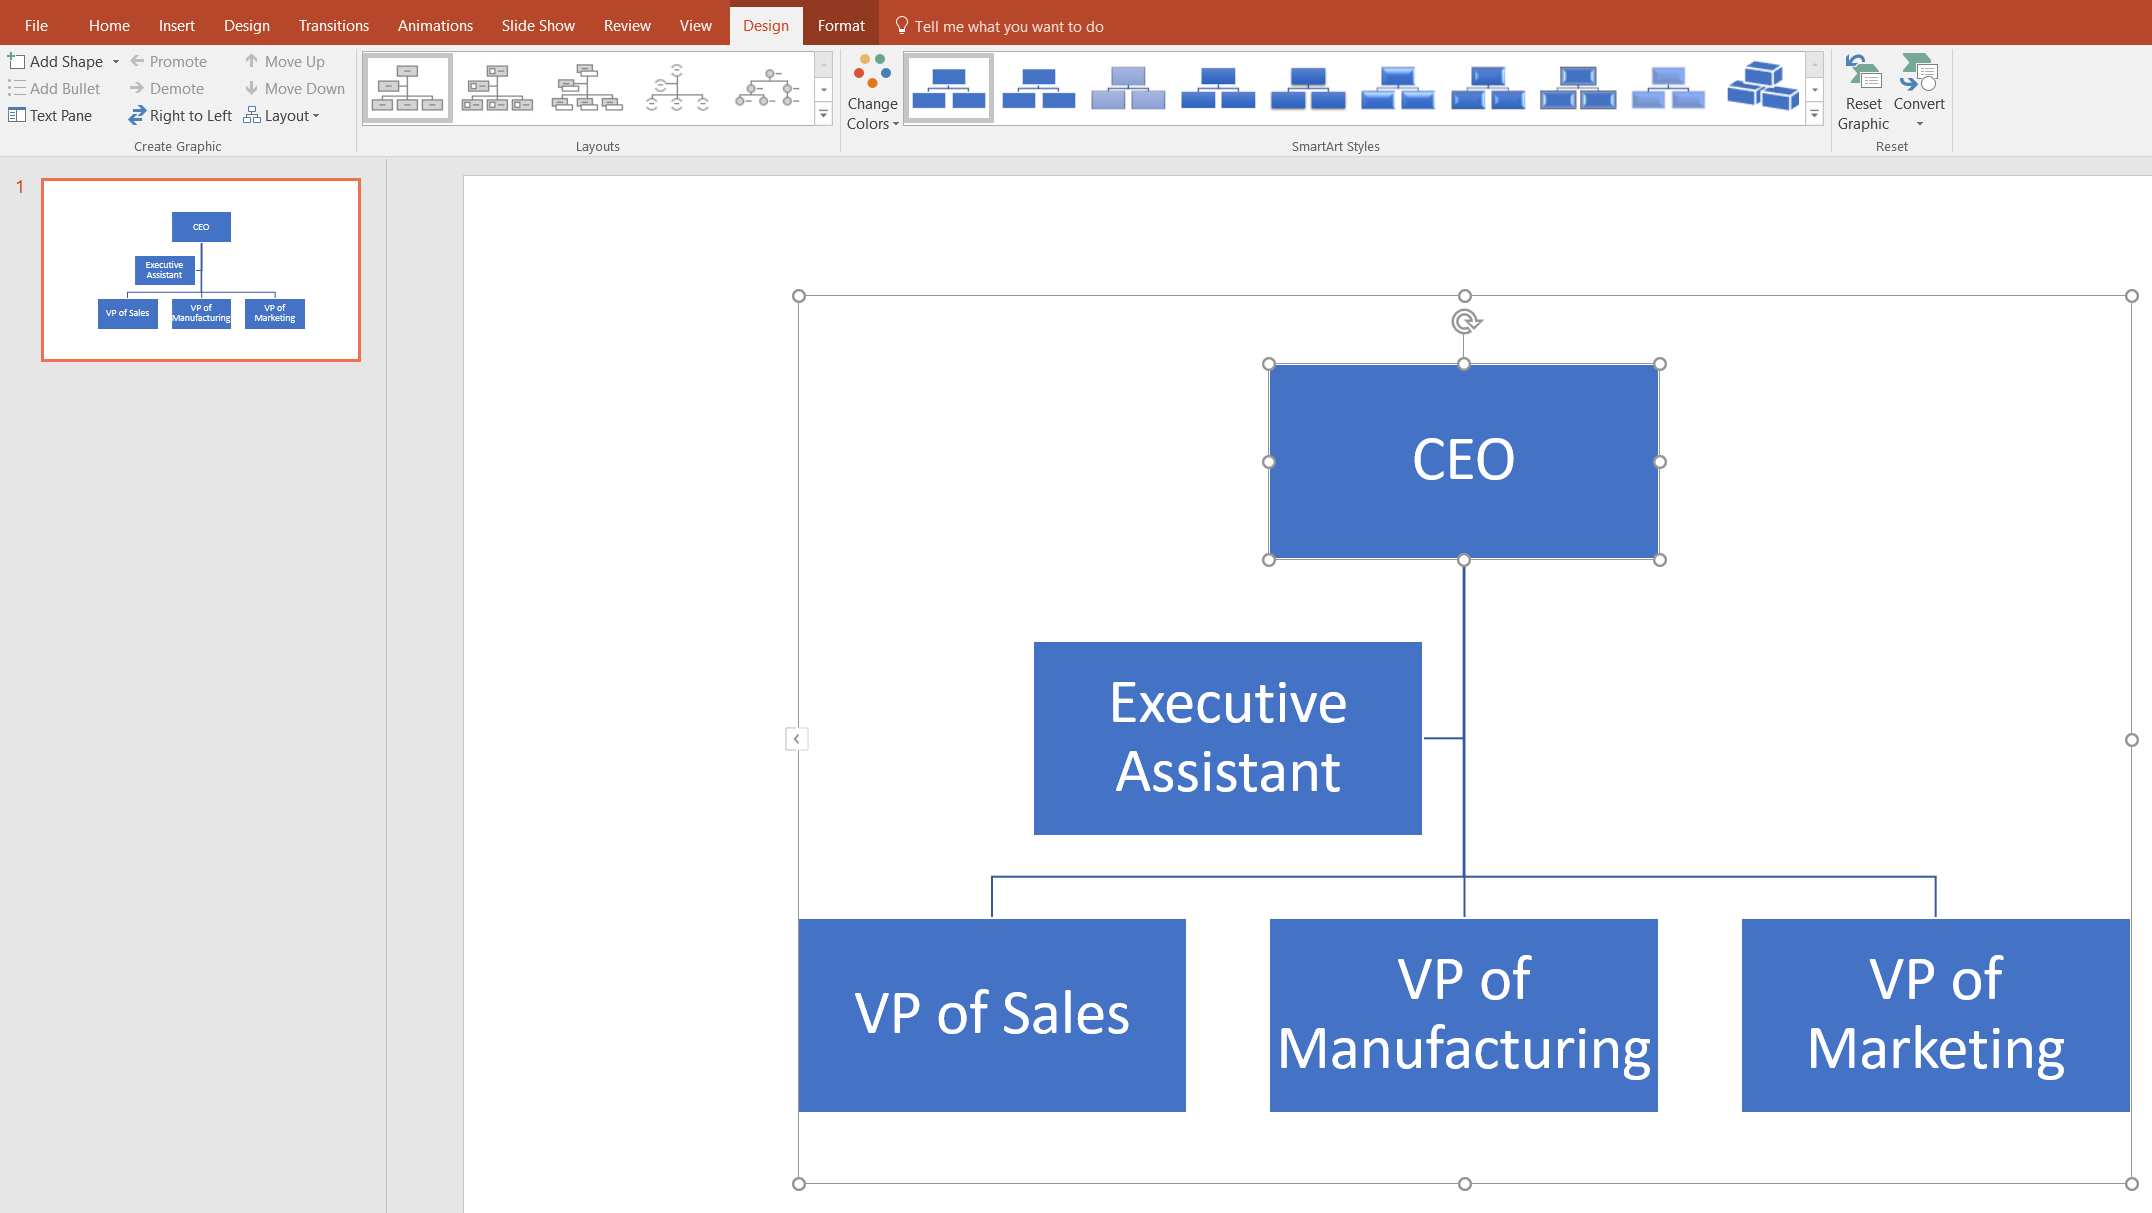
- Step 3: A new menu will appear on your screen, which represents different people. All you need is to put text in the boxes to represent every employee in your organizational chart.
- Step 4: If you want to add some shapes to your chart, go to the tab "SmartArt Tools Design." Now, choose "Add Shape."
- Step 5: If you need to change the order of people when personalizing your chart, click the names in the "Text Dialog" box. Now press "Shift + Tab" to move it down and press "Tab" only to move it up. The "SmartArt Design" tab also assists you in managing your hierarchies.
Note: You can use the "Format" or "SmartArt Tools Design" tabs to adjust fonts, colors, and sizes in your organizational chart.
1.2 Creating an Org Chart in MS Excel
Microsoft Excel is a wonderful application designed to enter, manipulate, and visualize large amounts of data. Apart from doing these tasks, Excel is also good at visual presentation of the data. Org chart creation via Excel is one such example. All you need to do is to put the entire data in the Excel sheet and convert it into chart form to visualize things more clearly.
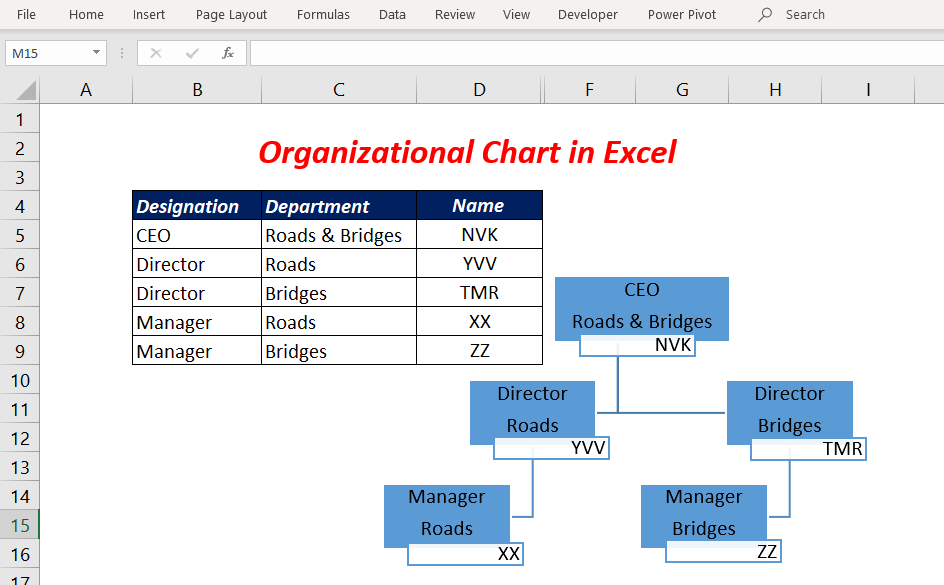
A Step-By-Step Guide to Making an Office 365 Org Chart in Excel
If you are looking forward to creating an organizational chart in MS Excel, make sure you follow the below-listed steps carefully. They will help you get this job done elegantly.
- Step 1: Launch MS Excel on your system, go to the "Insert" tab and tap on the "SmartArt" option.
- Step 2: Now, from the left panel, choose the "Hierarchy" option, and select the template that perfectly matches your needs.
- Step 3: Once you choose a specific template, you will be able to enter the text into the boxes. Every box will represent a different person working within the organization. Therefore, it is always better to organize the date carefully before entering text into different boxes. It will help you avoid any sort of confusion.
- Step 4: You can change the position of boxes easily by clicking on the "Promote" and "Demote" buttons. You will find them in the "SmartArt Tools Design" tab. These buttons will help you move boxes in the vertical direction. If you want a horizontal movement, tap on the "Move Up" or "Move Down" buttons.
- Step 5: If you want to add some specific shapes to your org chart, hit the "Add Shape" button from the top-left corner inside the "SmartArt Tools Design" tab.
- Step 6: You have the option to customize the diagram with different fonts, sizes, and colors. These functions are available in the "Format" and "SmartArt Tools Design" tabs.
Following the above steps will help you create an elegant Office 365 organization chart within a few minutes.
1.3 Creating an Organizational Chart in MS PowerPoint
Microsoft PowerPoint is known for designing eye-catching presentations. It is equally popular among students and working professionals. Both educational institutions and corporate sectors prefer using MS PowerPoint when presenting some useful information in front of internal or external teams. At the same time, you can also use PowerPoint to create super amazing organizational charts. Just like MS Word and Excel, PowerPoint also assists you in making easily understandable charts.
A Step-By-Step Guide to Making an Org Chart in MS PowerPoint
In seven simple steps, you can make an organizational chart easily with Microsoft PowerPoint.
- Step 1: Launch PowerPoint and open a new document.
- Step 2: Go to the top menu and enter the "Insert" tab.
- Step 3: Once you choose a specific template, you will be able to enter the text into the boxes. Every box will represent a different person working within the organization. Therefore, it is always better to organize the date carefully before entering text into different boxes. It will help you avoid any sort of confusion.
- Step 4: You can change the position of boxes easily by clicking on the "Promote" and "Demote" buttons. You will find them in the "SmartArt Tools Design" tab. These buttons will help you move boxes in the vertical direction. If you want a horizontal movement, tap on the "Move Up" or "Move Down" buttons.
- Step 5: If you want to add some specific shapes to your org chart, hit the "Add Shape" button from the top-left corner inside the "SmartArt Tools Design" tab.
- Step 6: You have the option to customize the diagram with different fonts, sizes, and colors. These functions are available in the "Format" and "SmartArt Tools Design" tabs.
- Step 7: Now, you can reorganize the chart to ensure every shape and text is rightly placed. You can move shapes both vertically and horizontally. For vertical movement, use the "Promote" and "Demote" buttons. If you want to move shapes horizontally, tap on the "Move Up" and "Move Down" buttons.
This is how you can create an Office 365 organization chart in PowerPoint.
1.4 Creating an Org Chart in MS Visio
Microsoft Visio is a powerful tool designed to convert complex tables and text into simple and easily understandable diagrams. It enables you to create a wide variety of diagrams, including but not limited to office plans, home plans, workflows, and network diagrams. Apart from these diagrams, you also get the option to make elegant organizational charts. The layouts available in this application are attention-grabbing.
A Step-Step Guide to Creating an Org Chart in MS Visio
All you need to do is to follow eight convenient steps (as listed below) for this task.
- Step 1: Open MS Visio on your computer; go to the "File" menu from the top bar.
- Step 2: Select a new tab. There, you will see a couple of templates for different diagrams. Choose "Organizational Chart" from the list.
- Step 3: Now, you will see two different options, i.e., "US Units" and "Metric Units." Select any of them, and tap on "Create."
- Step 4: If you want to make your org chart look appealing to the viewers, make sure you add different shapes to represent different people working within the organization.
- Step 5: Once you add shapes, click on them, and add the desired amount of text. It is part of customizing your charts.
- Step 6: Now, use the connectors available in Visio to connect all the shapes to maintain a smooth flow of the hierarchy.
- Step 7: Adjust the space between various shapes, and you are done with making an organizational chart in MS Visio.
- Step 8: Go to the "File" menu from the top bar. Click on the "Export" option and tap on "Save As." It will allow you to save the work on your computer or laptop.
2. EdrawMax - Another Efficient Tool to Make Your Org Chart in Minutes
Have you tried multiple tools, including Microsoft Office 365, to create org charts but are not satisfied with the end results? Looking for an efficient utility you can trust this time? Try Wondershare EdrawMax. It will swim your worries away for sure. It is an all-in-one tool that fulfills your diagramming needs perfectly.
Before choosing any particular tool, it is always better to have a look at its customer reviews. As far as EdrawMax is concerned, almost all reviews are absolutely positive, which shows how satisfied the users are. Big companies like Deloitte, Amazon, and Facebook also use EdrawMax to create organizational charts and other diagrams.
 EdrawMax Desktop
Simple alternative to Visio
210+ types of diagrams
10K+ free templates & 26k+ symbols
10+ AI diagram generators
10+ export formats
EdrawMax Desktop
Simple alternative to Visio
210+ types of diagrams
10K+ free templates & 26k+ symbols
10+ AI diagram generators
10+ export formats
 EdrawMax Online
Edit diagrams anywhere, anytime
Personal cloud & Dropbox integration
Enterprise-level data security
Team management and collaboration
EdrawMax Online
Edit diagrams anywhere, anytime
Personal cloud & Dropbox integration
Enterprise-level data security
Team management and collaboration
How Can You Create an Organizational Chart in EdrawMax?
The seven easy steps to follow are listed below.
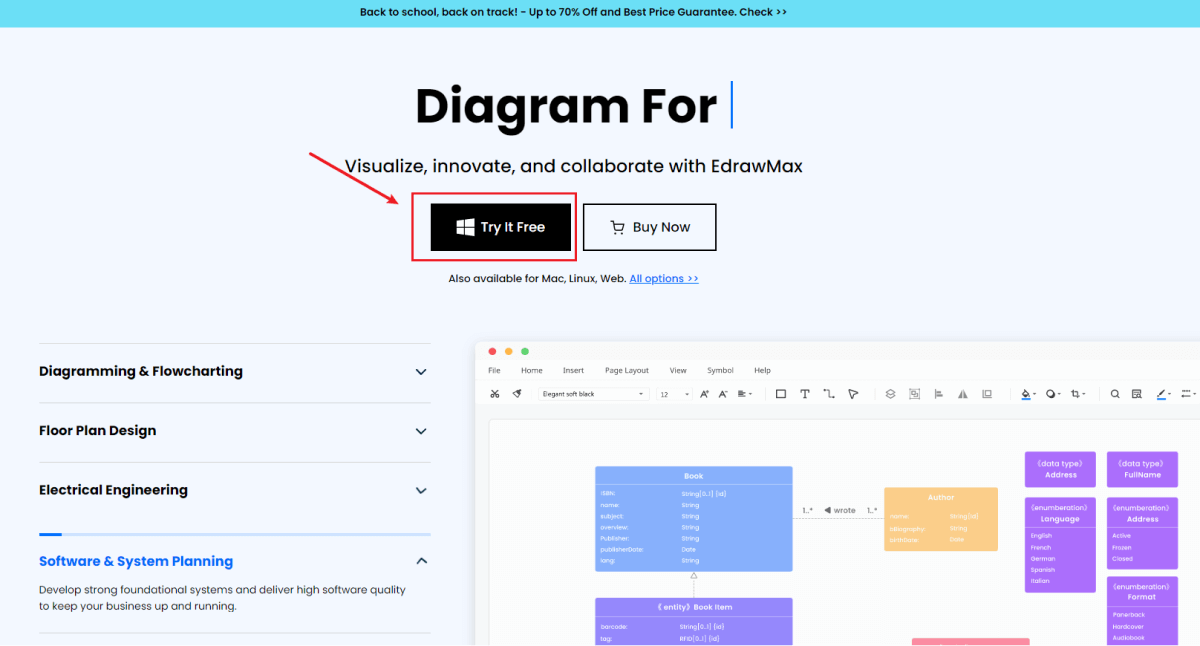
- Step 1: Start by downloading Wondershare EdrawMax on your system. If you want to test the features for free, tap on "Try It Free", as shown below. Otherwise, click the "Buy Now" button to pay a reasonable amount to get the full version of this amazing diagramming tool.
- Step 2: Once it is downloaded on your device, install it carefully, and enter your credentials to log in. In case you don't have an account, sign up for a new one. It takes hardly a minute or two.
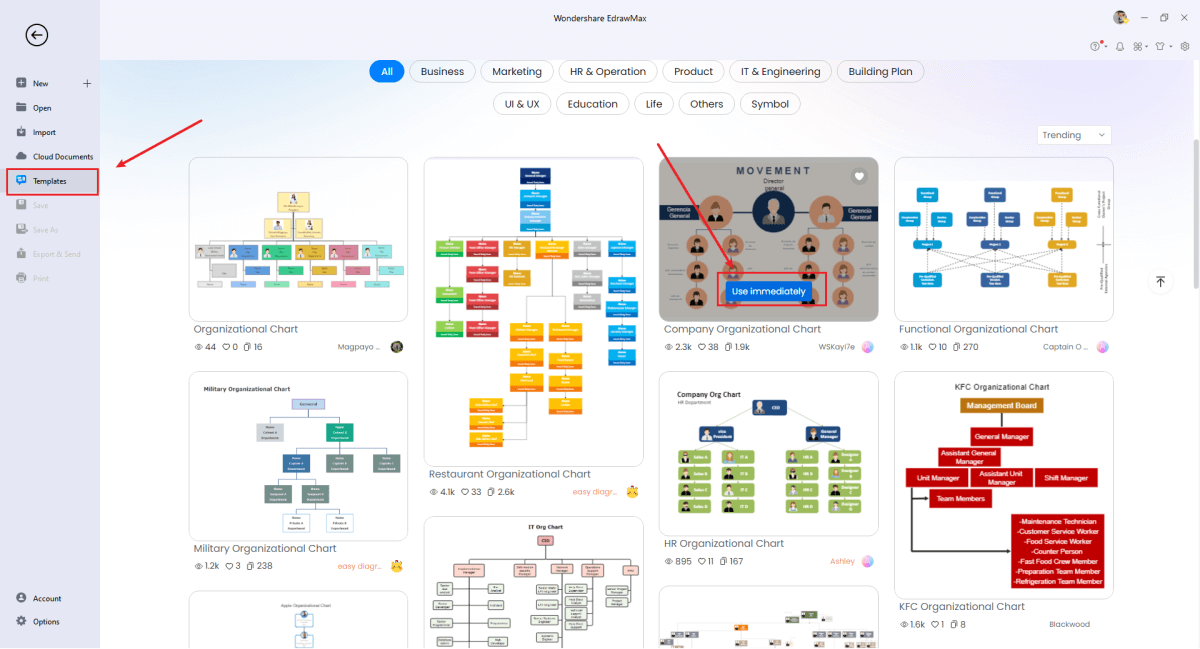
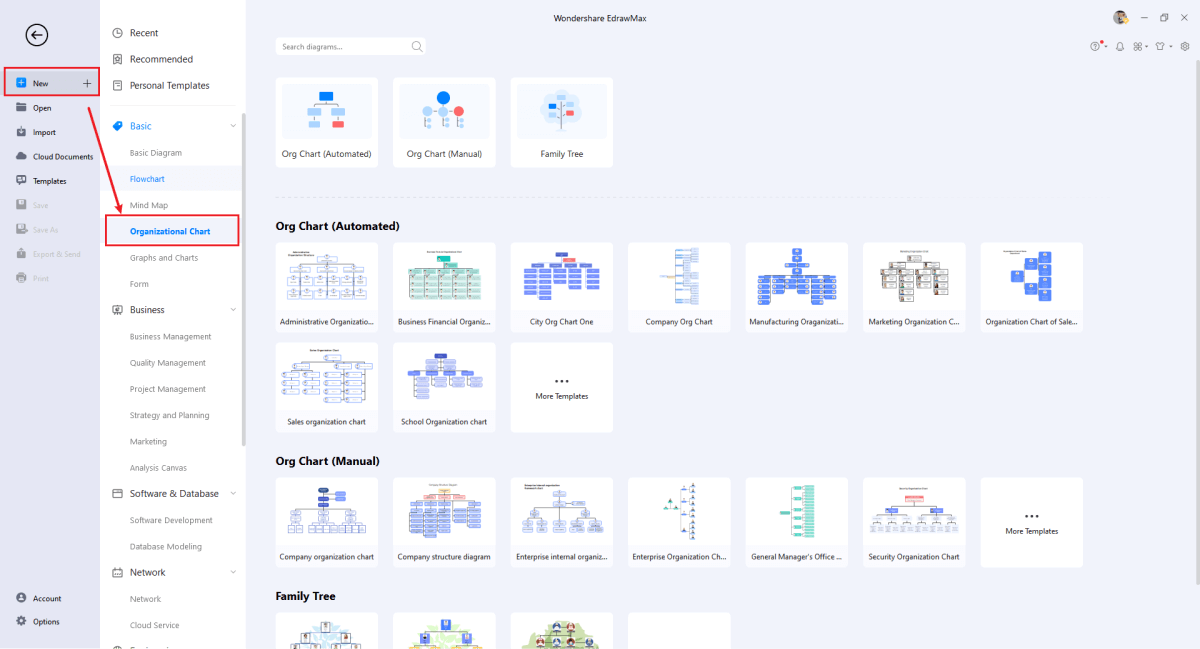
- Step 3: Now, you can choose the suitable template to make an org chart in no time. Go to the left menu and choose "Templates" from there. Then, type "organizational chart" in the search bar. To select the right template, move the cursor over it, and click on the "Use Immediately" option.
- Step 4: Creating your organizational chart from scratch is also possible. For this, all you need to do is to hit the "New" option and choose "Organizational Chart" from there, as shown below. Now, you will see a series of different templates. Choose the one and change its layout, keeping your requirements in mind.
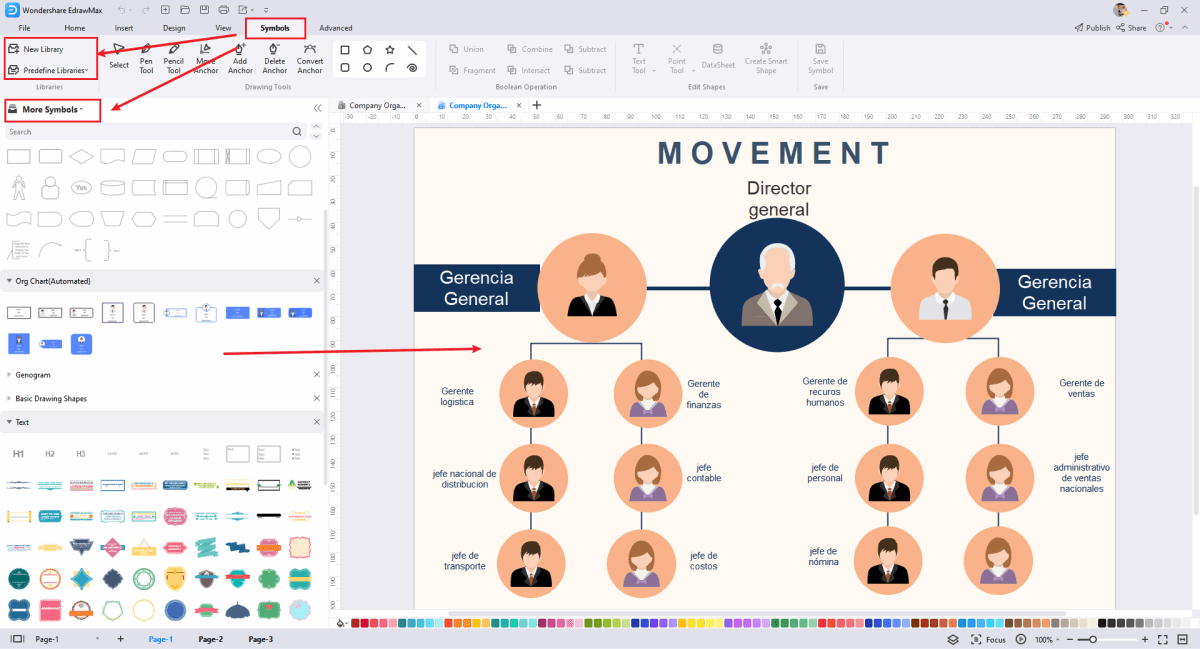
- Step 5: If you want to add symbols to your chart, it is very easy with EdrawMax. Go to the top menu and tap on "Symbols". There, you can choose the desired symbols from the list. You can add any symbol to the library to use it later.
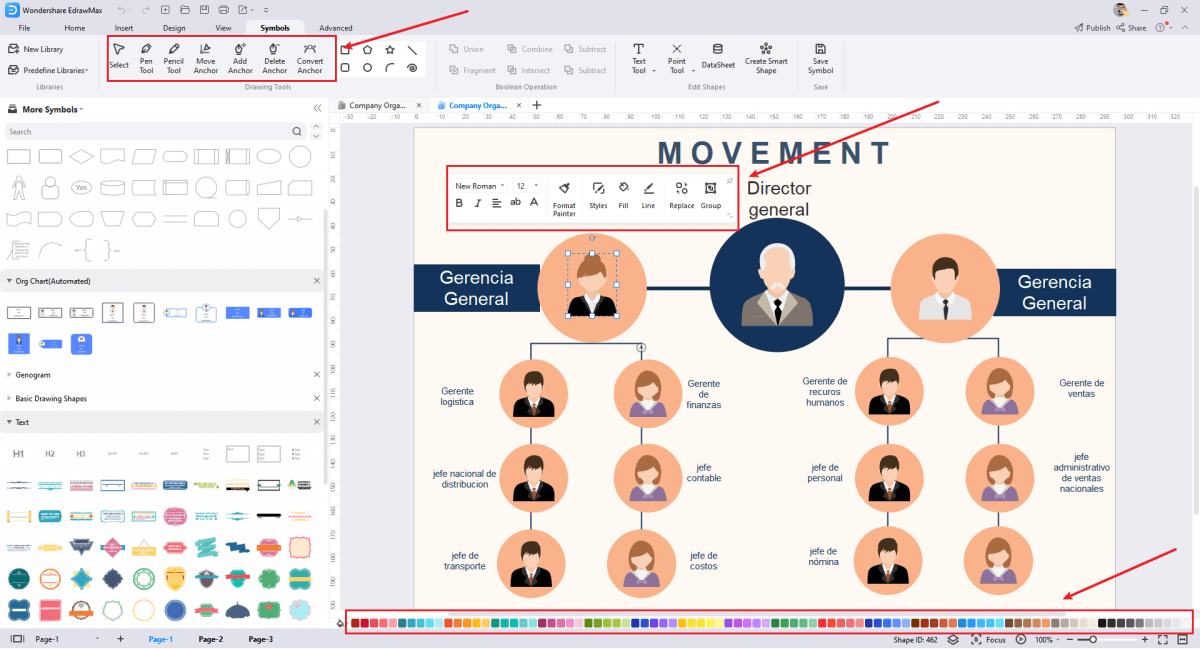
- Step 6: It is time to make your organization chart personalized. Being a fully customizable utility, EdrawMax makes customization a super easy job for you. Changing font styles, shape sizes, and color schemes is as simple as you can imagine. Furthermore, a variety of categories and components are available. Select the desired ones and proceed to the next step.
- Step 7: Now, your chart is ready. Review it carefully, and then export it. To export your final diagram, go to the "File" menu from the top bar. Then, click "Export & Send". It is time to choose the file format you are looking for. You will find SVG, Office, Graphics, Visio, HTML, and EPS formats on the list.

3. Frequently Asked Questions (FAQs)
Q: Why does a company need an org chart?
A: Well, it shows the chain of command and formal relationships of different employees within the organization. In simple words, organizational charts make it easy for everyone to understand the whole hierarchy and business operations.
Q: Which Microsoft Office application is best for drawing an organizational chart?
A: It all depends on your preferences and personal interests. A huge number of people prefer using MS Visio when it comes to making an organizational chart. However, using MS Excel, Powerpoint, and Word are also good alternatives.
Q: Are hierarchy charts and organizational charts the same?
A: Yes, they are two different names of the same diagram. In addition, an organizational chart is also known as an org chart, organogram, organization chart, and organigramme. Make sure you are aware of them all, and don’t be fooled.
6. Ending Note
An org chart is a diagram that organizations create to present their indoor culture, like how the management controls the overall process within the organization to ensure seamless growth. A long list of tools is available these days to create organizational charts. Microsoft Office 365 is one of them. You can make a Microsoft 365 organization chart with various applications like Visio, Excel, Word, and PowerPoint.
If you are searching for secure and dependable software to draw an org chart efficiently and effectively, look no further than Wondershare EdrawMax. It is available for Mac, Linux, and Windows Operating Systems (OS). With hundreds of templates and components, this tool makes your diagramming experience unforgettable. Give it a try and see how it uncovers wonders for you.