A Guide to Understand Shoulder Joint with Diagram
The shoulder joint is an active joint that assists the forward and backward movement of the shoulder. The students need to learn about the shoulder joint to understand its function. They may use shoulder joint diagrams to understand shoulder joint anatomy. However, drawing one such by hand can be challenging and time-consuming. The students, researchers, and teachers must use the EdrawMax Online tool. It will help to create a good-quality shoulder joint diagram for projects and lessons.
1. What is the Human Shoulder Joint?
The shoulder joint is a complex ball, and the socket joint is there at the position where the humerus and the scapula form a junction. As the most active joint, it helps in the backward and forward movement of the shoulder joint.
2. The Structure of the Human Shoulder Joint
- Shoulder Bones
- Rotator Cuff
- Shoulder Capsule and bursae
- Shoulder labrum
- Shoulder muscle
- Articulating surface
- Shoulder ligaments
- Glenohumeral ligaments: Ligaments connecting humerus and glenoid fossa.
- Coracohumeral ligaments: It joins the base of the coracoid process to the greater tubercle of the humerus.
- Transverse humeral ligaments: Present between the two tubercles of the humerus.
- Coraco-clavicular ligament: Present in between the clavicle to the coracoid process of the scapula.
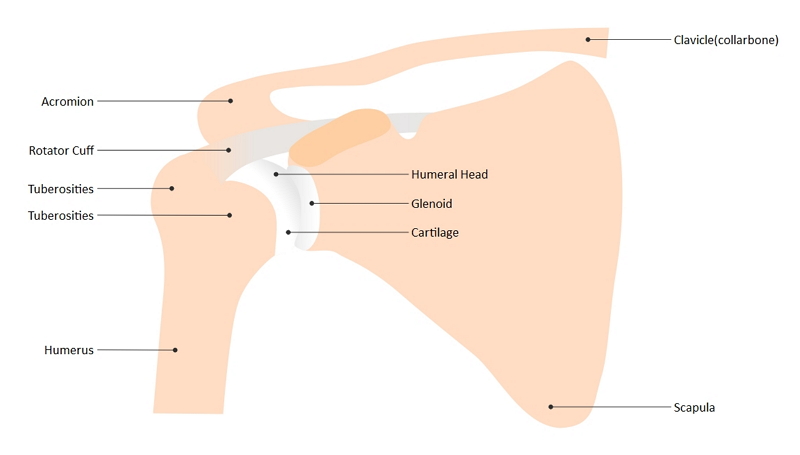
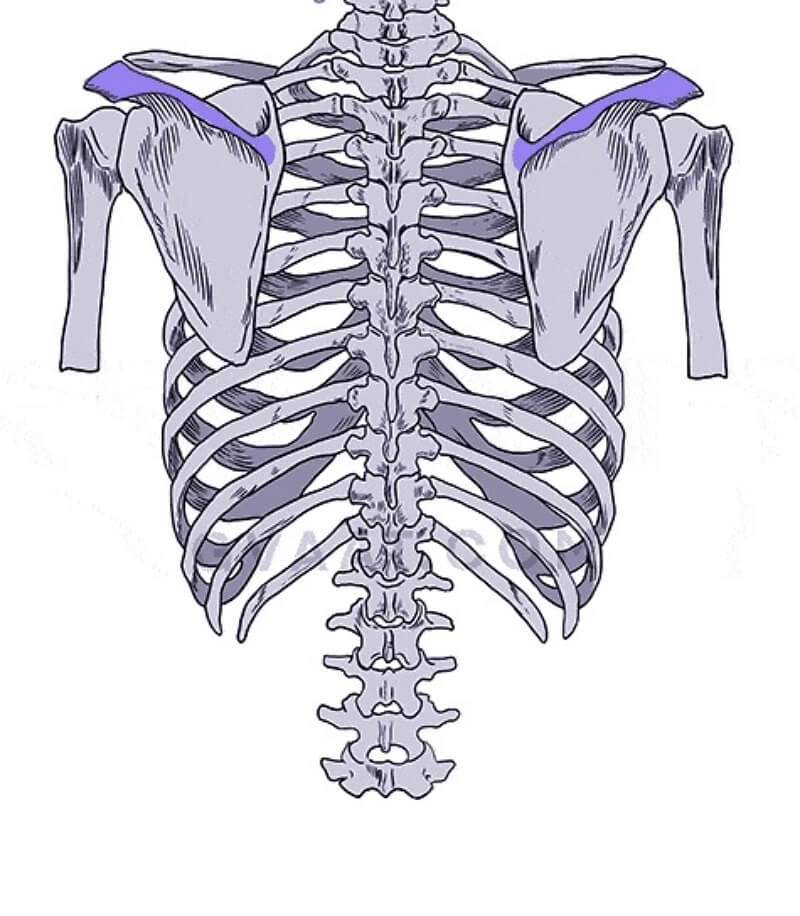
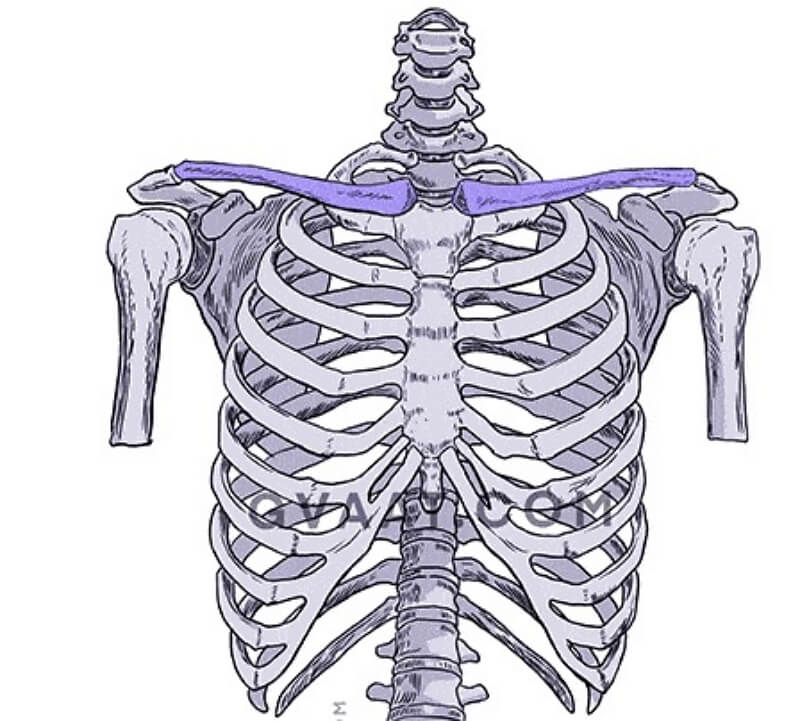
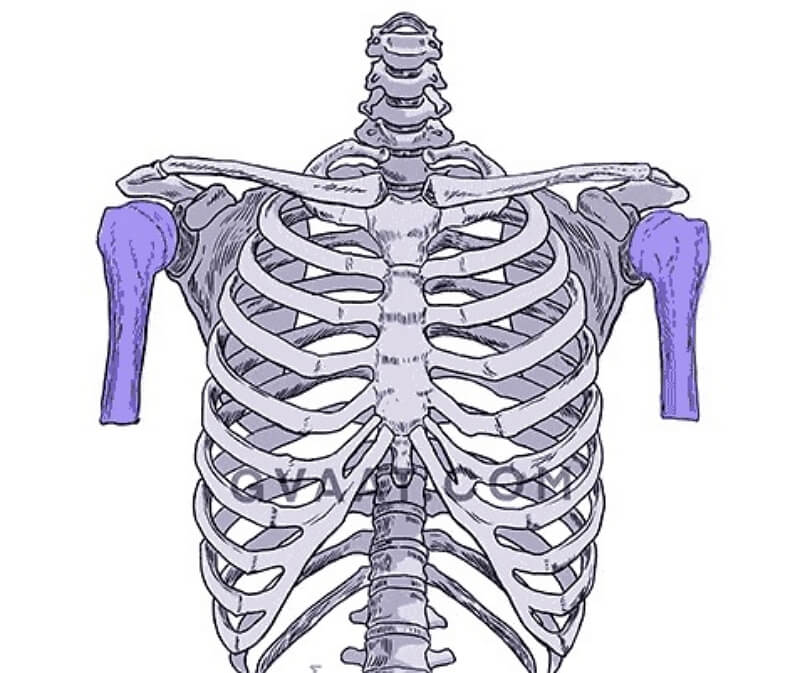
Shoulder joints have three types of bones; they are humerus, scapula, clavicle. The shoulder is a ball and socket joint. The part of the shoulder joint is called the Glenoid. The top part of the humerus is joined with a shoulder blade, which is known as a glenohumeral joint.
There are four muscles and tendons which are present around the glenohumeral joint. This part is called the rotator cuff. It helps in the movement of the ball and socket joint of the shoulder.
Several ligaments are present around the ball-and-socket joint of the shoulder. It contains body fluid. The capsule works to keep the joint in position and separates the joint from the rest of the human body.
There are bursae present in the tendons of the joint to reduce the friction of the shoulder joint. Subacromial and subscapular bursae are essential for the function of the shoulder.
There is a rim of cartilage present around the socket of the shoulder joint. It works to give the joint more depth, which adds stability to it. The labrum works as the attachment for the biceps’ tendons.
There are subtotal 17 bones that are present in the shoulder joint. The rotator cuff accounts for four of them only. The shoulder joint is a part of the scapular movement. Hence the improvement of scapular movement can increase shoulder strength.
The head of the humerus and the glenoid cavity works as the articulating surface for the shoulder joint. The articulating surface of the shoulder joint is covered with hyaline cartilage.
Here is a list of ligaments that are significant parts of the shoulder joint:
3. How to Draw the Shoulder Joint
As the shoulder joint plays a significant role in the movement of the shoulders, the learners need to develop an apt idea about it. For learning about the structure and function of the shoulder joint, the students can use shoulder joint anatomy diagrams.
3.1 How to Create Shoulder Joint from Sketch
It can be challenging for the students to create a shoulder joint drawing by hand and get a satisfactory result. Here are a few steps which they can follow to make a shoulder joint diagram:
Step 1: Draw the scapula, which is a triangular, flat piece of bone. The scapula is present over the ribcage. There are a set of bones attached to the humerus bones of the arm at the shoulder joint.
Step 2: Now draw the spine of the scapula attached to the trapezius muscle. At the bottom part of the ridge, there is the shoulder deltoid muscle. The shoulder muscle is connected to the clavicle at the front of the body.
Step 3: Draw the clavicle and spine of the scapula, which form a connecting circumference for the shoulder muscle.
Step 4: While drawing, students should remember that the position of the scapula is based on the scapular spine and its medial border. The humerus bone is the insertion point of the shoulder muscles. The shoulder muscles end at the outer side of the arms.
3.2 How to Create Shoulder Joint Drawing Online
The process is challenging when it comes to creating a shoulder joint diagram by hand. The students can avoid the hassle by using the EdrawMax Online tool. The tool is easy to use. Hence any individual without any prior knowledge can comfortably work on it. Here are a few simple steps that they can follow to make their shoulder joint diagram:
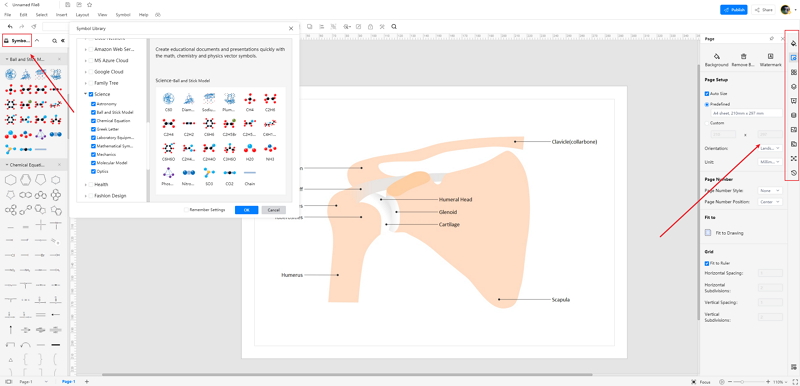
Step 1: The tool is user-friendly. Hence it has become the trusted diagramming partner of many users. It is pretty smooth to work on this tool to create a high-quality diagram. To start the work, the students need to open the EdrawMax Online tool and then open New. The student can find the science and Education tab where there are multiple types of diagrams present.

Step 2: The EdrawMax Online tool is apt for creating high-quality diagrams of human organs. Under the Science and Education tab, there is the Human Organ option. The students can select the shoulder joint diagram from here.

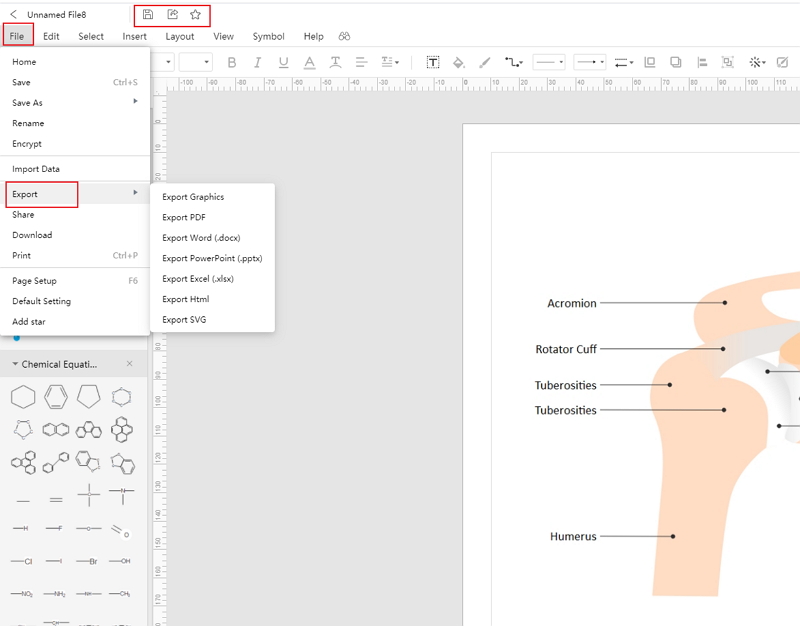
Step 3: After choosing the template, the students can modify it as per their choice. It can help them draw a high-quality shoulder joint diagram for their projects, lessons, and dissertation papers.
Step 4: Once the students have finalized their diagrams, they can save them in multiple formats and export them for attaching to their projects.
4. What Are the Shoulder Conditions?
As shoulder joints have varied and extensive uses, there are chances for an individual to injure their shoulder. Here are a few conditions and their causes:
- Frozen shoulder: Inflammation in the shoulder.
- Osteoarthritis: Aging
- Gout: Crystal formation in the joints.
- Rotator cuff tear: Tear in muscle or tendons present at the top of the humerus.
- Shoulder dislocation: Bone of humerus slipping off its position.
- Shoulder tendonitis: Inflammation in the tendon of the rotator cuff.
- Labral tear: accident or overuse.
As the shoulder joint is the most mobile joint of the human body. An individual should take care of their shoulders. Here are a few tips for an individual to keep their shoulders healthy:
- Strengthening the rotator cuff with exercises.
- Doing back-to-wall shoulder flexion exercise.
- Not carrying immensely high loads on the shoulder.
- Increasing the scapular strength.
- Keeping the shoulders and limbs active.
5. Conclusion
An individual must have apt ideas about the structure and function of the shoulder joint to keep it healthy. For learning about the shoulder joint, they may use a shoulder joint drawing. Therefore, they must use the EdrawMax Online tool, which can allow them to create a good quality shoulder joint diagram.
In conclusion, EdrawMax Online is a quick-start diagramming tool, which is easier to make artery and vein diagram and any 280 types of diagrams. Also, it contains substantial built-in templates that you can use for free, or share your science diagrams with others in our template community.
Related Articles


