How to Make a Graphic Organizer in 5 Easy Steps
Create Your Graphic Organizer NowImportance of Graphic Organizer
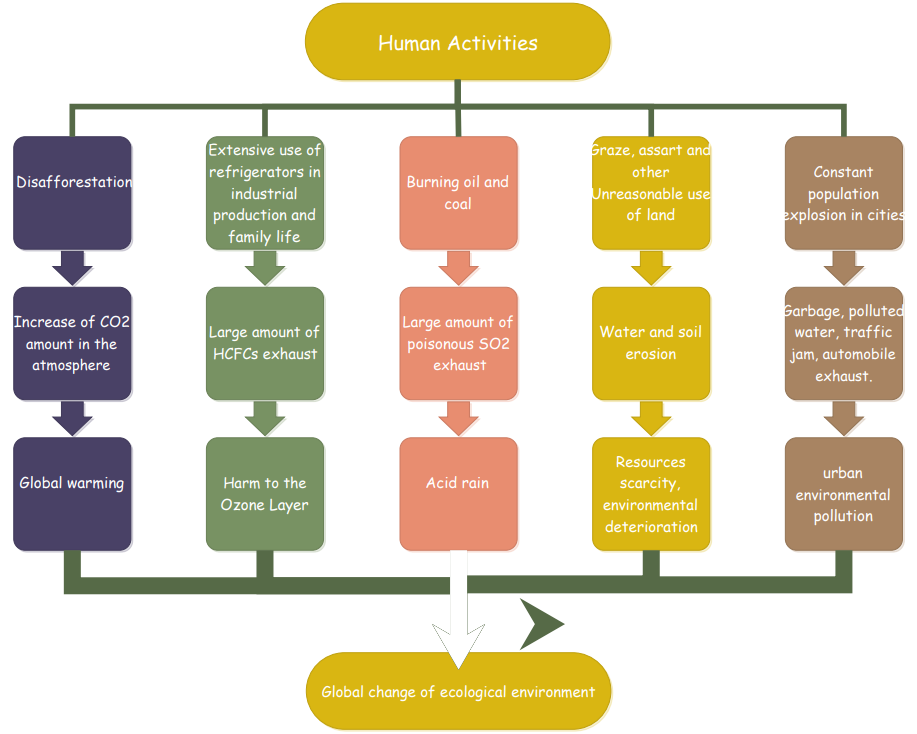
The graphic organizer is a very useful and important tool that helps in understanding a piece of information, paragraphs or long essays into visualized and organized information. The graphic organizers, as an effective learning strategy, includes mind maps, Venn diagrams, concept maps, KWL tables, etc.
The graphic organizer is particularly very important for the education sector because both teachers and students benefit from the graphic organizers. Teachers use the graphic organizers to better deliver the lecture to the students, and make them learn a particular topic very efficiently. For students, it is very important as graphic organizers work as a prompt for building assertive ideas, organize information on a subject in a sequence, enhance the abilities of reading comprehension, organizes problem-solution ideas of a student, contrast and compare ideas, etc.
All in all, the graphic organizer is very important for the education sector as it firmly enhances the teaching skills of the teachers and polishes the skills of the students in various subjects.
How to Make a Graphic Organizer
By following steps, you can make a graphic organizer very conveniently and quickly in EdrawMax Online. You can create a graphic organizer in EdrawMax Online in the simple 5 steps. Here is how to create a graphic organizer in EdrawMax Online:
Step 1: Select a Template
In the first step, you are required to select a template or a blank page in order to create a sheet for making a graphic organizer.
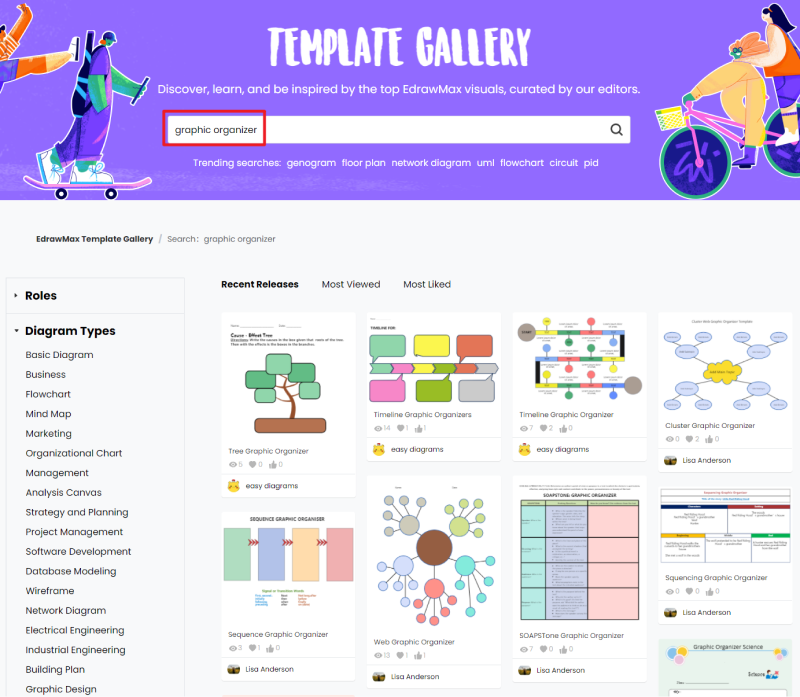
EdrawMax Online offers a large variety of templates for the users. A teacher would prefer a brainstorming or a tree template for teaching a complicated subject matter in the classroom. On the other hand, an employee who is looking for a graphic organizer for his presentation would make good use of the arrow or pyramid charts templates. Thus, there are a good number of different templates available in the graphic organizer for serving the needs of just everyone.
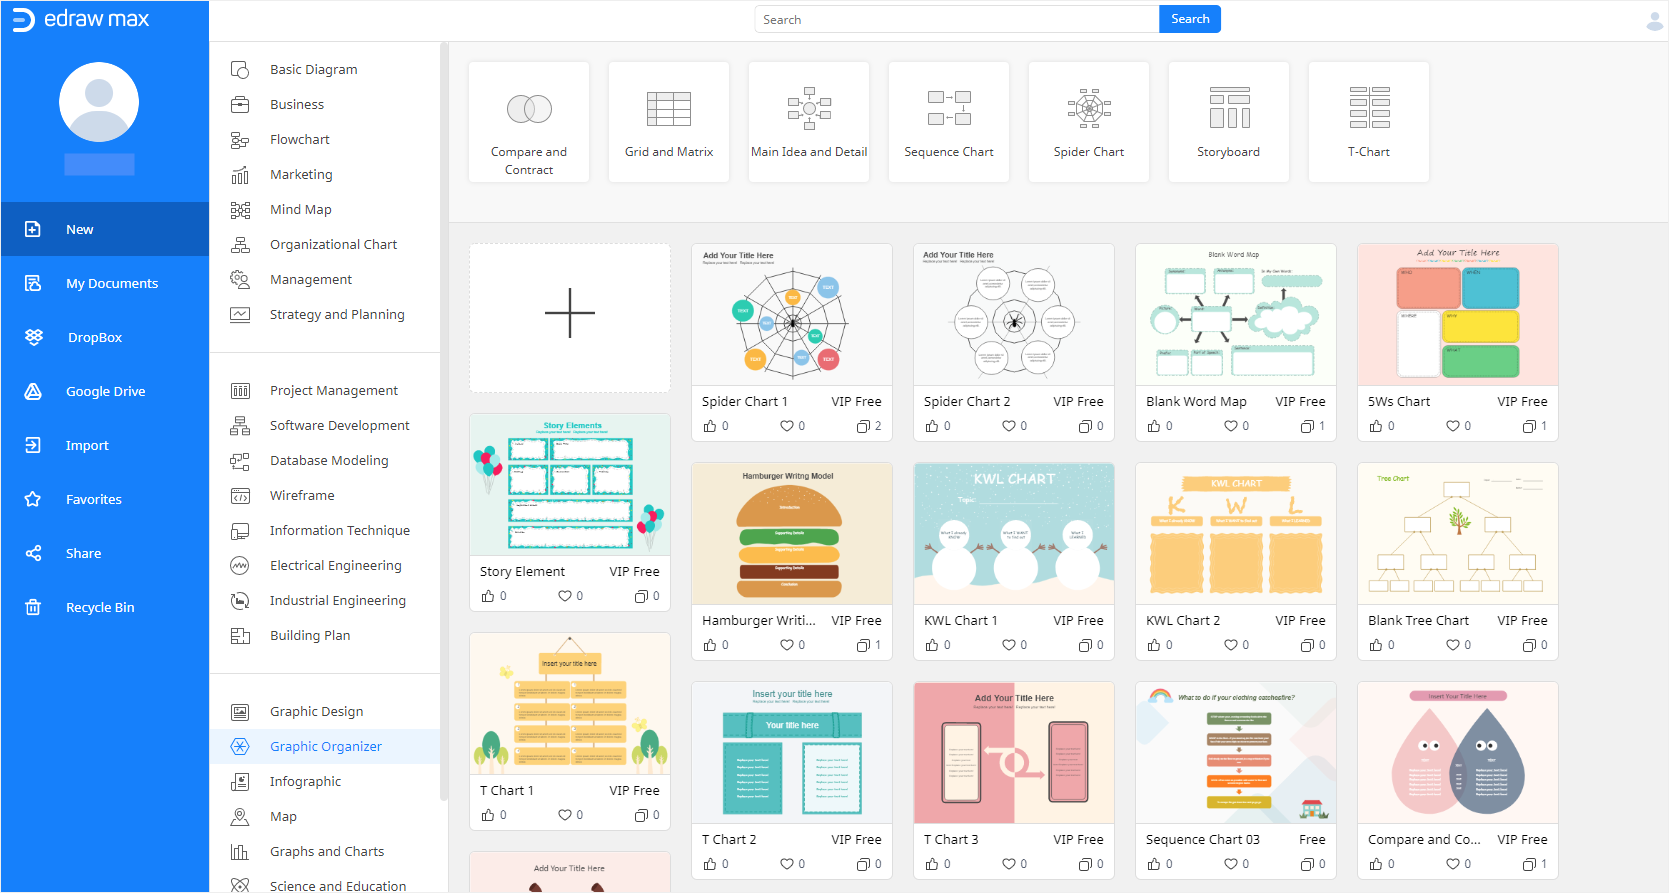
Go to the Graphic Organizer section in the list, click on any graphic organizer template that you want to use or click on the + icon to open a blank template.
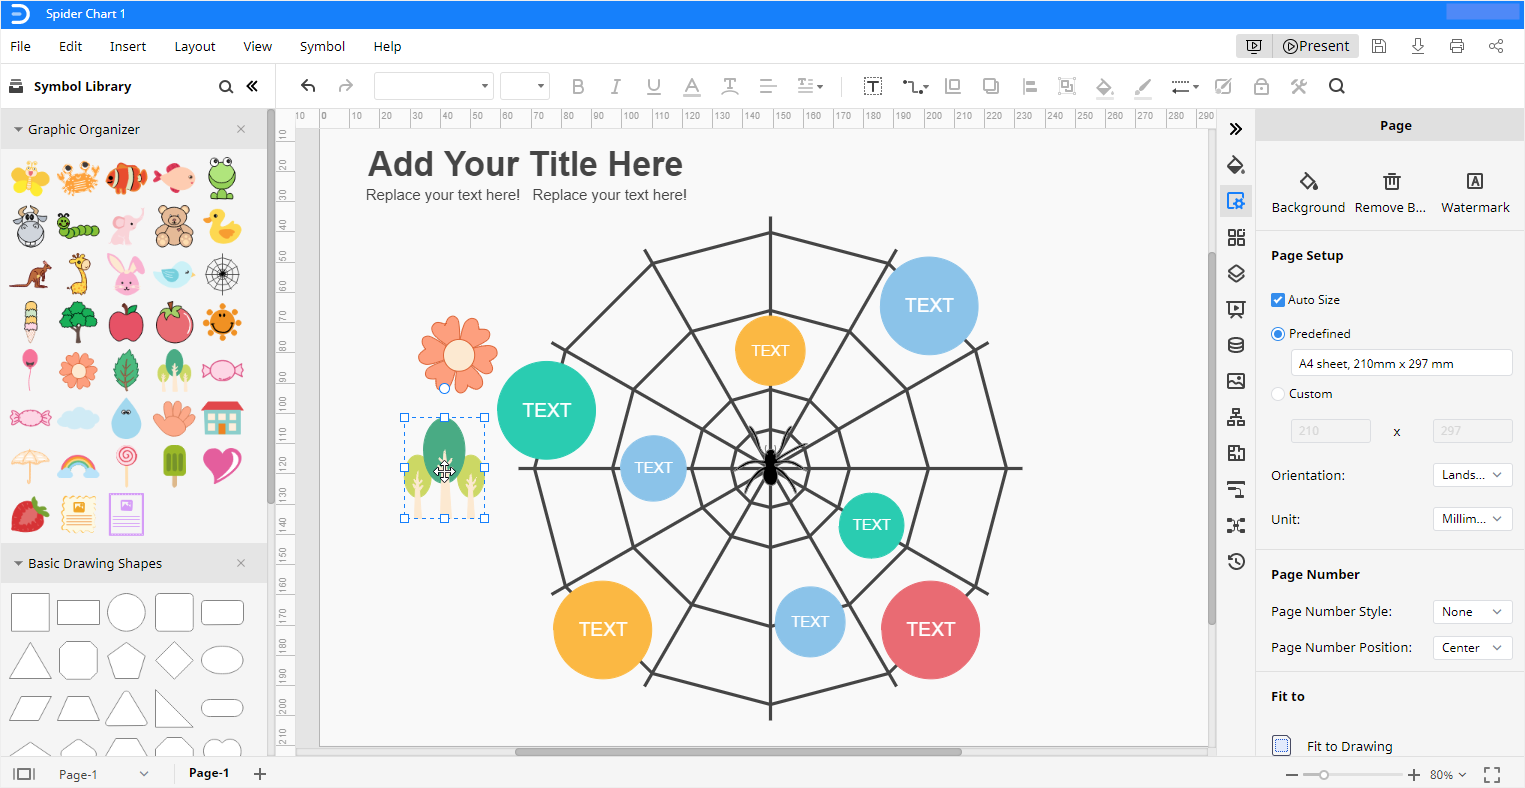
Step 2: Using Symbol Library
You can add a great number of symbols in the pre-made templates or make a graphic organizer from scratch using the symbol library. The symbol library can be found on the left side of the screen, which consists of the basic drawing shapes and arrow shapes.
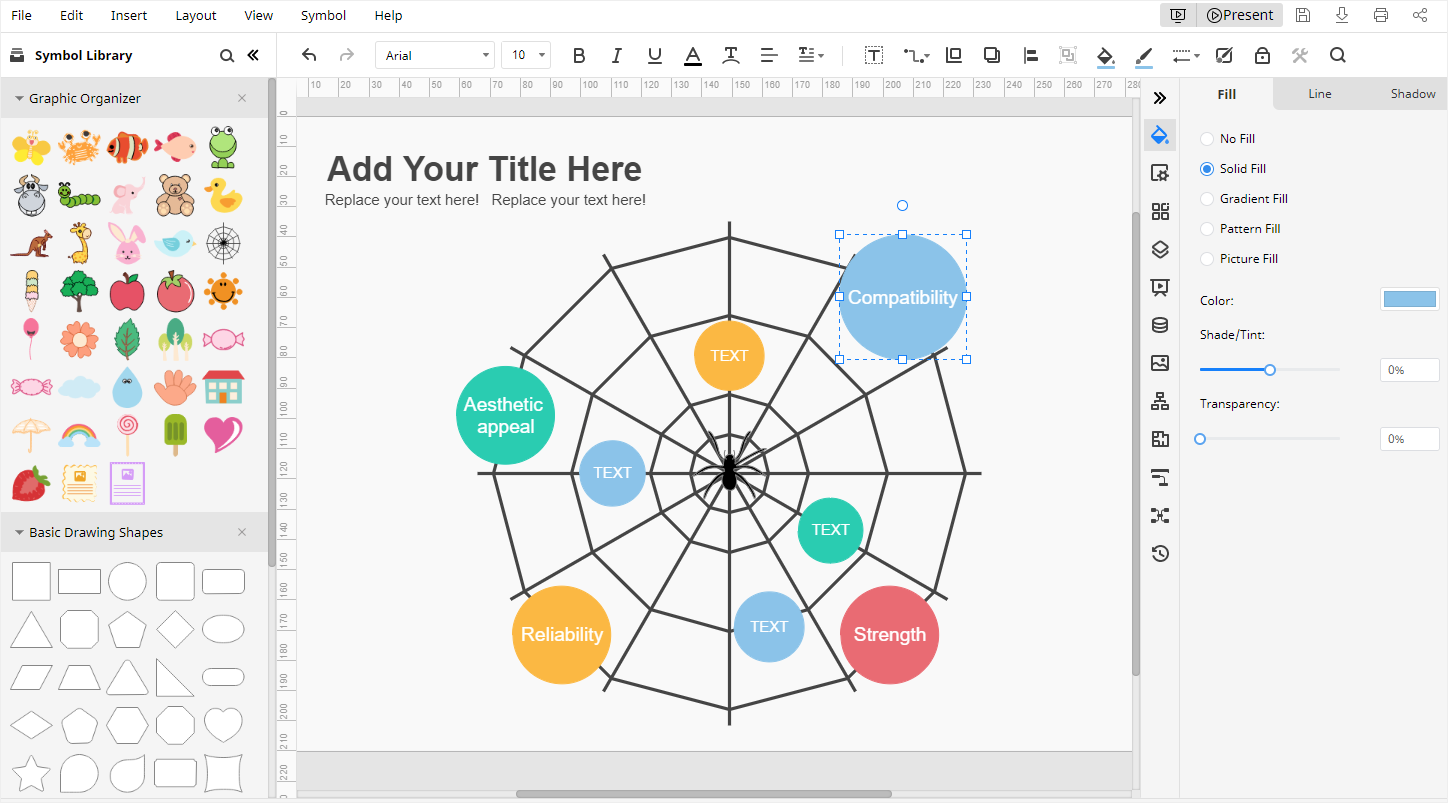
There are different kinds of symbols available in the symbols library, such as General, Graphs, Charts, Clip Art, Icons, Festival, Education, Design Element, etc. You can make impactful graphic organizer with the use of right symbols and good content.
With simply dragging and dropping, you can add the symbol that you want into the drawing page.
Step 3: Adding Text in the Graphic Organizer
In the third step, you will add text to your graphic organizer. Double-click on the example text boxes and type your information into them.
Having added text, it would look like this:

By using different symbols and the text tool, you can create a professional-level graphic organizer in EdrawMax Online.
Step 4: Customize Details of the Graphic Organizer
There are a number of tools in the EdrawMax that can be used to customize the details of the graphic organizer. These tools may include basic tools such as connectors, text tools, formatting of shapes option, pen tool, pencil tool, movement of anchor points, movement of point tools, drawing of geometrical shapes, etc.
Step 5: Export and Share the File
You can easily share and export the file using Share and Export options that are found in the File’s dropdown menu. The file can be saved in several format files such as JPG format, PDF format, MS Office format, HTML format, SVG format. EdrawMax also supports the online saving-options of the graphic organizer (diagrams) in Google Drive or DropBox.

This is how a graphic organizer can be created in the EdrawMax Online. The process involves only 5 steps for making a good graphic organizer. There are also a great number of symbols, customization tools, and a large number of various templates that serve the needs of different customers.
You can learn more about how to craete a graphic organizer from below video. If the video doesn't play, please visit it at YouTube.
More Interesting and Free Fun Graphic Organizer Templates
There are many interesting and fun graphic organizer templates in EdrawMax that can be used for performing a variety of different tasks. Four such charts are given below:
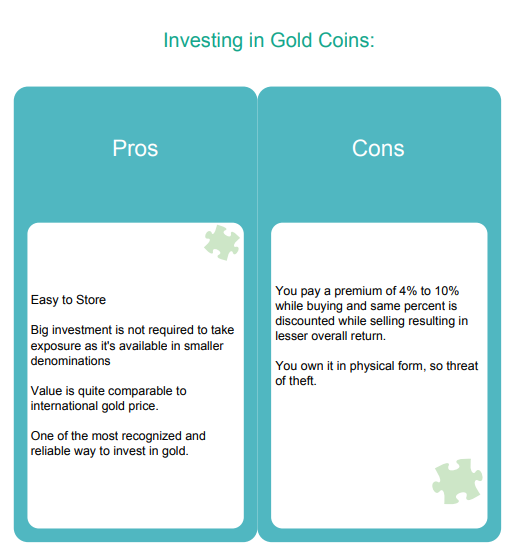
a. Pros and Cons T Chart Template
It can be used to highlight the pros and cons of a particular subject. Find out more T chart templates.
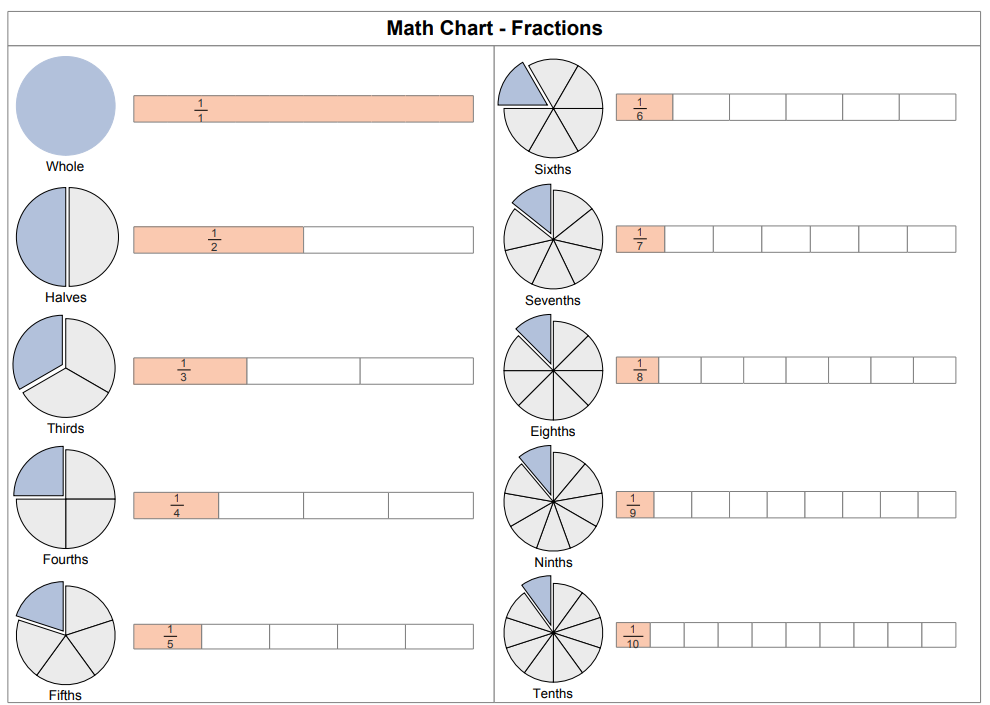
b. Fraction Chart Template
The fraction chart is used for displaying the information in a visualized manner to understand how fractions parts of the whole are.
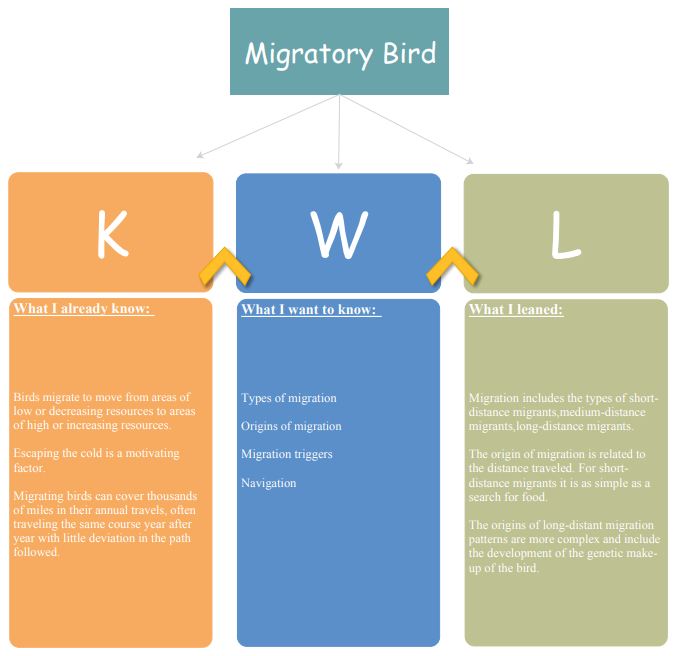
c. KWL Migratory Bird Template
KWL is an acronym for what students in the syllabus already “know”, what they “want” to know and what they will ultimately “learn”. Thus, students will learn better when they know what they lack, and what they require.
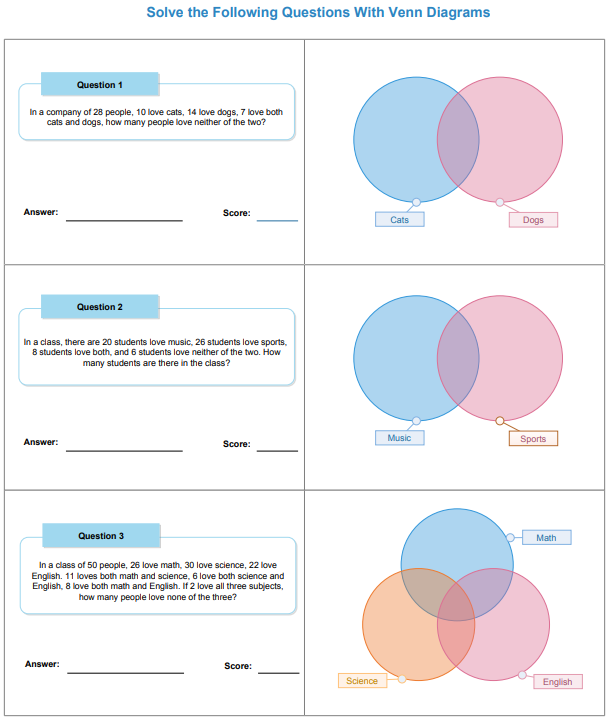
e. Venn Math Worksheet Template
The Venn Math Worksheet diagram is a problem-solution diagram, which is used by users to effectively find out the solution of a particular problem. Find out more Venn Diagrams.
d. More Graphic Organizer Templates
In EdrawMax Template Gallery, there are many read-made graphic organizer examples for writing, reading and learning. Find out more graphic organizer examples.