How to Make a Bar Graph in Word
With the integration of Excel chart tools, Microsoft Word is able to help users make different charts and graphs. In this post, we will show you how to make a bar graph in Word and you can create another chart in Word following similar steps.
How to Make a Bar Graph in Word
If you have a large amount of data or you need to update the data regularly, you could create your chart in Excel (<a href="https://www.edrawmax.com/bar-chart/how-to-make-a-bar-graph-in-excel/ " class="text-secondary"> </a>) at first, then copy the chart from Excel to Word.
Please note that when you paste the chart in Word, you need to keep it linked to the data in the Excel file, which means that you have to select the paste options including “Link Data”.
To make a bar graph or another chart from scratch in Microsoft Word, just follow the steps below.
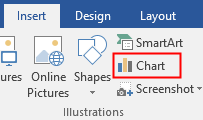
1. Open a new Word document and select <strong>Insert > Chart</strong> to open <strong>Insert Chart</strong>
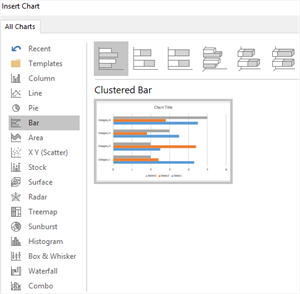
2. Pick the desired chart type and its subtype, then click OK.
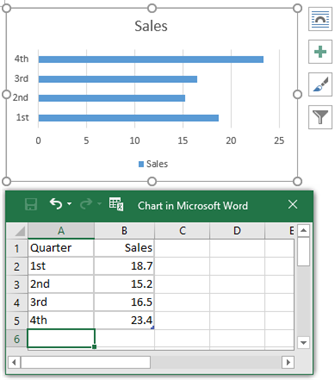
3. Paste your data into the small spreadsheet to replace the example data and the example bar chart will turn into what you want automatically.
4. When you insert a chart into the page, the Chart Tools will appear on the ribbon. Use the formatting or editing tools on the Design and Format tabs to quickly change chart styles, chart colors, quick layouts, chart types or add some chart elements like axis titles or data labels.

How to Make a Bar Graph in EdrawMax
Basically, there is no difference between the process of making a bar graph in Word and in EdrawMax Online. However, sometimes when you are not able to use any MS Office programs and want to use a powerful online diagramming tool, EdrawMax Online will be a wonderful choice.
Here is how to create a bar chart in EdrawMax and make sure that you have gotten the data ready.
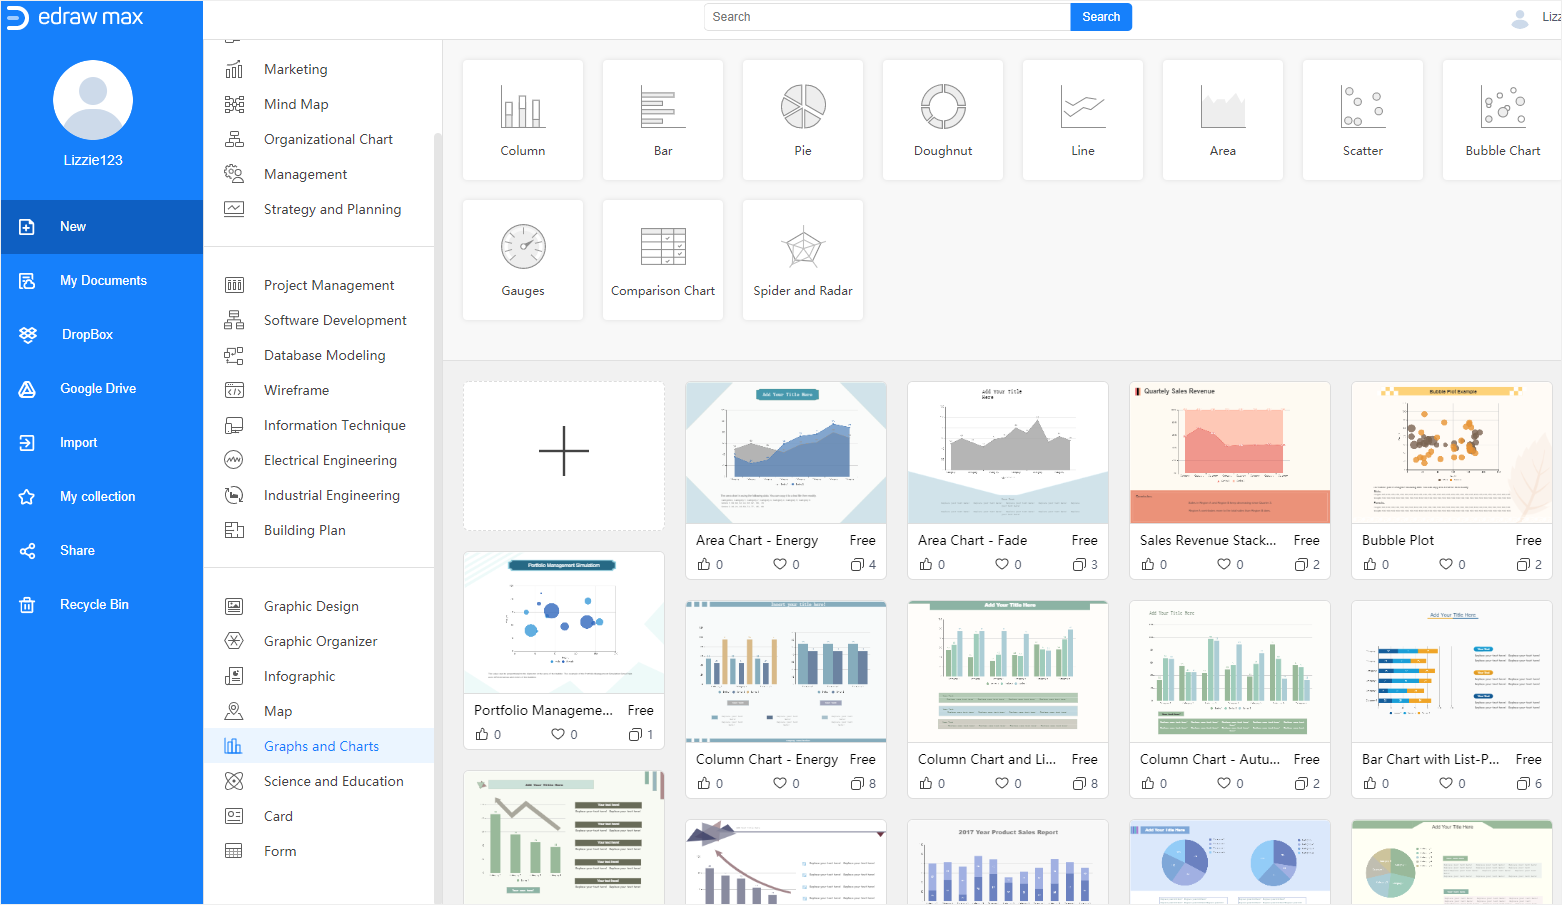
1. Open EdrawMax Online (https://www.edrawmax.com/online/), click a plus icon on the template gallery and create a new blank page if you haven’t used EdrawMax
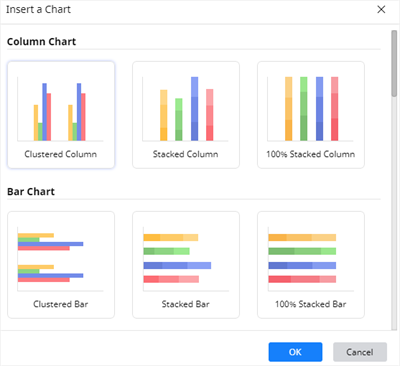
2. Click Insert > Chart to open the Insert Chart dialog box.
3. Select Clustered Bar and click OK. (Or choose Stacked Bar if you want)
4. Select the example bar chart and replace the example data with your own in the Chart (Data)

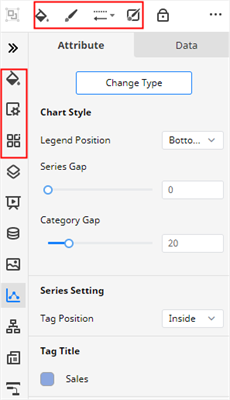
5. When you need to customize your bar chart in EdrawMax, you can use the shortcut buttons and the formatting options on the right panes. Use these tools to change chart types, chart styles, colors or page setups.
How to Export an Edraw Chart as a Word File
When you complete your bar chart in EdrawMax Online, you can choose to save, export or share it in different ways.
Firstly, go to the File tab, click Save As button on the menu and select to save your chart in Edraw personal cloud, Google Drive and Dropbox.
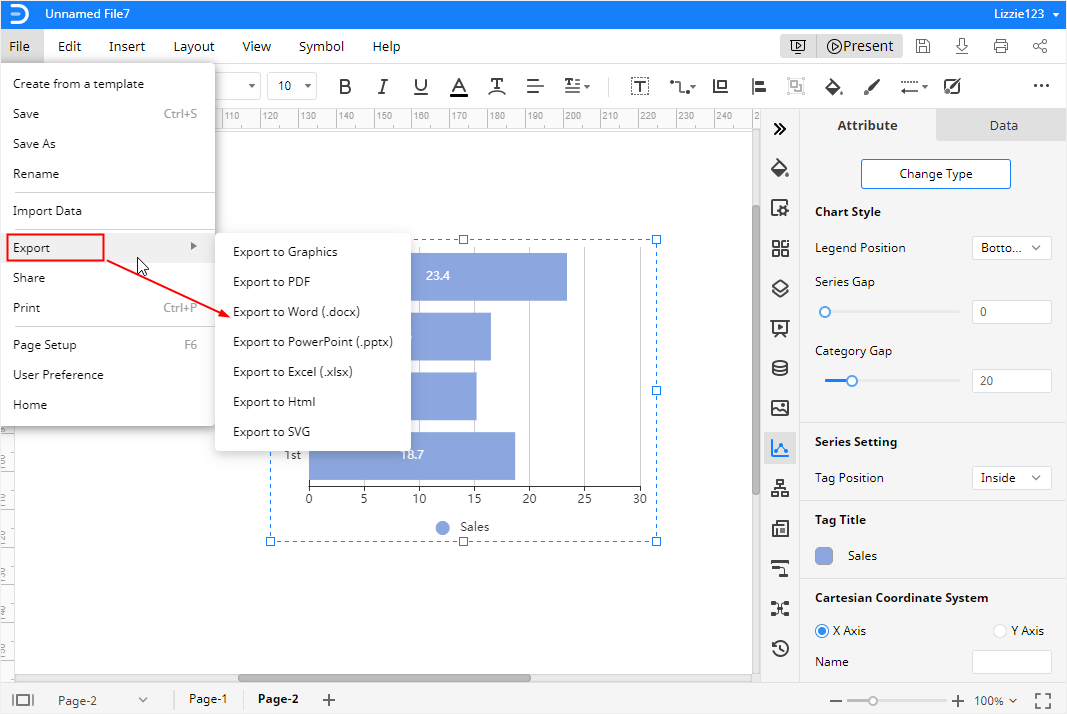
Then, click Export and pick the format that you want. In this example, we choose Export to Word and EdrawMax will export an editable MS Word file and download it on the local storage.
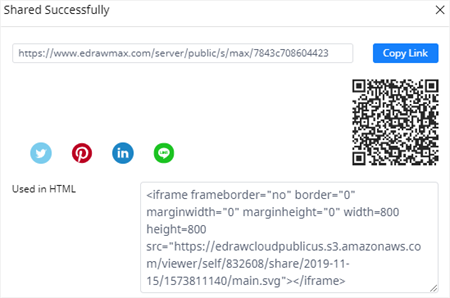
Finally, click Share on the menu or the upper right corner and EdrawMax will generate a link, a QR code and a piece of HTML code. Thus, you can share your chart on your social media or display it on your website.