How to Make a Flowchart in Google Docs
It will be straightforward for readers to understand your messages from a flowchart instead of a text-heavy document. Creating a flowchart in Google Docs is not different from working inside a flowchart maker, but it is still comparatively time-consuming.
How to Make a Flowchart in Google Docs
Step 1: Open a Blank Page
Enable Google Docs on the browser and open a blank page. As there are no pre-made flowchart templates in Google Docs, you can only make basic flowcharts in this application.
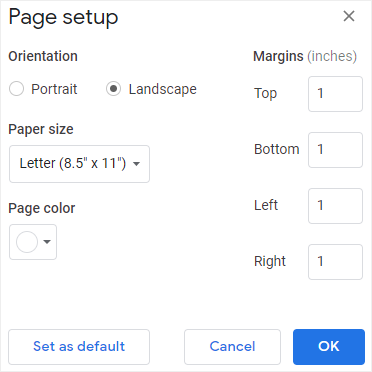
If the flowchart that you create is horizontal, you can change the page orientation from Portrait to Landscape. Go to the File tab, click Page Setup on the drop-down menu to open the Page Setup dialog box, choose Landscape and click OK.
Step 2: Open the Drawing Window
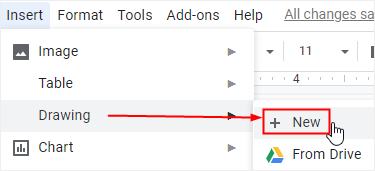
Go to the Insert tab, click Drawing > New to open the Drawing window.
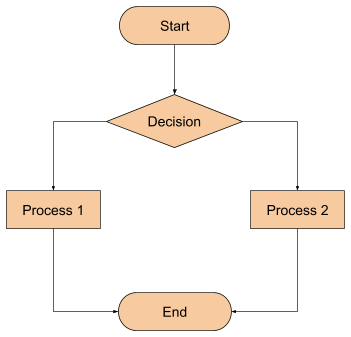
Step 3: Draw Your Flowchart
On the Drawing window, you can use the shape icons to add flowchart shapes and the line or arrow icons to connect them. When you finish making the diagram, you can click Save and Close button, then the flowchart will be inserted on the blank document page.
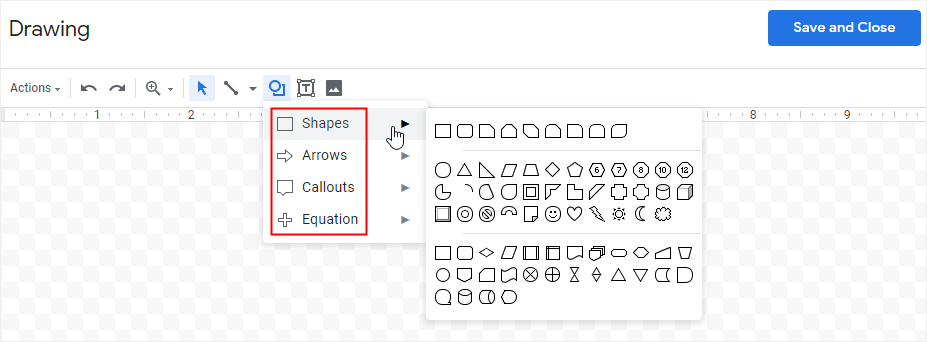
However, as you can see, the shape icons in Google Docs are not designed for making flowcharts, so the flowchart may not meet the uniform standards.
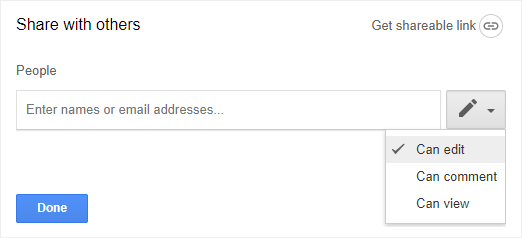
Step 4: Share Your Flowchart
Go to the File tab, click the Share on the drop-down menu, or click the Share button on the right upper corner of the interface.
Input the document name, and enter the names or email addresses of the people whom you want to share with. In addition, you can modify the limits of authority and allow the viewers to edit, comment or only view the flowchart.
How to Make a Flowchart in Edraw Max
Using Google Drawings to make a basic flowchart still requires you to start from scratch, while the free templates and easy-to-use editor in Edraw Max will save your time and help you create a complicated flowchart.
Step 1: Find a Flowchart Template
>Enable (Edraw Max), click Flowchart on the diagram type list, and you will see many kinds of flowchart templates.
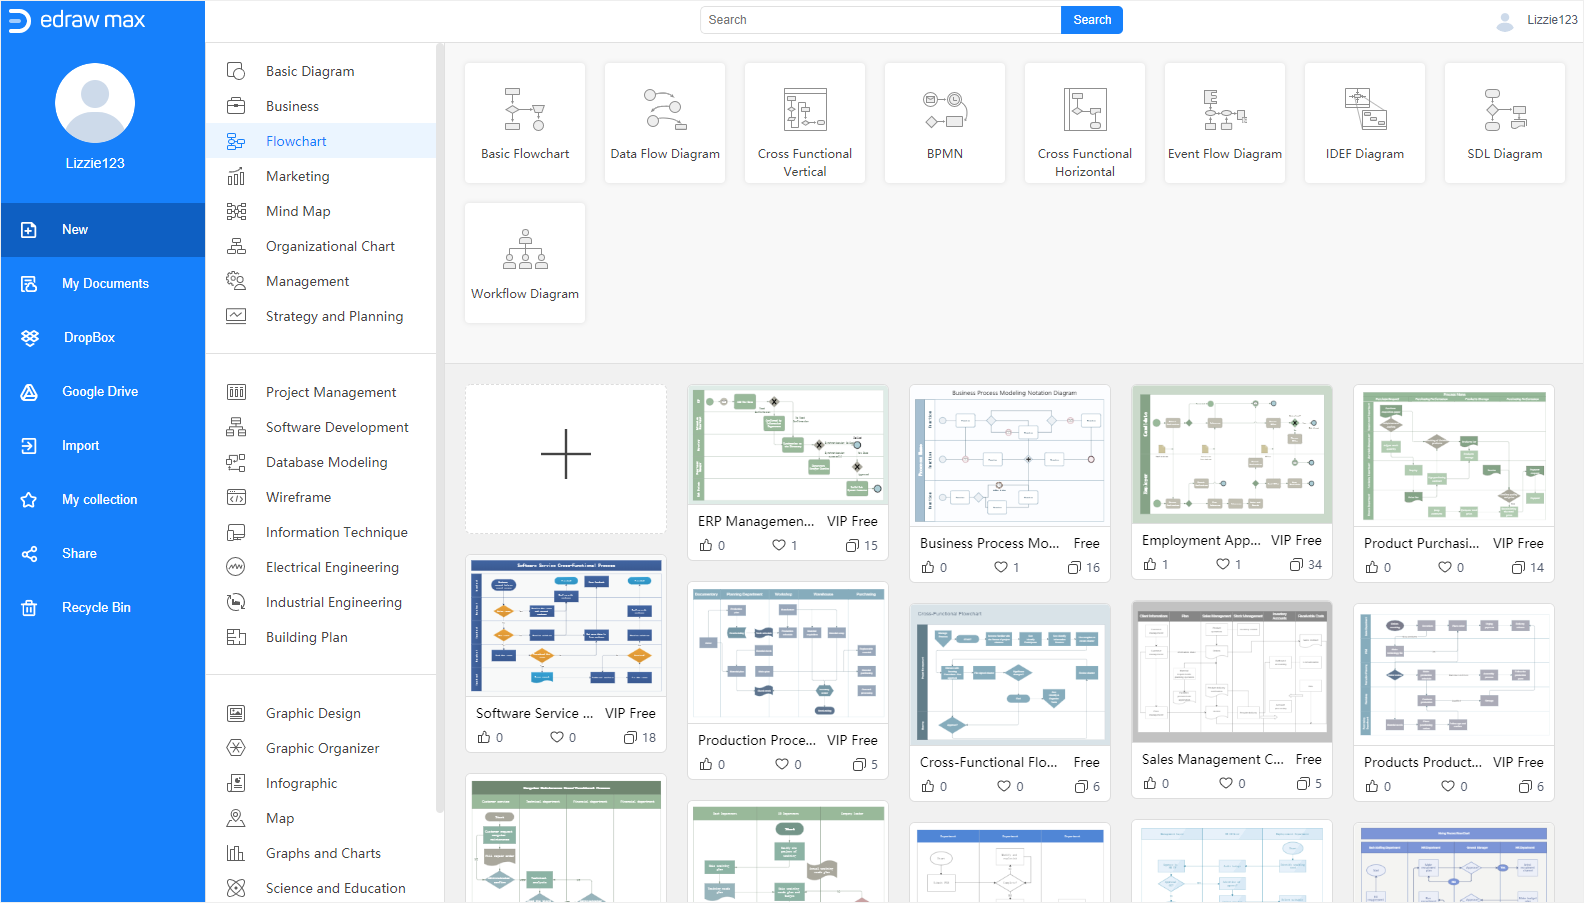
Or, go to (Edraw Templates) choose your favorite flowchart templates from the template gallery and download them on your local storage.
Step 2: Make a Flowchart with a Free Template
When you decide to use a template to make your flowchart in Edraw Max, click the thumbnail on the template gallery or click the Import button on the left pane and import the saved template into this web-based application.
Now, the selected flowchart template will open up on the main interface.
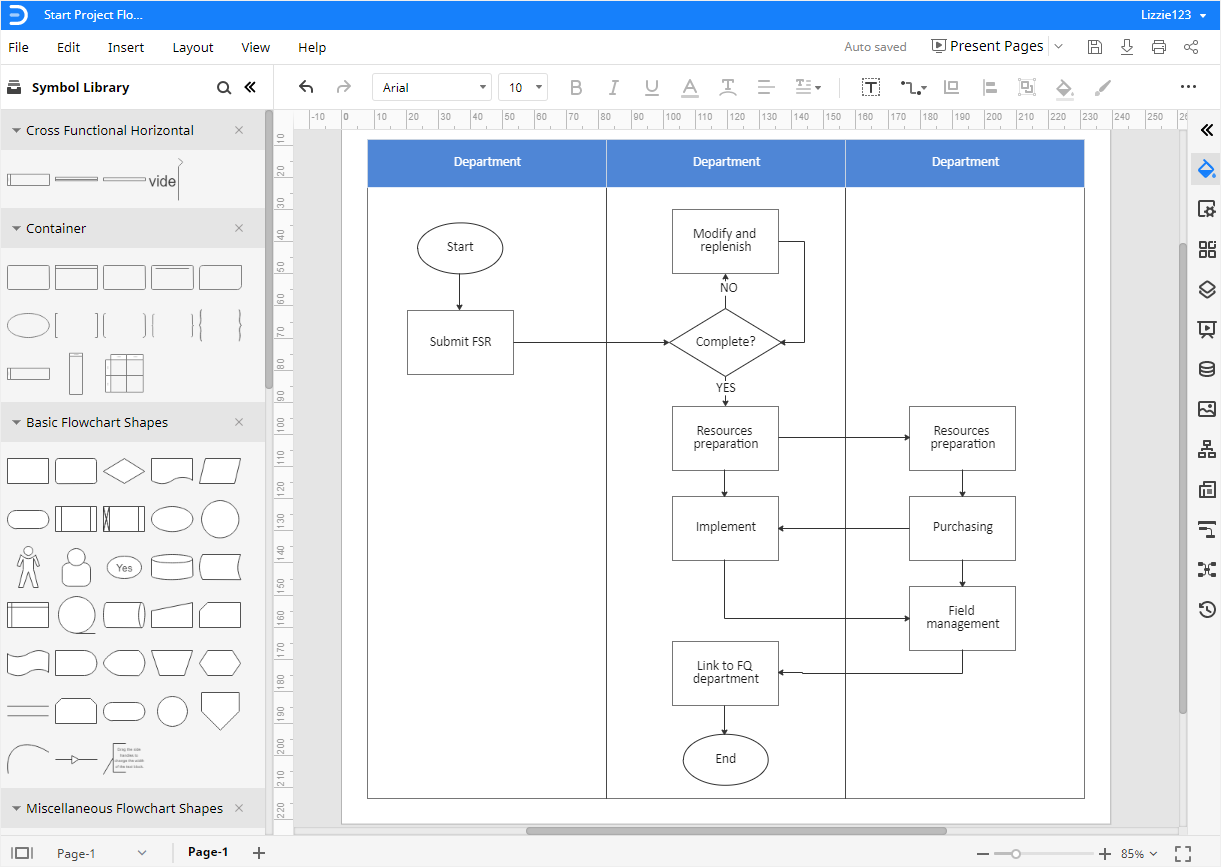
However, if you just want a blank flowchart template, you can click the blank plus thumbnail on the template gallery and Edraw Max will offer you a blank drawing page in which you are able to draw the flowchart manually.
At that time, you should click on the symbol library icon ![]() , open the Library dialog box, and pick any desired shapes and symbols, not just the flowchart shapes and symbols. Then the selected shapes and symbols will show up on the Library pane as you can see in the above picture.
, open the Library dialog box, and pick any desired shapes and symbols, not just the flowchart shapes and symbols. Then the selected shapes and symbols will show up on the Library pane as you can see in the above picture.
You can drag and drop these shapes and symbols onto the drawing page, click the Connector button  on the toolbar to add the connection lines between flowchart shapes. In Edraw Max, all the shapes and lines are designed for better diagramming--using Smart Guides and Connection Points to keep shapes aligned and lines auto-snapped.
Step 3: Customize Your Flowchart
To change the color or style of the fill, line or shadow, select the shape at first, click the Style icon ![]() on the right sidebar to open the Fill/Line/Shadow pane.
on the right sidebar to open the Fill/Line/Shadow pane.
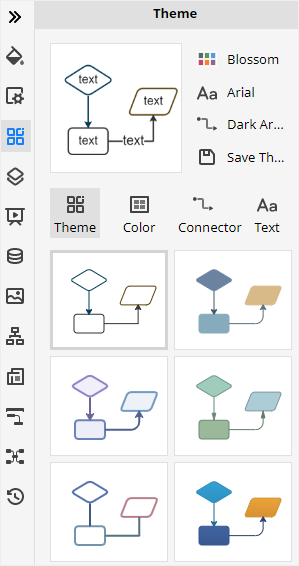
To change the theme of the whole flowchart diagram, click the Theme icon ![]() on the right sidebar to open the Theme pane, and pick one of the theme schemes, theme colors, connector styles or font styles.
on the right sidebar to open the Theme pane, and pick one of the theme schemes, theme colors, connector styles or font styles.
Step 4: Share Your Flowchart
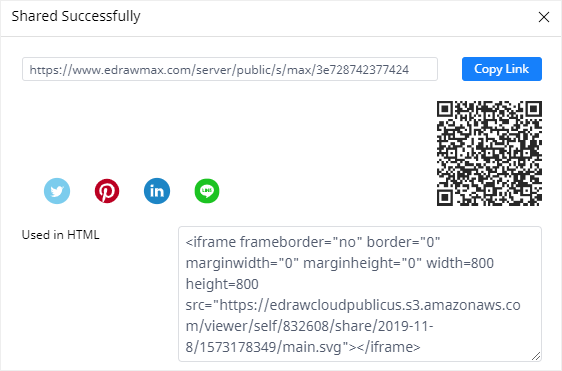
To share the created flowchart, click on the Share button on the upper right corner of the main interface or go to the File tab, click Share on the drop-down menu.

Then the Share Successfully dialog box will pop up. You can choose the different ways to share your flowcharts with others.
How to Export a Flowchart as Word File
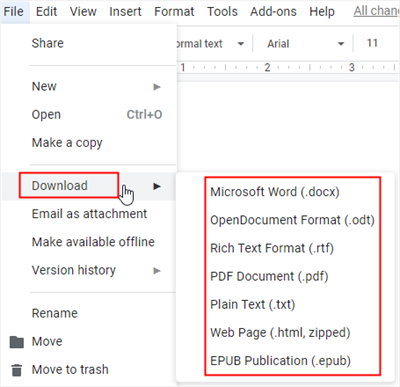
As you create a flowchart in Google Docs, you can download the document in different file formats. Go to the File tab, click Download on the drop-down menu and select the desired file format.
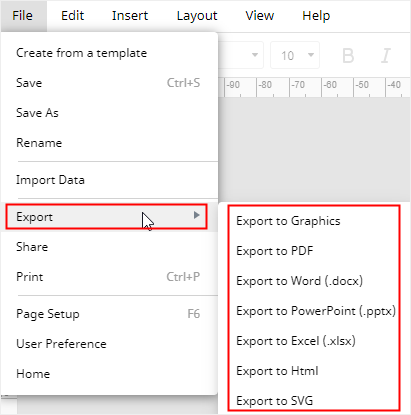
In Edraw Max, you are also able to save and export your flowchart in many common file formats. Go to the File tab, click Export and pick the desired exporting format.
When you click Save As on the menu, you can choose to save your flowchart in your personal Edraw cloud, Google Drive or Dropbox in the Save As window. Therefore, you are able to view or edit your flowchart in anytime and anywhere.
Moreover, the exported Office files by Edraw Max are all editable. So when you use Edraw Max to make and export a flowchart, you and your partners could edit and modify it without restrictions.