How to Make an Infographic in Word
Infographics are used to graphically visualize information, data, and knowledge for further analysis and decision-making.
This article explains how you can create an infographic in Word. Once you’ve learned how to do so, the next section will introduce an alternative method of creating an infographic using EdrawMax Online, which is solely designed and developed for the purpose.
How to Make an Infographic in Word
Making infographics in Word is an extremely easy and straightforward process, especially with the help of SmartArt, a tool within Microsoft Word itself that provides several diagrams. You can follow the simple instructions given below to create an infographic in Microsoft Word:
Step 1: Go to the SmartArt Graphic Box
Launch MS Word, click Blank document (or open an existing one if you want to create an infographic in a docx file that was created earlier), go to the Insert ribbon from the top, and click the SmartArt icon from the Illustrations section.
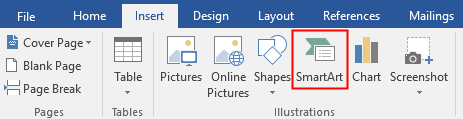
Although you can create a custom infographic using other shapes available in different sections of the ribbon, SmartArt has a wide range of pre-built and ready-to-use diagrams for almost all scenarios that you want to draw graphical representations for.
Step 2: Select Your Preferred SmartArt Graphic
Select the category of the information you want to show via an infographic from the left pane of the Choose a SmartArt Graphic box (Relationship is selected here for demonstration), and pick a graphic type from the center window (Basic Pie is selected here for example). Click OK to insert the selected diagram to the Word document.
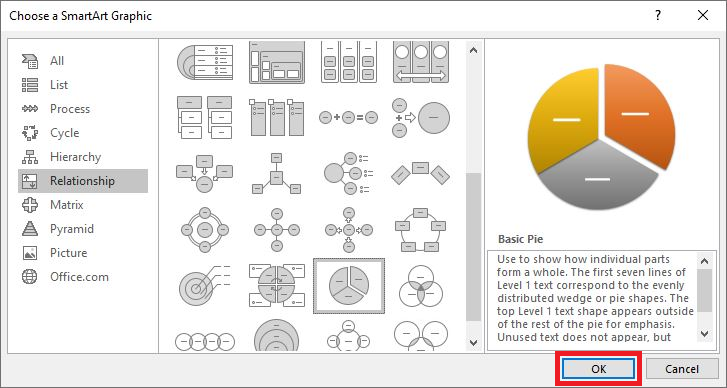
Note: You can further customize the color and diagram style by choosing your preferred ones from the Design tab of SmartArt Tools at the top.
Step 3: Edit Infographic Text
Click the placeholder for the first value in the Text Pane at the left of the infographic diagram, and edit the text as needed. Repeat the process to add other text to the diagram as well.
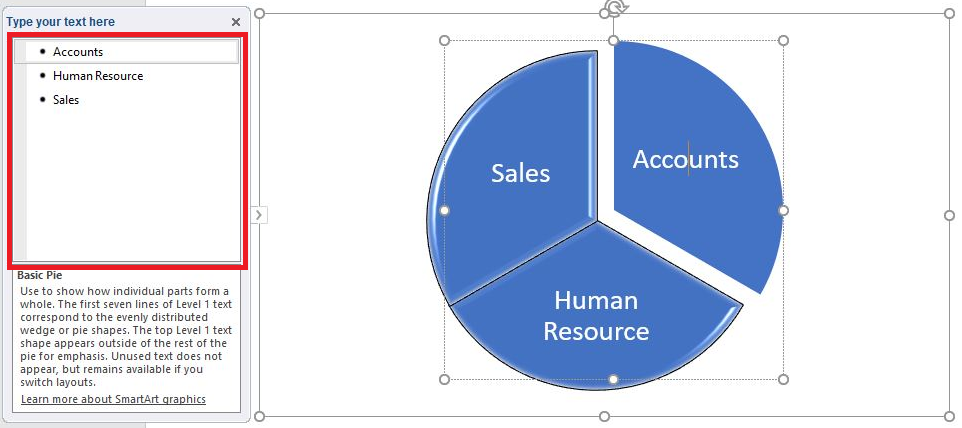
You can click anywhere outside the diagram to auto-hide the resize handles, borders, and Text pane. These options re-appear when you select the infographic again.
Note: If the Text pane isn’t visible for some reason, you can right-click the diagram and click Show Text Pane from the context menu.
Once you’re done making an infographic in Word, you can go ahead and follow the regular procedure to save the document or export the file to any other format such as PDF, XPS Document, Web Page, etc.
How to Make an Infographic in EdrawMax

Although the built-in tool to create infographics in Microsoft Word is helpful, it has limited options that can be used only to make basic infographics. If the information you want to share is complex and has more details, you need a dedicated tool with robust features to create a detailed infographic diagram.
Luckily EdrawMax is here, and with its online version, you can make an infographic more easily and in way less time.
To add icing on the cake, EdrawMax Online is free to use. However, if you want access to more advanced options, you can update to its premium version, and prepare more complex and professional-looking infographics with merely a few mouse clicks.
You can follow the below steps to make an infographic with EdrawMax Online:
Step 1: Visit the Page and Sign Up (Free)
Go to (EdrawMax Online) and follow the on-screen instructions to sign up for a free EdrawMax Online account.
Step 2: Start with the Infographic Creation Process
Sign in to your free (or premium) EdrawMax Online account, and click Infographic from the diagrams’ list in the second pane from the left.
Step 3: Begin with a Template (Or Create a New Blank File)
Click any of the available templates from the Infographic section to create an infographic from a pre-built document with existing shapes and diagrams. This would save you a decent amount of time.
Alternatively, you can click the plus button to open a blank file and start creating your custom infographic from scratch.
Step 4: Add Infographic Data
Double-click the text boxes, and replace the sample text with your preferred information. Repeat the process to add information in all the placeholders.
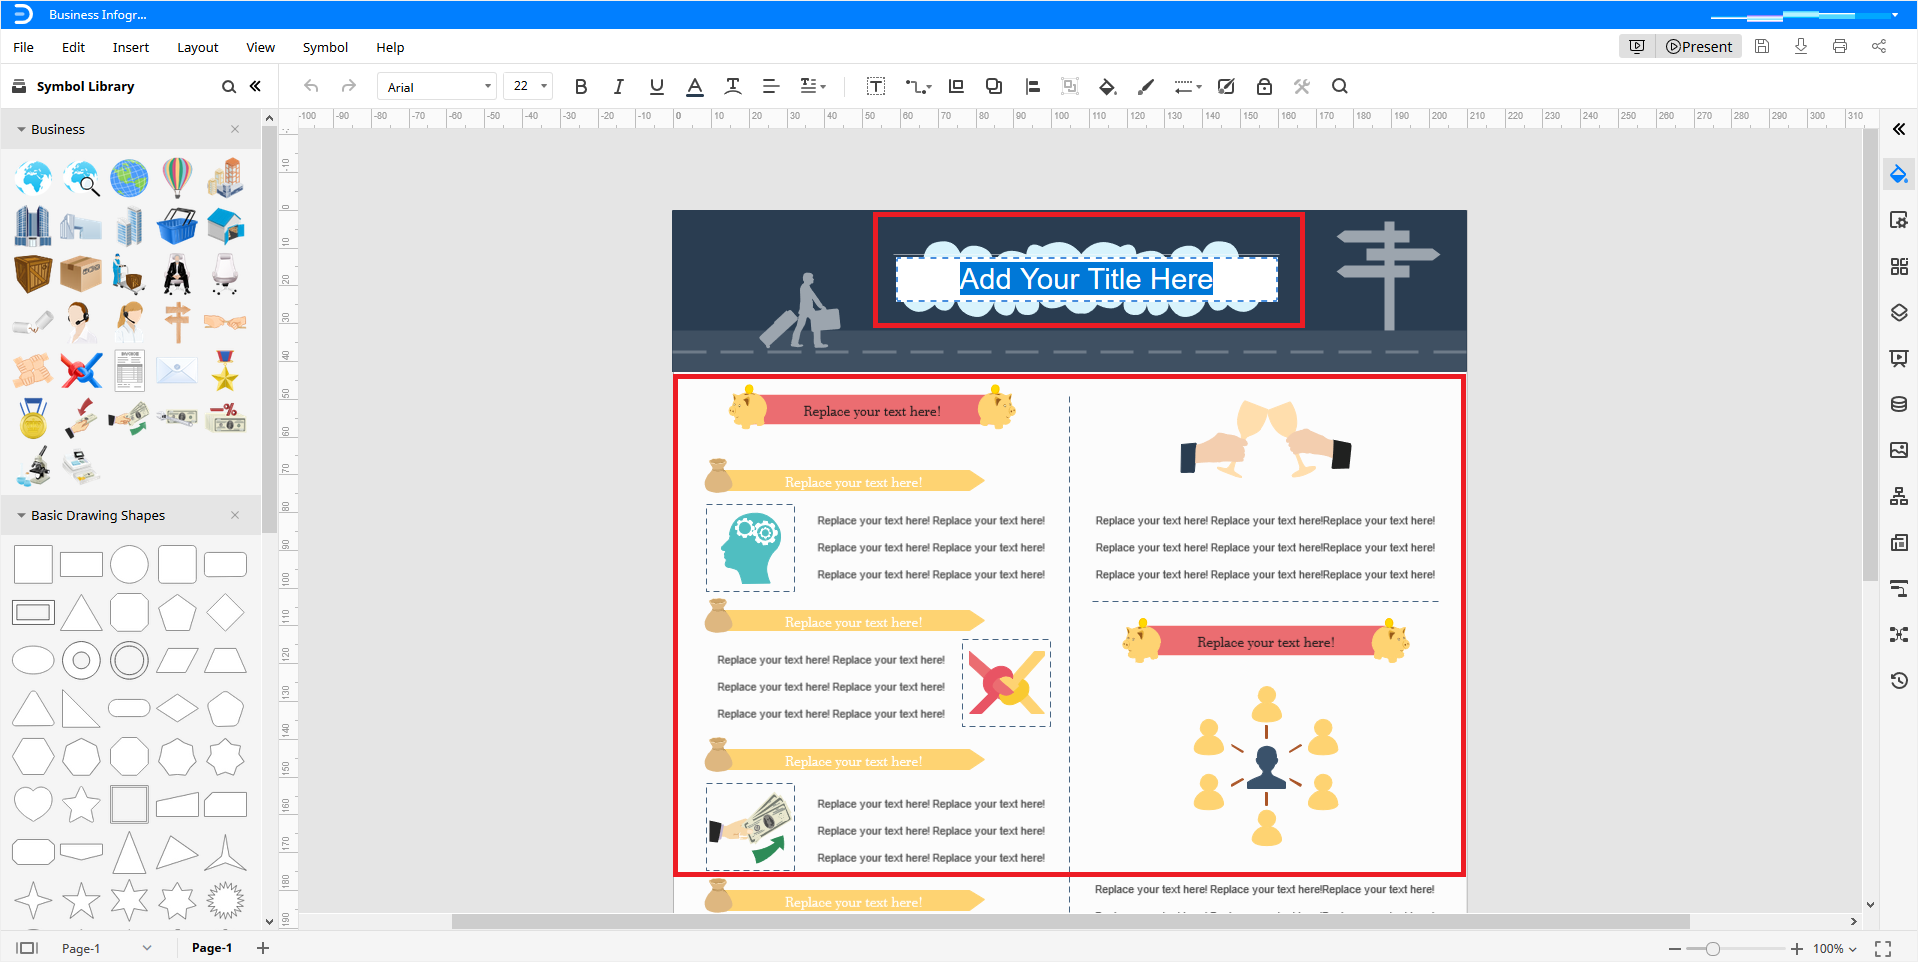
Note: Feel free to remove any diagram, symbol, or textbox that you don’t need in your infographic, or add more to it from the Symbol Library in the left.
How to Save an Edraw Infographic as a Word File
EdrawMax Online allows you to export your infographic diagrams to various file formats. It also lets you save your documents to Google Drive or Dropbox, or both. The process is simple to follow:
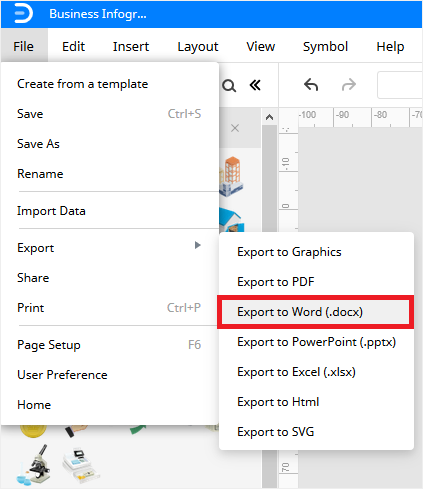
Step 1: Export Infographic as a Word File
Go to File > Export, click Export to Word (.docx), and follow the regular method to save your infographic as an MS Word document.
Step 2: Save Infographic to Google Drive or Dropbox
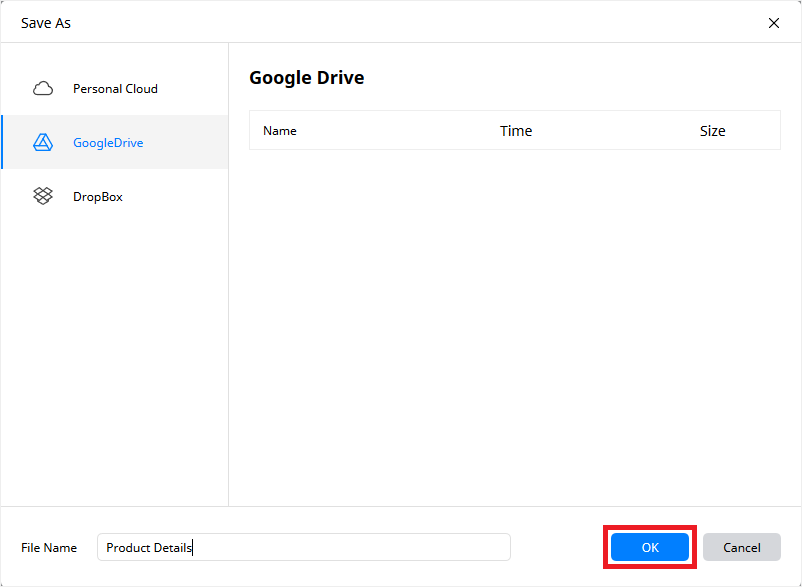
Go to File and click Save As.
Finally, choose either GoogleDrive or DropBox from the left pane of the Save As box, type a name for your file in the File Name field at the bottom, and click OK to save your EdrawMax infographic to the Cloud server you selected.