How to Create a Timeline in PowerPoint
Microsoft PowerPoint supports users to make a basic timeline and customize it to fit users’ requirements. In this tutorial, you will know how to create a timeline manually and automatically in PowerPoint with step-by-step instructions.
How to Create a Timeline in PowerPoint
Using a SmartArt Graphic of Timeline
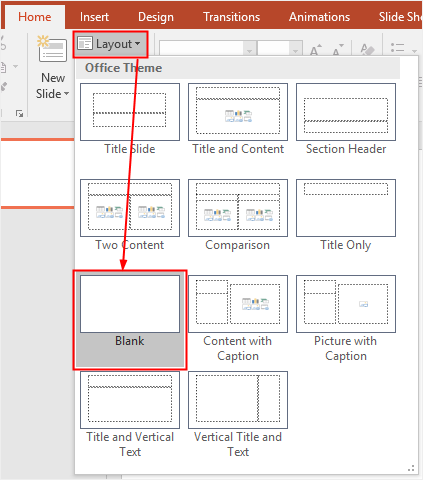
Step 1 Select a Blank Layout
Enable PowerPoint, click Layout button on the Slides group of the Home tab, and then select Blank on the drop-down menu. The slide will be blank and ready for making a timeline.
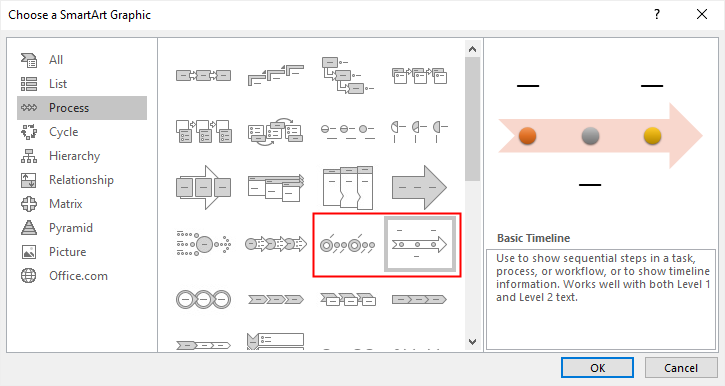
Step 2 Insert a Favorite Timeline Graphic
Go to the Insert tab, click SmartArt button on the Illustrations group to open the Choose a SmartArt Graphic window.
Then select “Process” in the category list and there are two kind of timeline layouts in the SmartArt graphics window, which are Basic Timeline and Circle Accent Timeline.
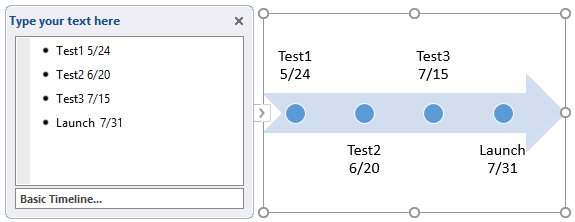
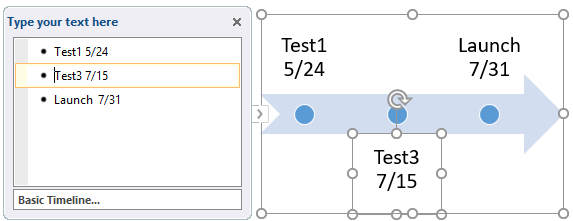
Step 3 Edit Text
Here I select Basic Timeline and click OK on the dialog box. The basic timeline is inserted on the slide. Click [Text] on the graphic or click the arrow icon to open Text Pane, and then type or paste the text in the SmartArt graphic.
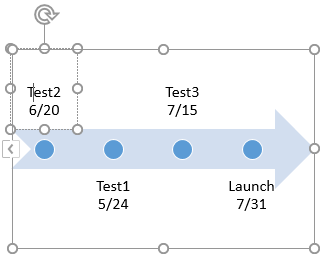
Step 4 Add or Delete Shapes
To add a new shape after Test2, you need to
- Select the circle that represents Test2;
- Click Add Shape button under the Design tab of SmartArt Tools;
- Select Add Shape After on the drop-down menu.
Therefore, a new circle will be added after the circle of Test2. You can also repeat these steps and choose Add Shape Before to add a new shape.
To delete Test2, open Text Pane and delete the text line of Test2, thus the circle and the textbox of Test2 will disappear from the graphic.
Step 5 Move a Shape on the Timeline
To move a shape on the timeline, you can
- Click the textbox that you want to move;
- Go to the Design tab of the SmartArt Tools, click Move Up or Move Down button on the Create Graphic gruop
- To move the selected test sooner than another test (like Test1), click Move Up;
- To move the selected test later than another test (like Test3), click Move Down.
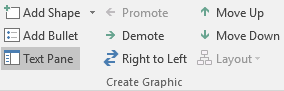
Here I choose to move Test2 sooner than Test1 and click Move Up. When you move the selected shape with a date to another place, don’t forget to modify the date and make it in accordance with your plan.
Step 6 Customize the Timeline
To change the layout of the timeline, you can select the graphic, go to Design tab of SmartArt Tools, find Layouts group and open the drop-down menu of the layout style.
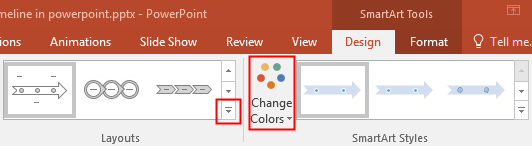
Then, you can pick one of the timeline or process-related SmartArt graphics that you like, click the thumbnail and the graphic on the slide will be changed instantly. In this example, I choose to transform Basic Timeline into Basic Bending Process.
To change the colors of the timeline, you can select the graphic, find Change Colors button on the Design tab and choose the desired color combination in the menu.
Using an inbuilt Timeline Template
The other way to make a timeline in PowerPoint is to use the inbuilt timeline template and customize the selected template to create your own timeline.
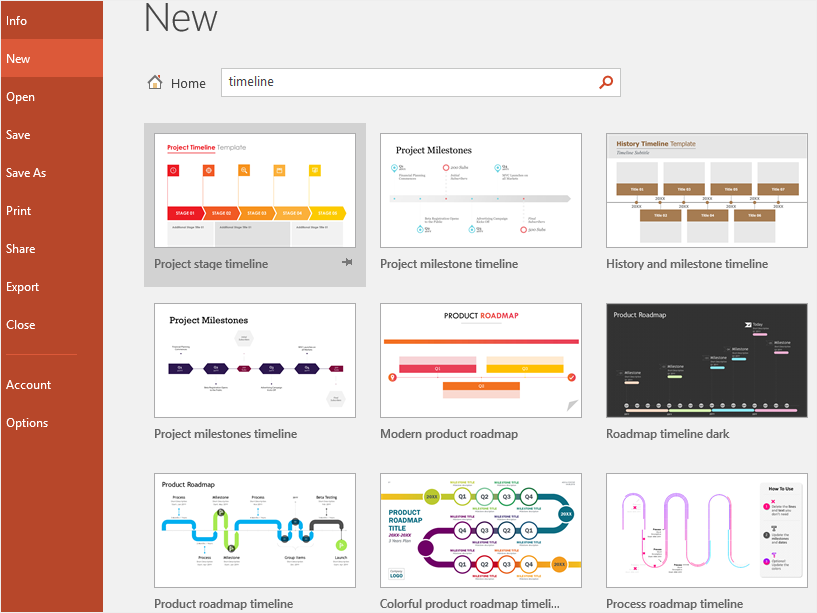
Enable PowerPoint, click File tab on the ribbon, click New on the left side pane and type “Timeline” in the search box. Then, you can double-click on the thumbnail and select one of the pre-made timeline templates in PowerPoint as the basic structure of your own timeline.
When you select and add a timeline template on the slide, you can change its style and customize it to make your own timeline.
How to Create a Timeline in EdrawMax
Step 1: Select a Timeline Template
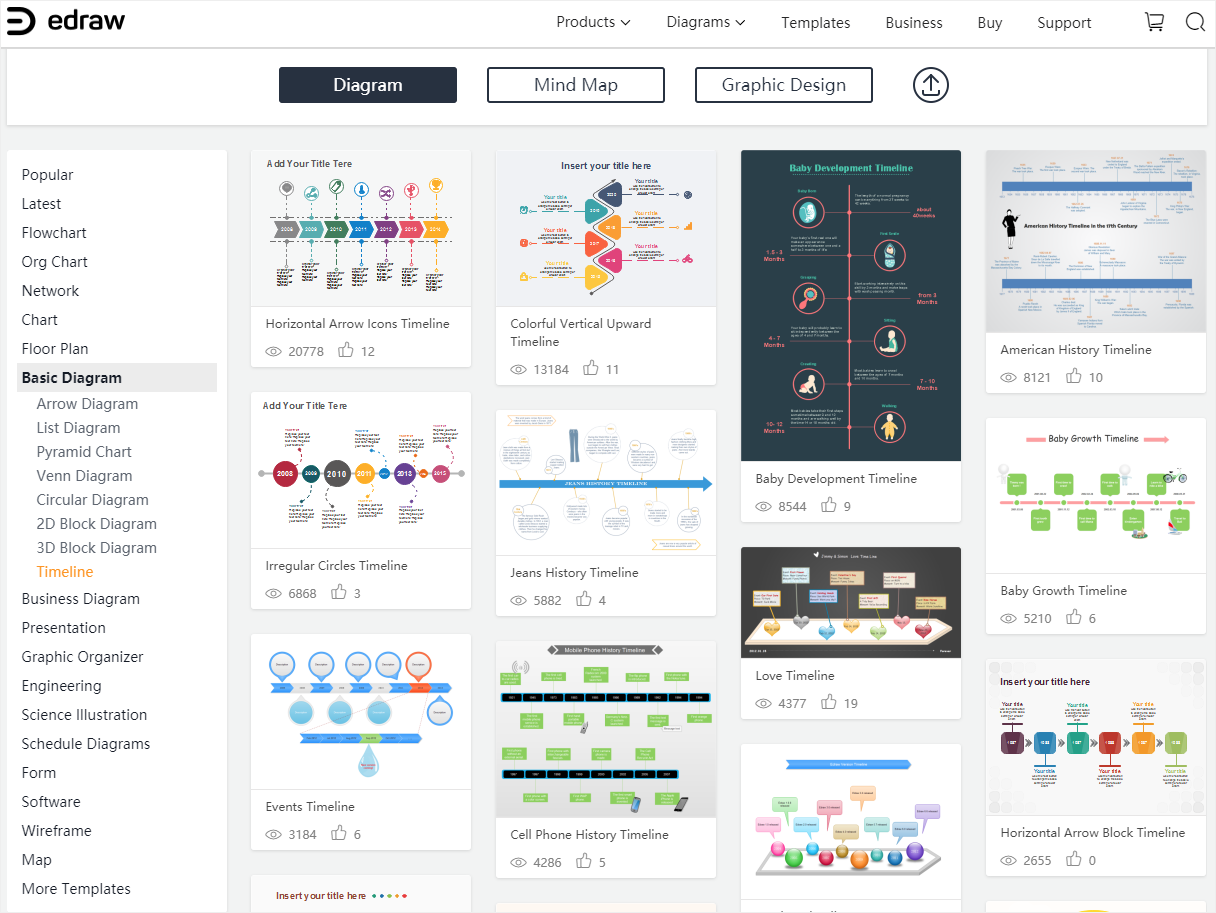
Enable EdrawMax, select Timeline under the category of “Business”, then you will see many delicate and wonderful timeline templates. You can choose one of these templates to make your own timeline.
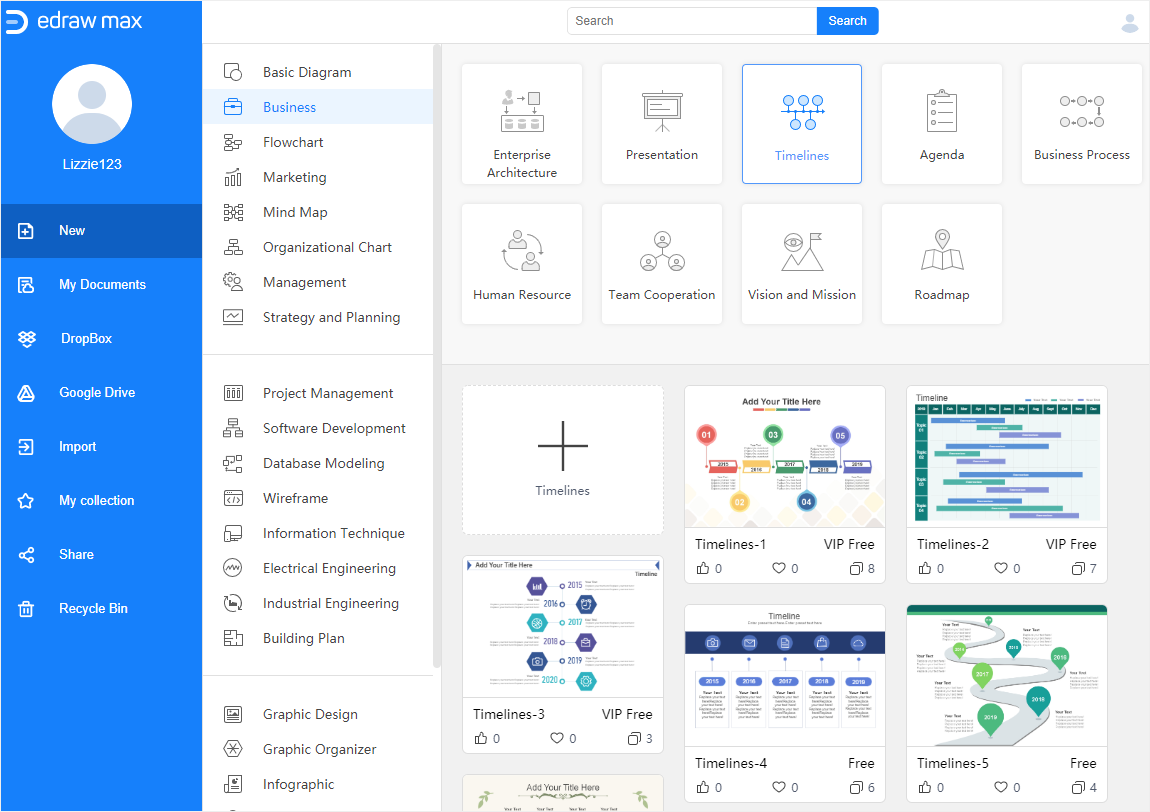
If you want to see more free timeline templates, you can visit Edraw Template and find your favorite template.
Step 2: Make Your Own Timeline
Double-click on the thumbnail of the timeline template in the Home page of EdrawMax, then you can enter into the main interface and start to make your own timeline on the basis of the selected template.
Here is the template that I selected and I decide to make a timeline in the cartoon style.
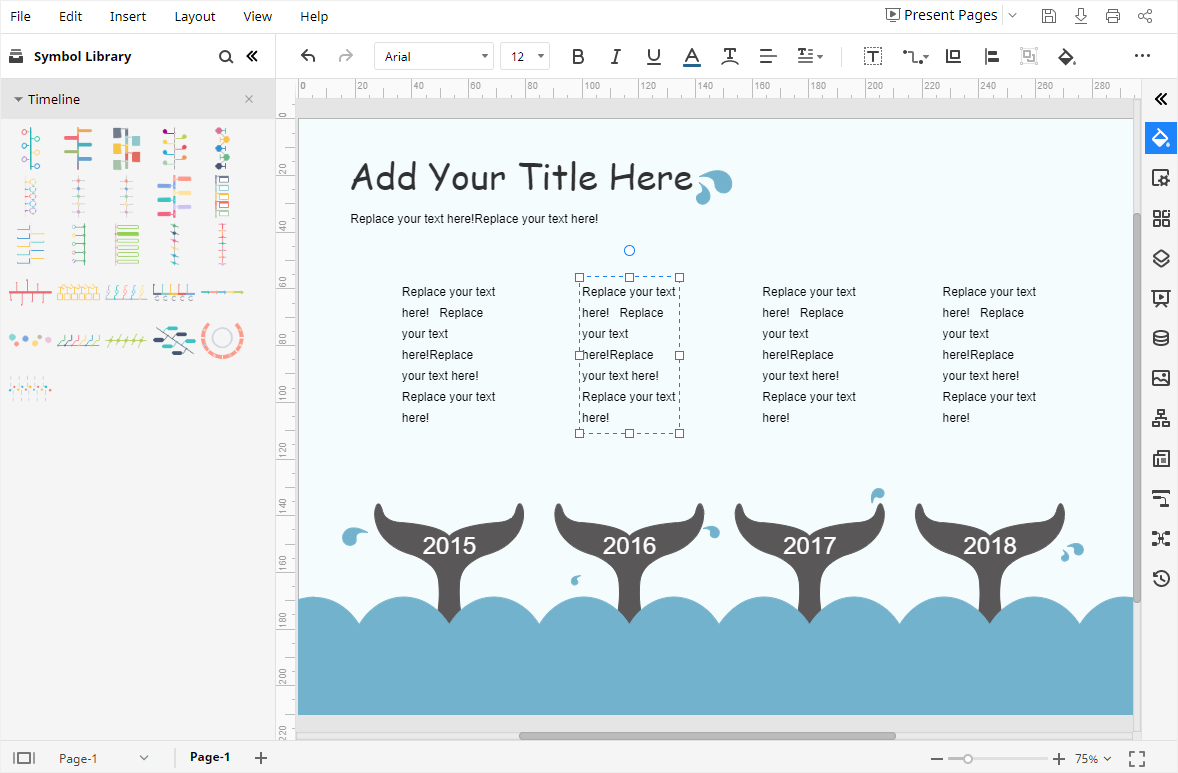
When you open the template, the symbols and shapes of timelines will show up on the left Library pane. So, you can use them to make new timelines or modify the current one.
Double-click on the textboxes and type text in them.
Step 3: Format Your Timeline
To make timeline look more vivid and specific, I need to add some icons and callout shapes on it.
Click the icon next to Symbol Library to open Library window. Then select Icons and Callouts shapes under General category and click OK. You will see the shapes and symbols of Icons and Callouts appear on the Library pane. A
Step 4: Change Colors of the Timeline
To change the color of the whole timeline, click the Theme icon ![]() to open the Theme pane, select the desired theme style, theme color, connector style (if you have drawn) and font style. Once you choose one of the inbuilt theme, the style of the whole timeline will be changed.
to open the Theme pane, select the desired theme style, theme color, connector style (if you have drawn) and font style. Once you choose one of the inbuilt theme, the style of the whole timeline will be changed.
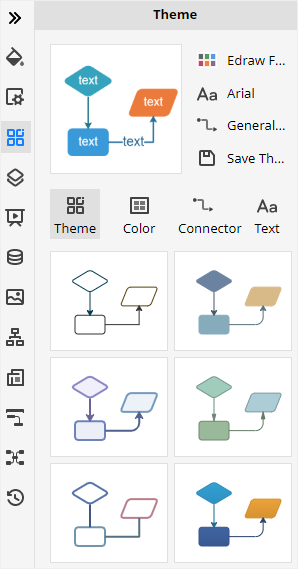
Besides, when you have picked the theme style, theme color, connector style and font style in the pane, you can click the Save Theme button to make a custom theme. So, you can apply this theme to other diagrams whenever you want.
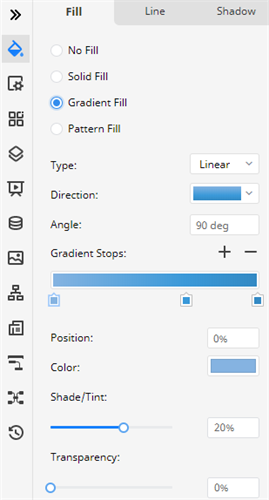
To change the fill colors, you can select the shape and click the Style icon ![]() to open Fill/Line/Shadow pane. In this case, I select the icon of the heart. Then click the color bar to open the drop-down color menu and pick the desired color.
to open Fill/Line/Shadow pane. In this case, I select the icon of the heart. Then click the color bar to open the drop-down color menu and pick the desired color.
You can change the line colors and shadow effects in the Line and Shadow pane in the same way.
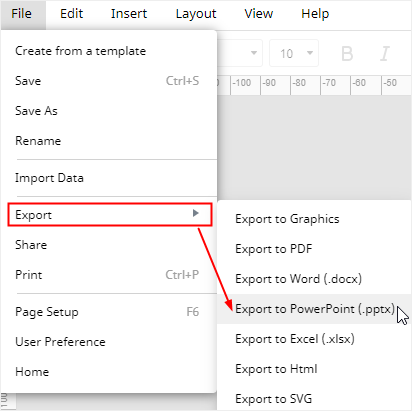
How to Save an EdrawMax Timeline as PowerPoint File
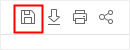
When you have created your own timeline in EdrawMax, you can save the document by pressing Ctrl + S or clicking the Save button on the upper right corner of the main interface.
Moreover, you are able to export the timeline as a PowerPoint file (.pptx) or other files of common formats. Go to File tab, click Export > Export to PowerPoint, and then EdrawMax will automatically export and save your timeline in your computer as a PowerPoint file.
Therefore, it will be much easier and more convenient for you to share and transfer your timelines with anyone else, even if he or she hasn’t used EdrawMax before. Besides, EdrawMax supports users to insert watermarks on their diagrams or charts, which will protect their creation and designs made by EdrawMax.