How to Make a Timeline in Microsoft Project
Microsoft Project can help users automatically create a timeline out of the data of the project. On this page, I will show you how to make a basic timeline in Microsoft Project.
However, since the resulting diagram is sometime too complicated to read, I will also show you the other easy option of transforming the project data into an easy-to-understand timeline effortlessly.
How to Make a Timeline in Microsoft Project
Step 1: Open Your Project File
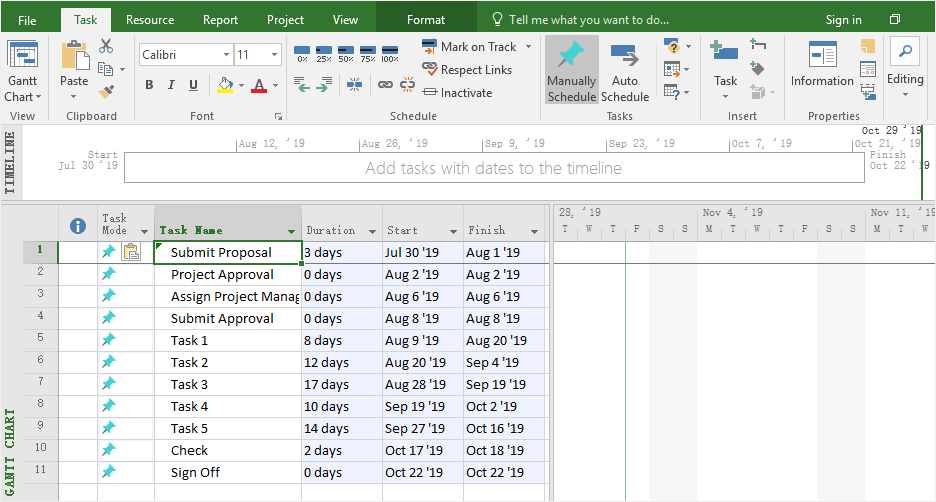
Enable Microsoft Project and open your project file (.mpp). In this example, you can see that when there is the data of the project input into the software, Microsoft Project will generate a simple timeline under the ribbon.
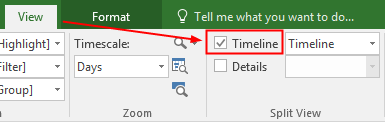
If you don’t see this timeline, go to the View tab, tick the checkbox of Timeline in the Split View group and then you will see a timeline shown on the top of the Gantt Chart View.
Step 2: Add Milestones on the Timeline
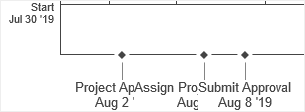
Select all the milestone cells (the duration days of these tasks are all 0) on the Gantt Chart, right-click on them and choose Add to Timeline. Thus, the selected milestones will be added into the timeline.
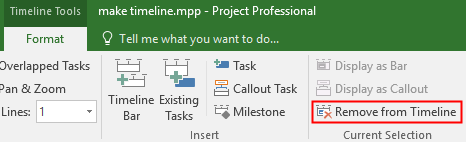
If you don’t want one of the milestones shown on the timeline, click to select the milestone, then the Format tab of the Timeline Tools will open, click Remove from Timeline button on the Current Selection group.
Don’t worry, the milestone that is removed from the timeline will not be deleted from your project data file and it just disappears from the timeline.
Apart from the milestone cells, you can also add those tasks on the timeline by repeating the same steps. Here is the project timeline with all cells added into the timeline.

Step 3: Customize the Timeline
When you need to customize the timeline, you need to click to select the timeline at first and the Format tab of Timeline Tools will pop up on the ribbon.

Here, you can change the text styles, font styles, font color and text background colors on the Text and Font group.
Select a timeline bar on the timeline, the buttons on the Current Selection group will be activated. You can choose to display the task as a bar or a callout on the timeline.

Step 4: Copy the Timeline
Select the timeline, click the Copy Timeline button on the Format tab of Timeline Tools. Then you can choose to insert the graphic of the timeline into an email message or a PowerPoint slide.

How to Make a Timeline in EdrawMax
Step 1: Select a Timeline Template
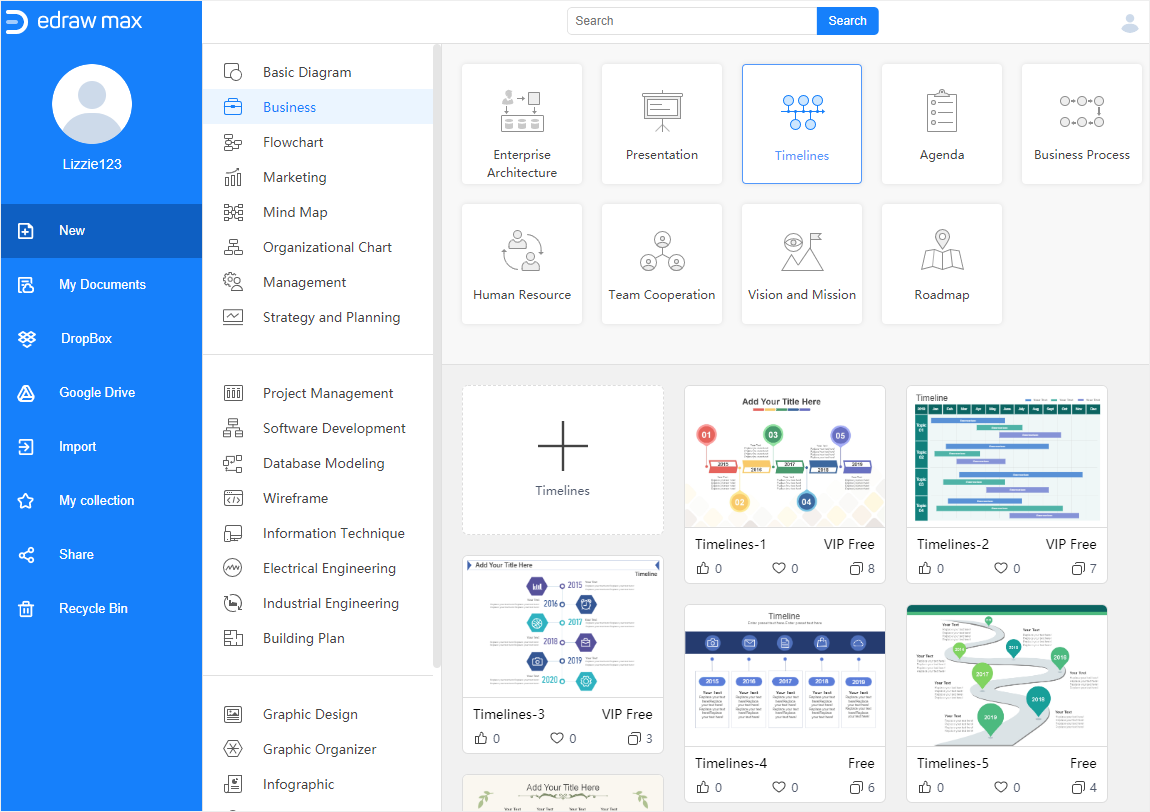
Enable EdrawMax, select Timeline under the category of “Business”, then you will see abundant timeline templates. You can choose one of the templates to make your own timeline.
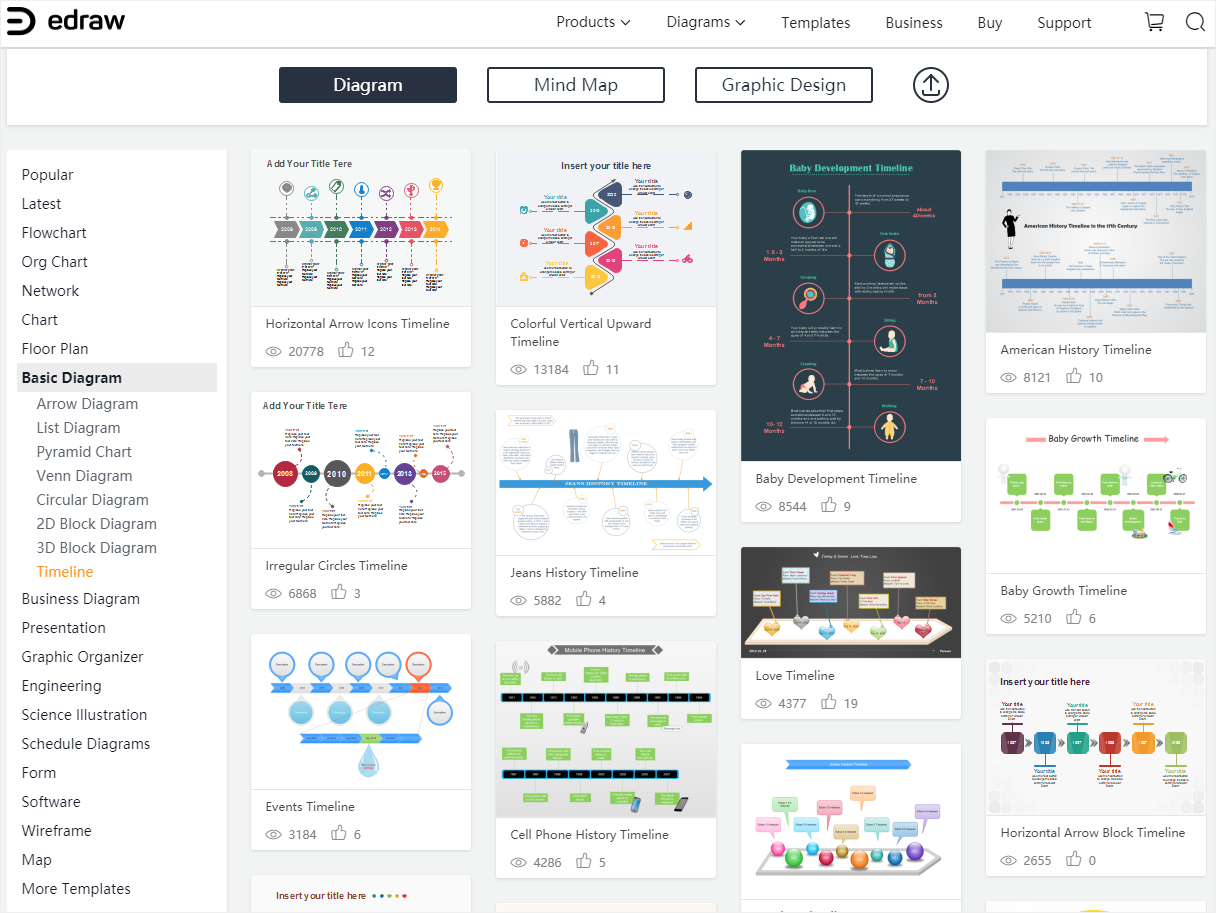
If you want to see more free timeline templates, you can visit Edraw Template and find suitable templates.
Step 2: Make Your Own Timeline
Double-click on the thumbnail of the selected timeline template, then you can enter into the main interface and start to make your own timeline on the drawing page with the template.
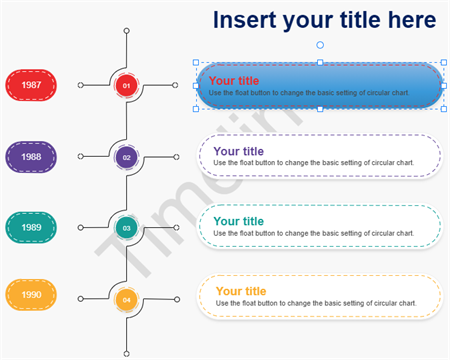
Here is the template that I selected.
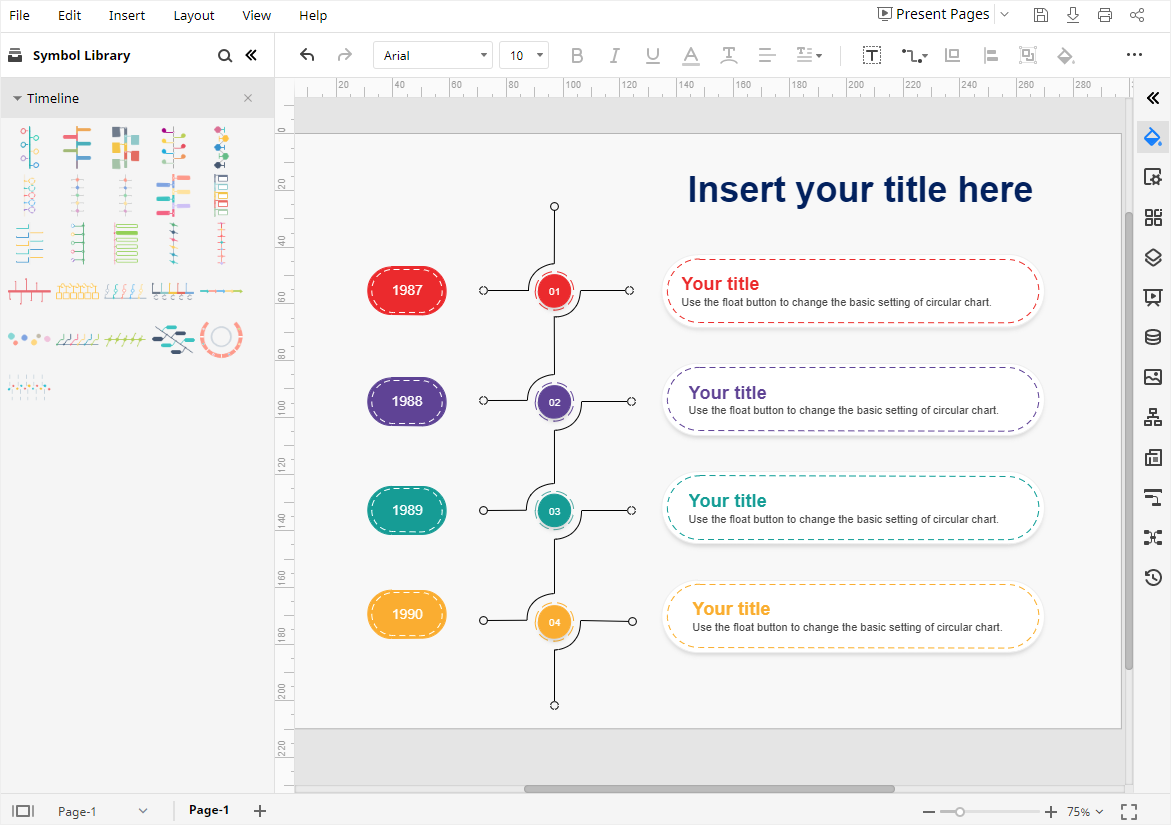
When you open the template, the symbols and shapes of timelines will show up on the left Library pane. So, you can use them to make new timelines or modify the current one.
Double-click on the text boxes and type or paste the text in them.
Step 3: Format Your Timeline
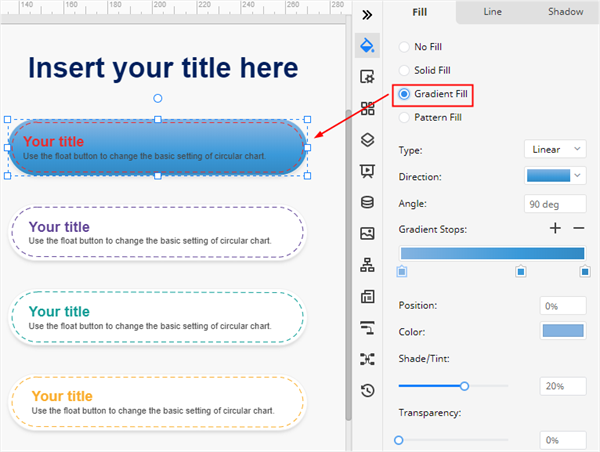
To change the fill style of the shape, you can click the Style icon ![]() on the right side-bar to open the Fill/Line/Shadow pane. In this case, I choose to change the Solid Fill into Gradient Fill.
on the right side-bar to open the Fill/Line/Shadow pane. In this case, I choose to change the Solid Fill into Gradient Fill.
To insert a watermark on the background of the timeline, you need to:
- Go to the Page pane and click Watermark button to open the Insert Watermark dialog box;

- Choose Text Watermark, type the text, select the font style, font size, color style, orientation.
- Click OK.
Here is the watermark that I insert into the page.
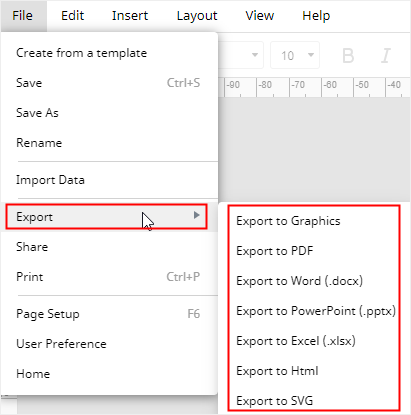
How to Export an EdrawMax Timeline as Office Files
When you have created your own timeline in EdrawMax, you can save the document by pressing Ctrl + S or clicking the Save button on the upper right corner of the main interface.
Moreover, you could export the timeline in the formats of DOCX, XLSX and PPTX. Go to File tab, click Export, you can choose the desired file type and then EdrawMax will automatically export and save your timeline in your computer. All the exported office files from EdrawMax are editable.
Therefore, it will be much easier and more convenient for you to share and transfer your timelines with anyone else, even if he or she hasn’t used EdrawMax before.